Automating WhatsApp messages saves you time and improves the efficiency of your communications. In this guide, we will look at how to connect SendApp to Google Sheets using Make (formerly Integromat), to send WhatsApp messages automatically whenever you add new data to the spreadsheet.
1. What You Need
Before you start, make sure you have everything you need:
- A active account on SendApp Cloud. Register here.
- A account on Make. Sign in here.
- Access to Google Sheets with a CSV template ready containing phone numbers and messages.
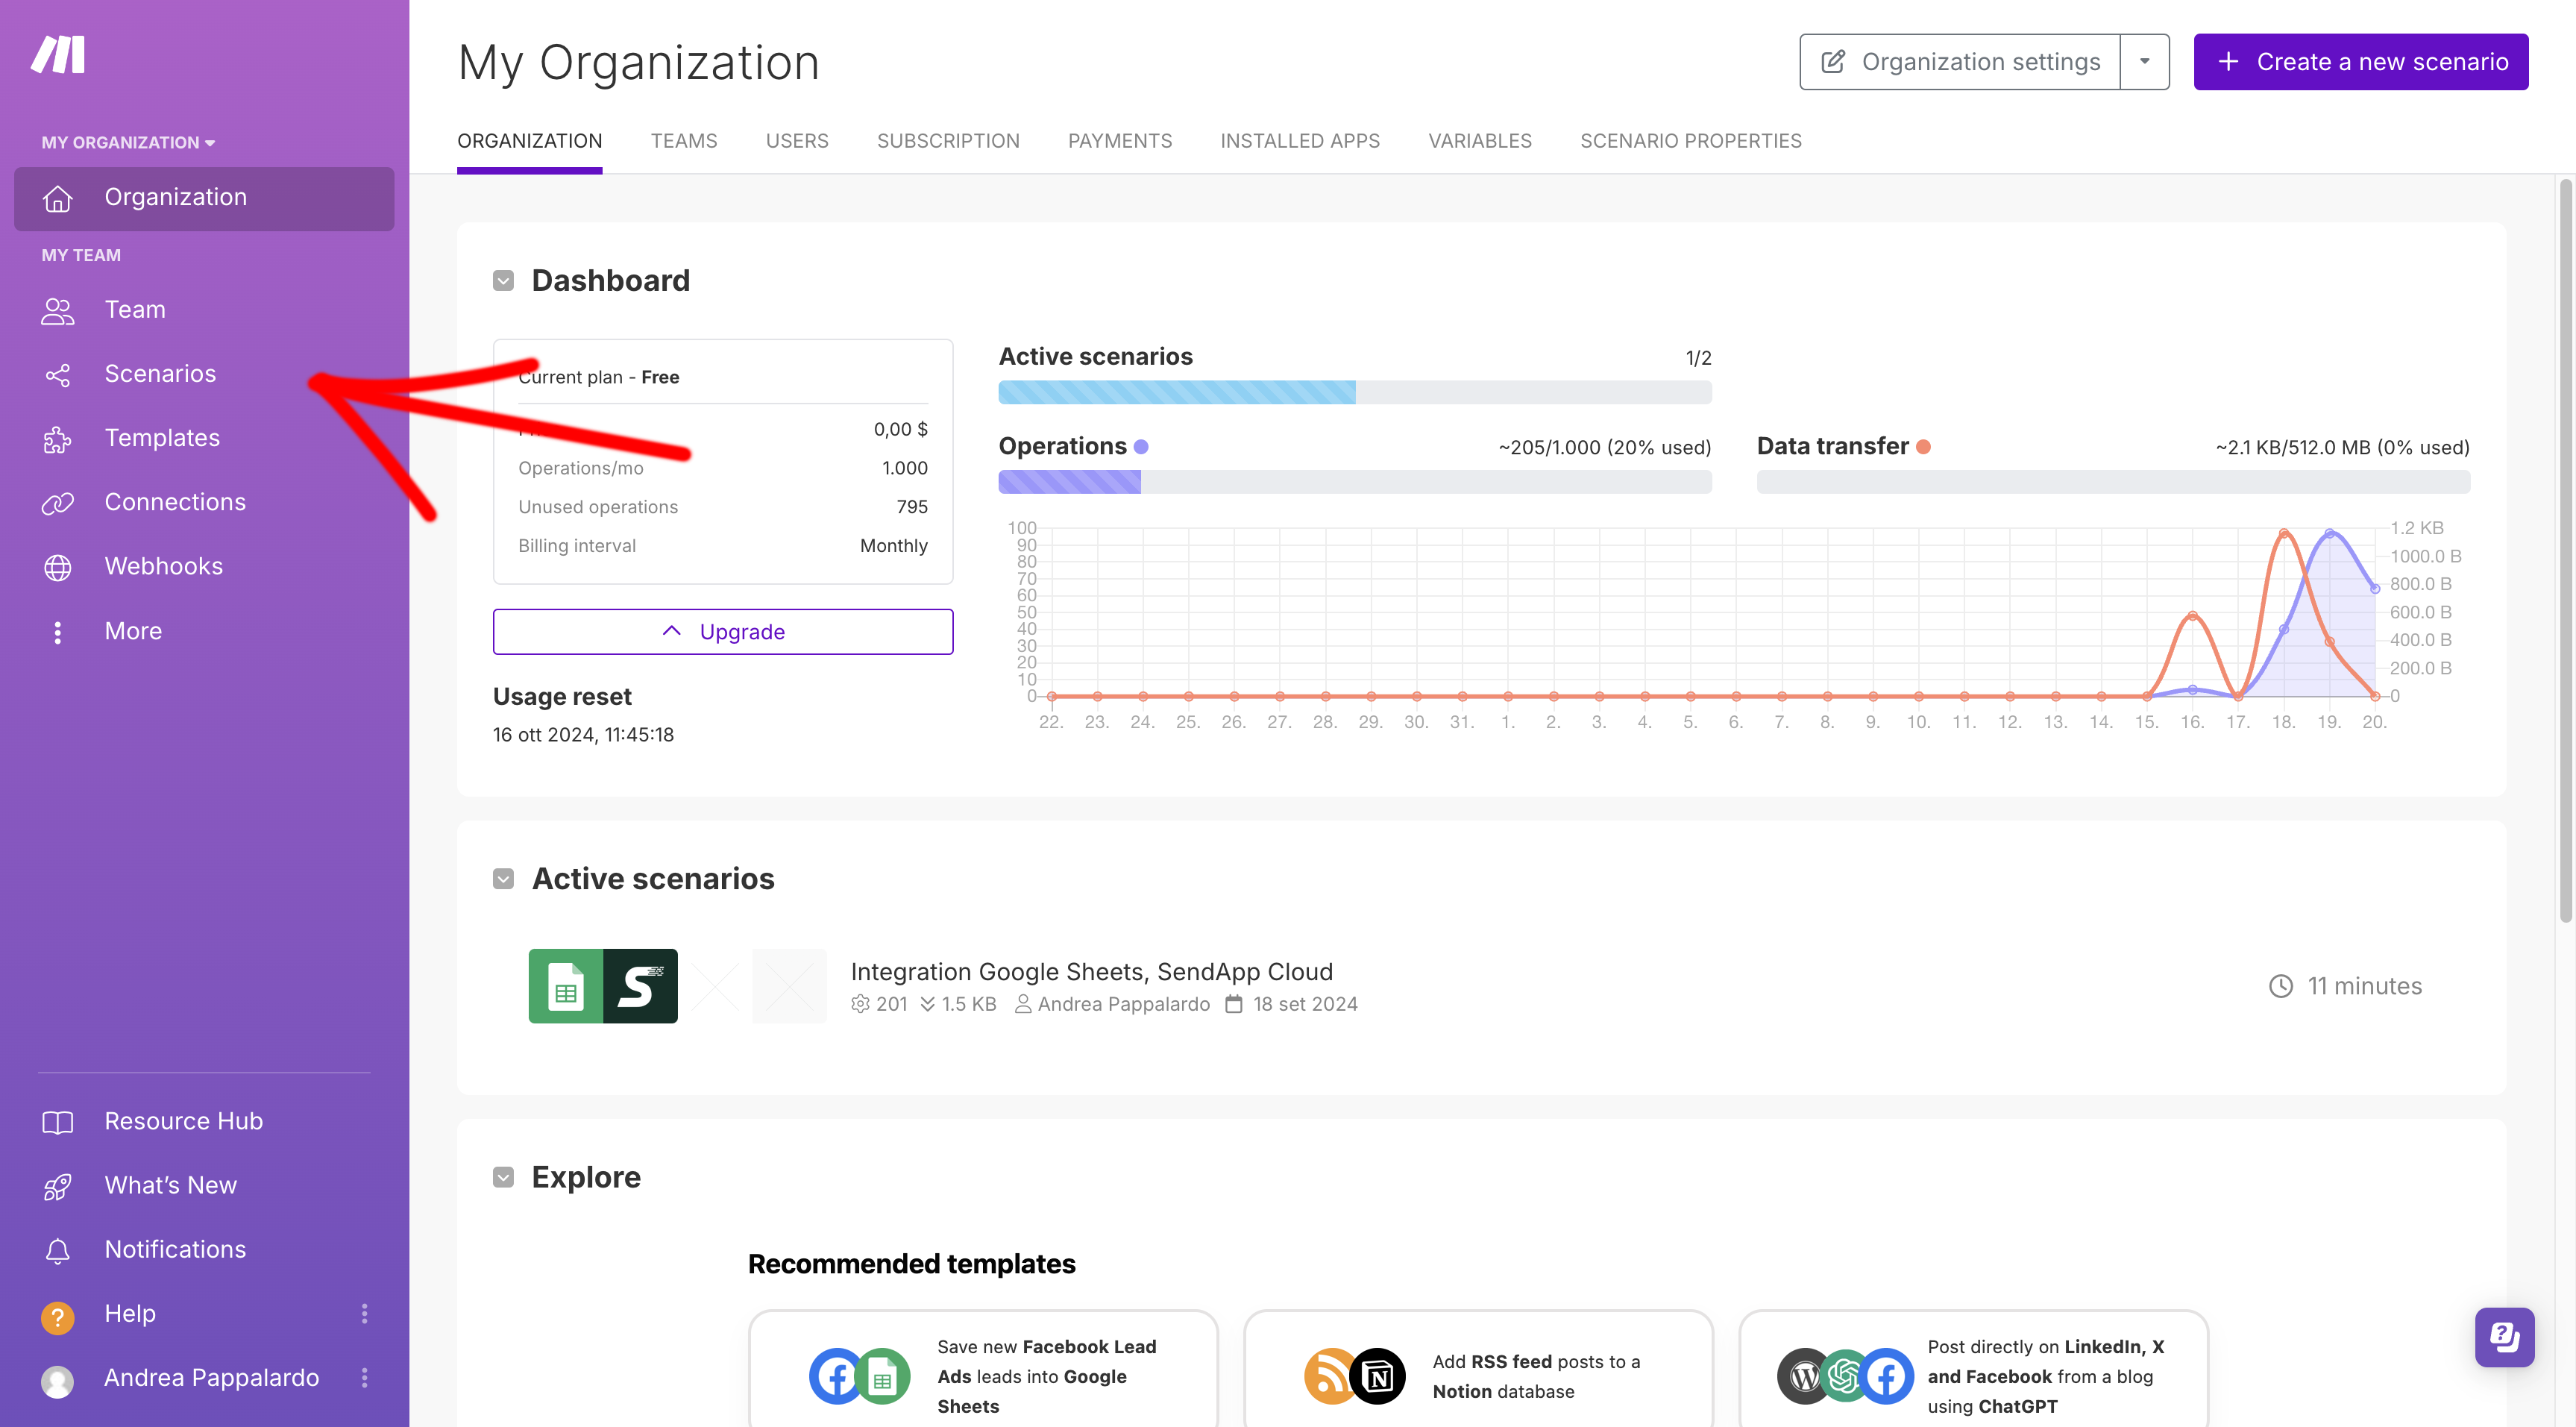
2. Create a Scenario in Make
First of all., log in to your Make account and click on "Create a new scenario.". Then:
- Click on the "+" symbol and search Google Sheets As the first module.
- Configure the module by selecting the CSV template From your Google Drive.
- Choose the sheet name which contains the data (Sheet Name).
3. Add SendApp As Second Module
Next,, add the second form. Click on the "+" symbol and select SendApp:
- Link your SendApp account by entering theAccess Token and theInstance ID. You can get them from your profile by scanning the QR Code.

4. Configure SendApp Fields.
Finally, configure the required fields:
- In the field Phone Number, select phone numbers from the Google sheet.
- In the field Message Type, choose Text.
- In the field Message, customize the message using data from the sheet (e.g., the recipient's name).

5. Taking the Test
Before publishing the scenario, run a test. Add a line in the Google sheet and verify that the message is sent correctly through Sendapp.
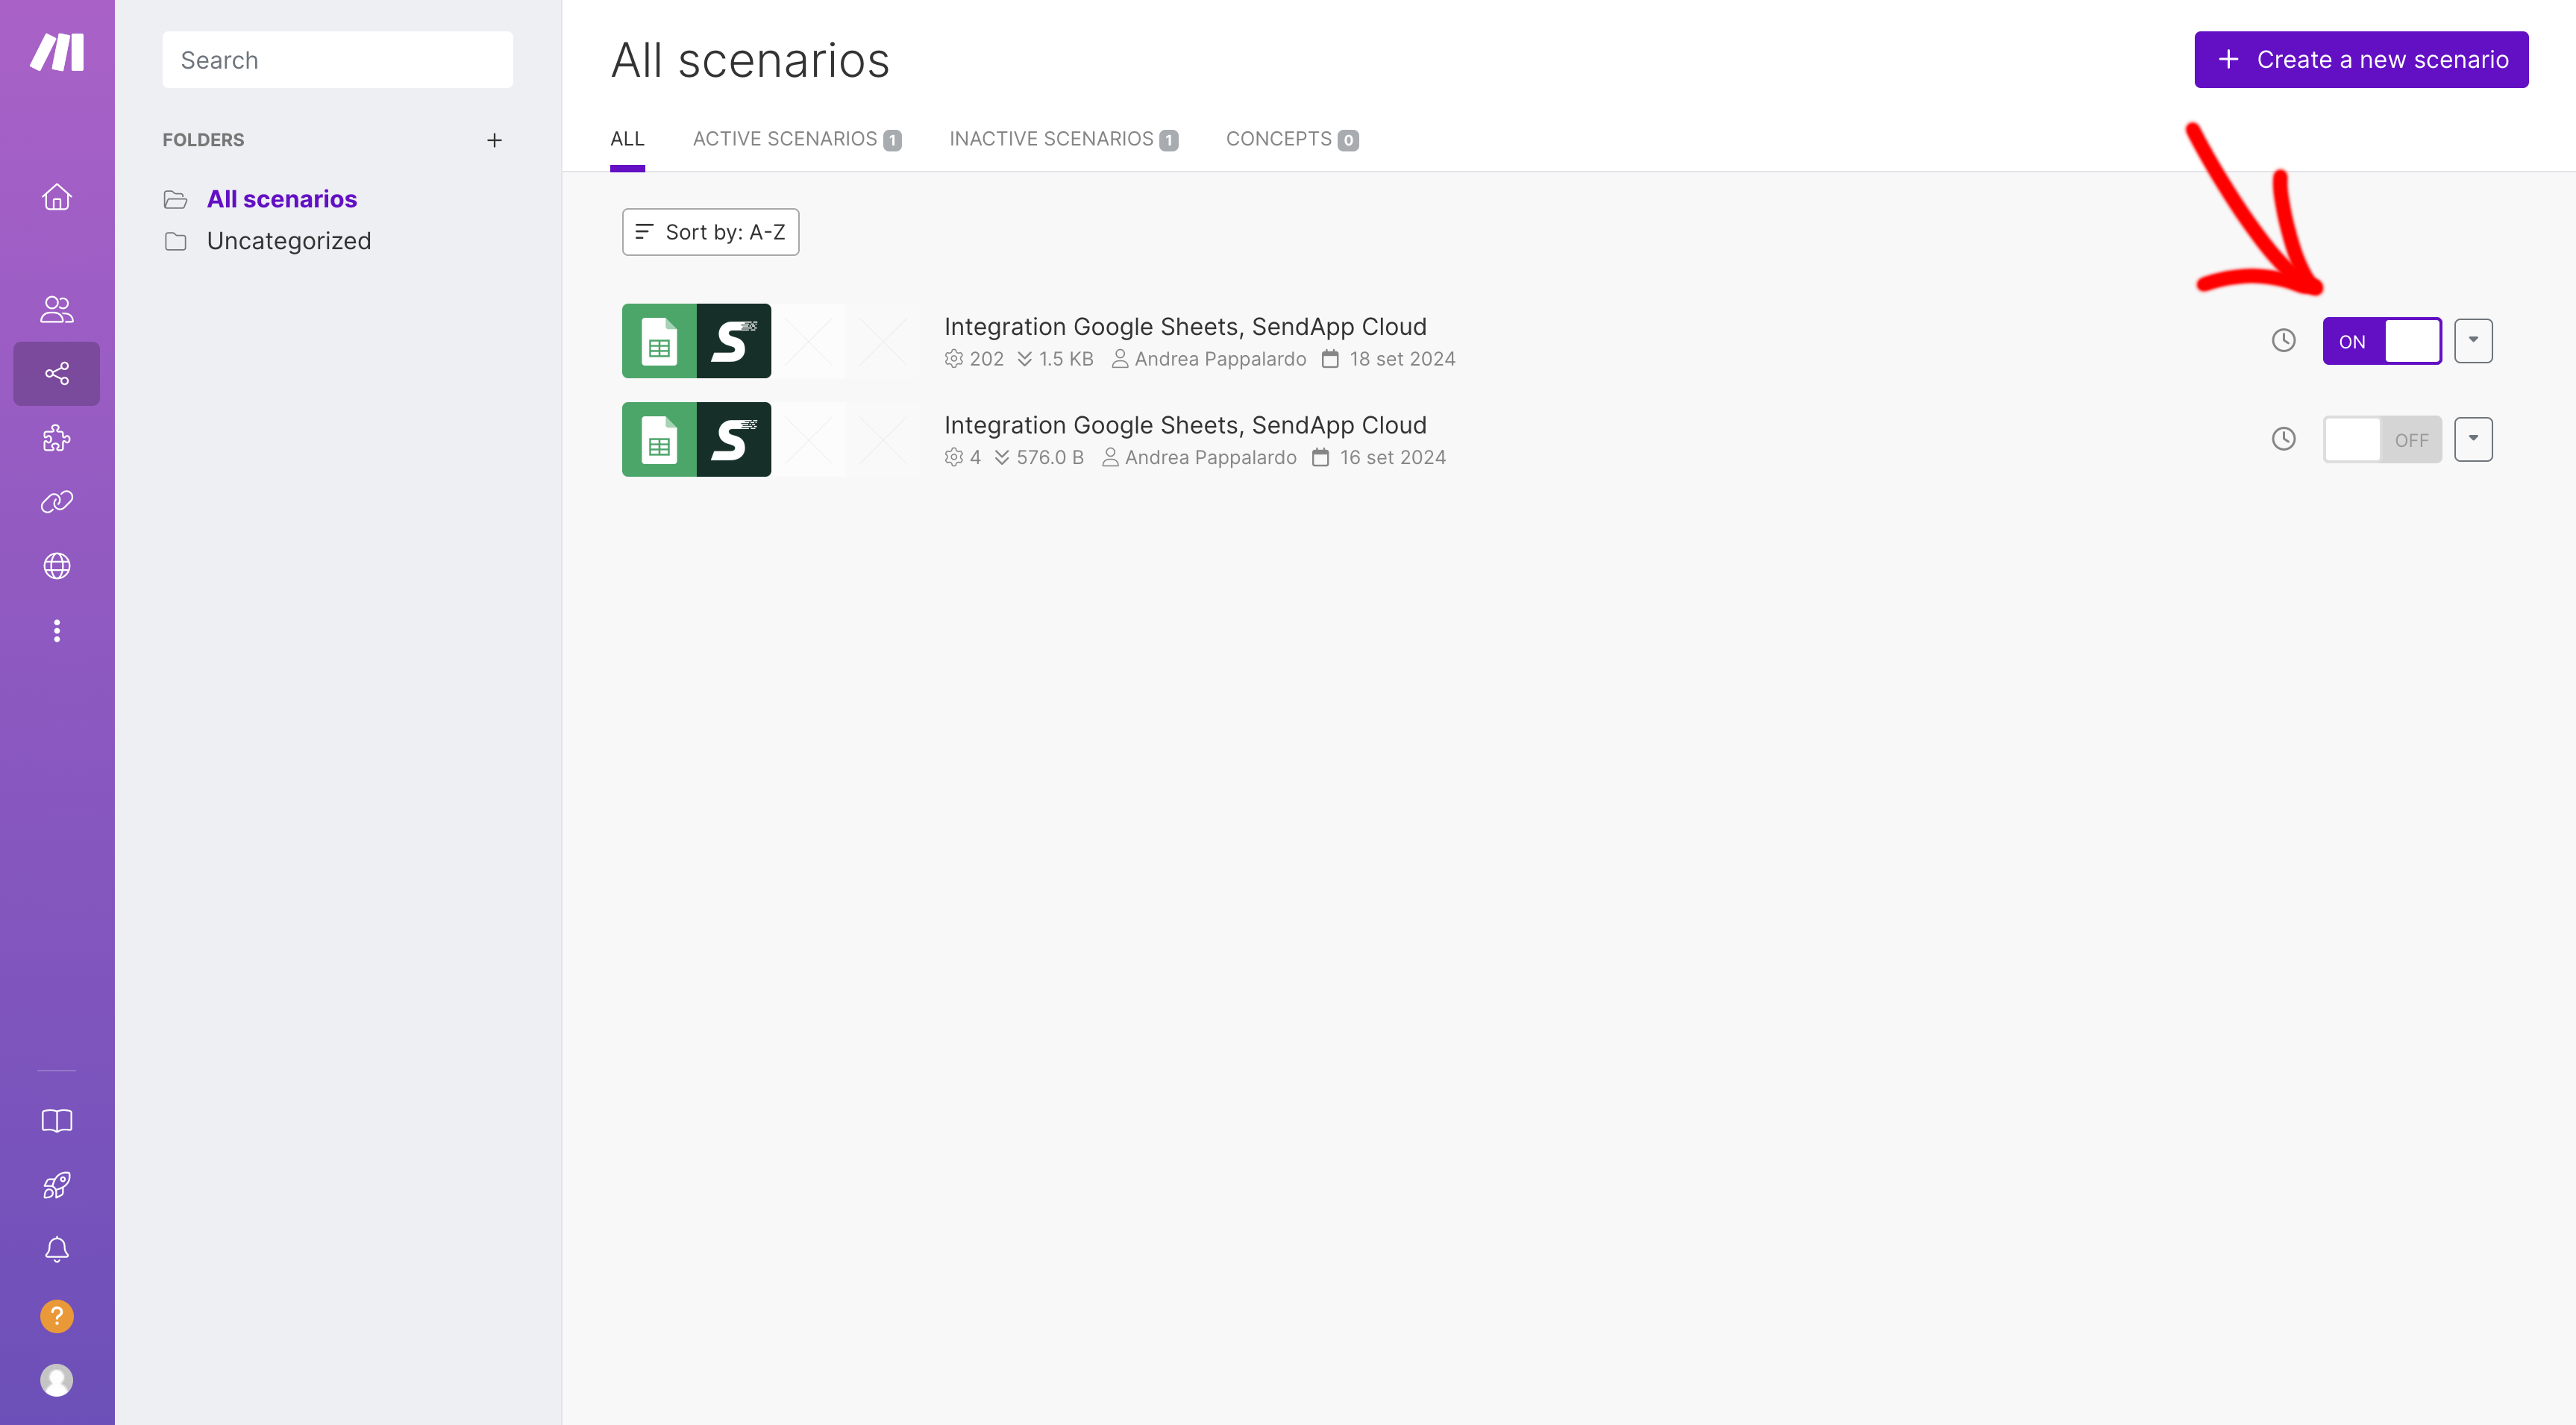
6. Publish the Scenario
If the test was successfully completed, click on Publish. From now on, each new row added in the Google sheet will automatically send a customized WhatsApp message.
Conclusion
Thanks to the integration of SendApp is Google Sheets via Make, you can automate your communication processes and improve efficiency. Try this guide now to send personalized WhatsApp messages and save valuable time!