Introduction
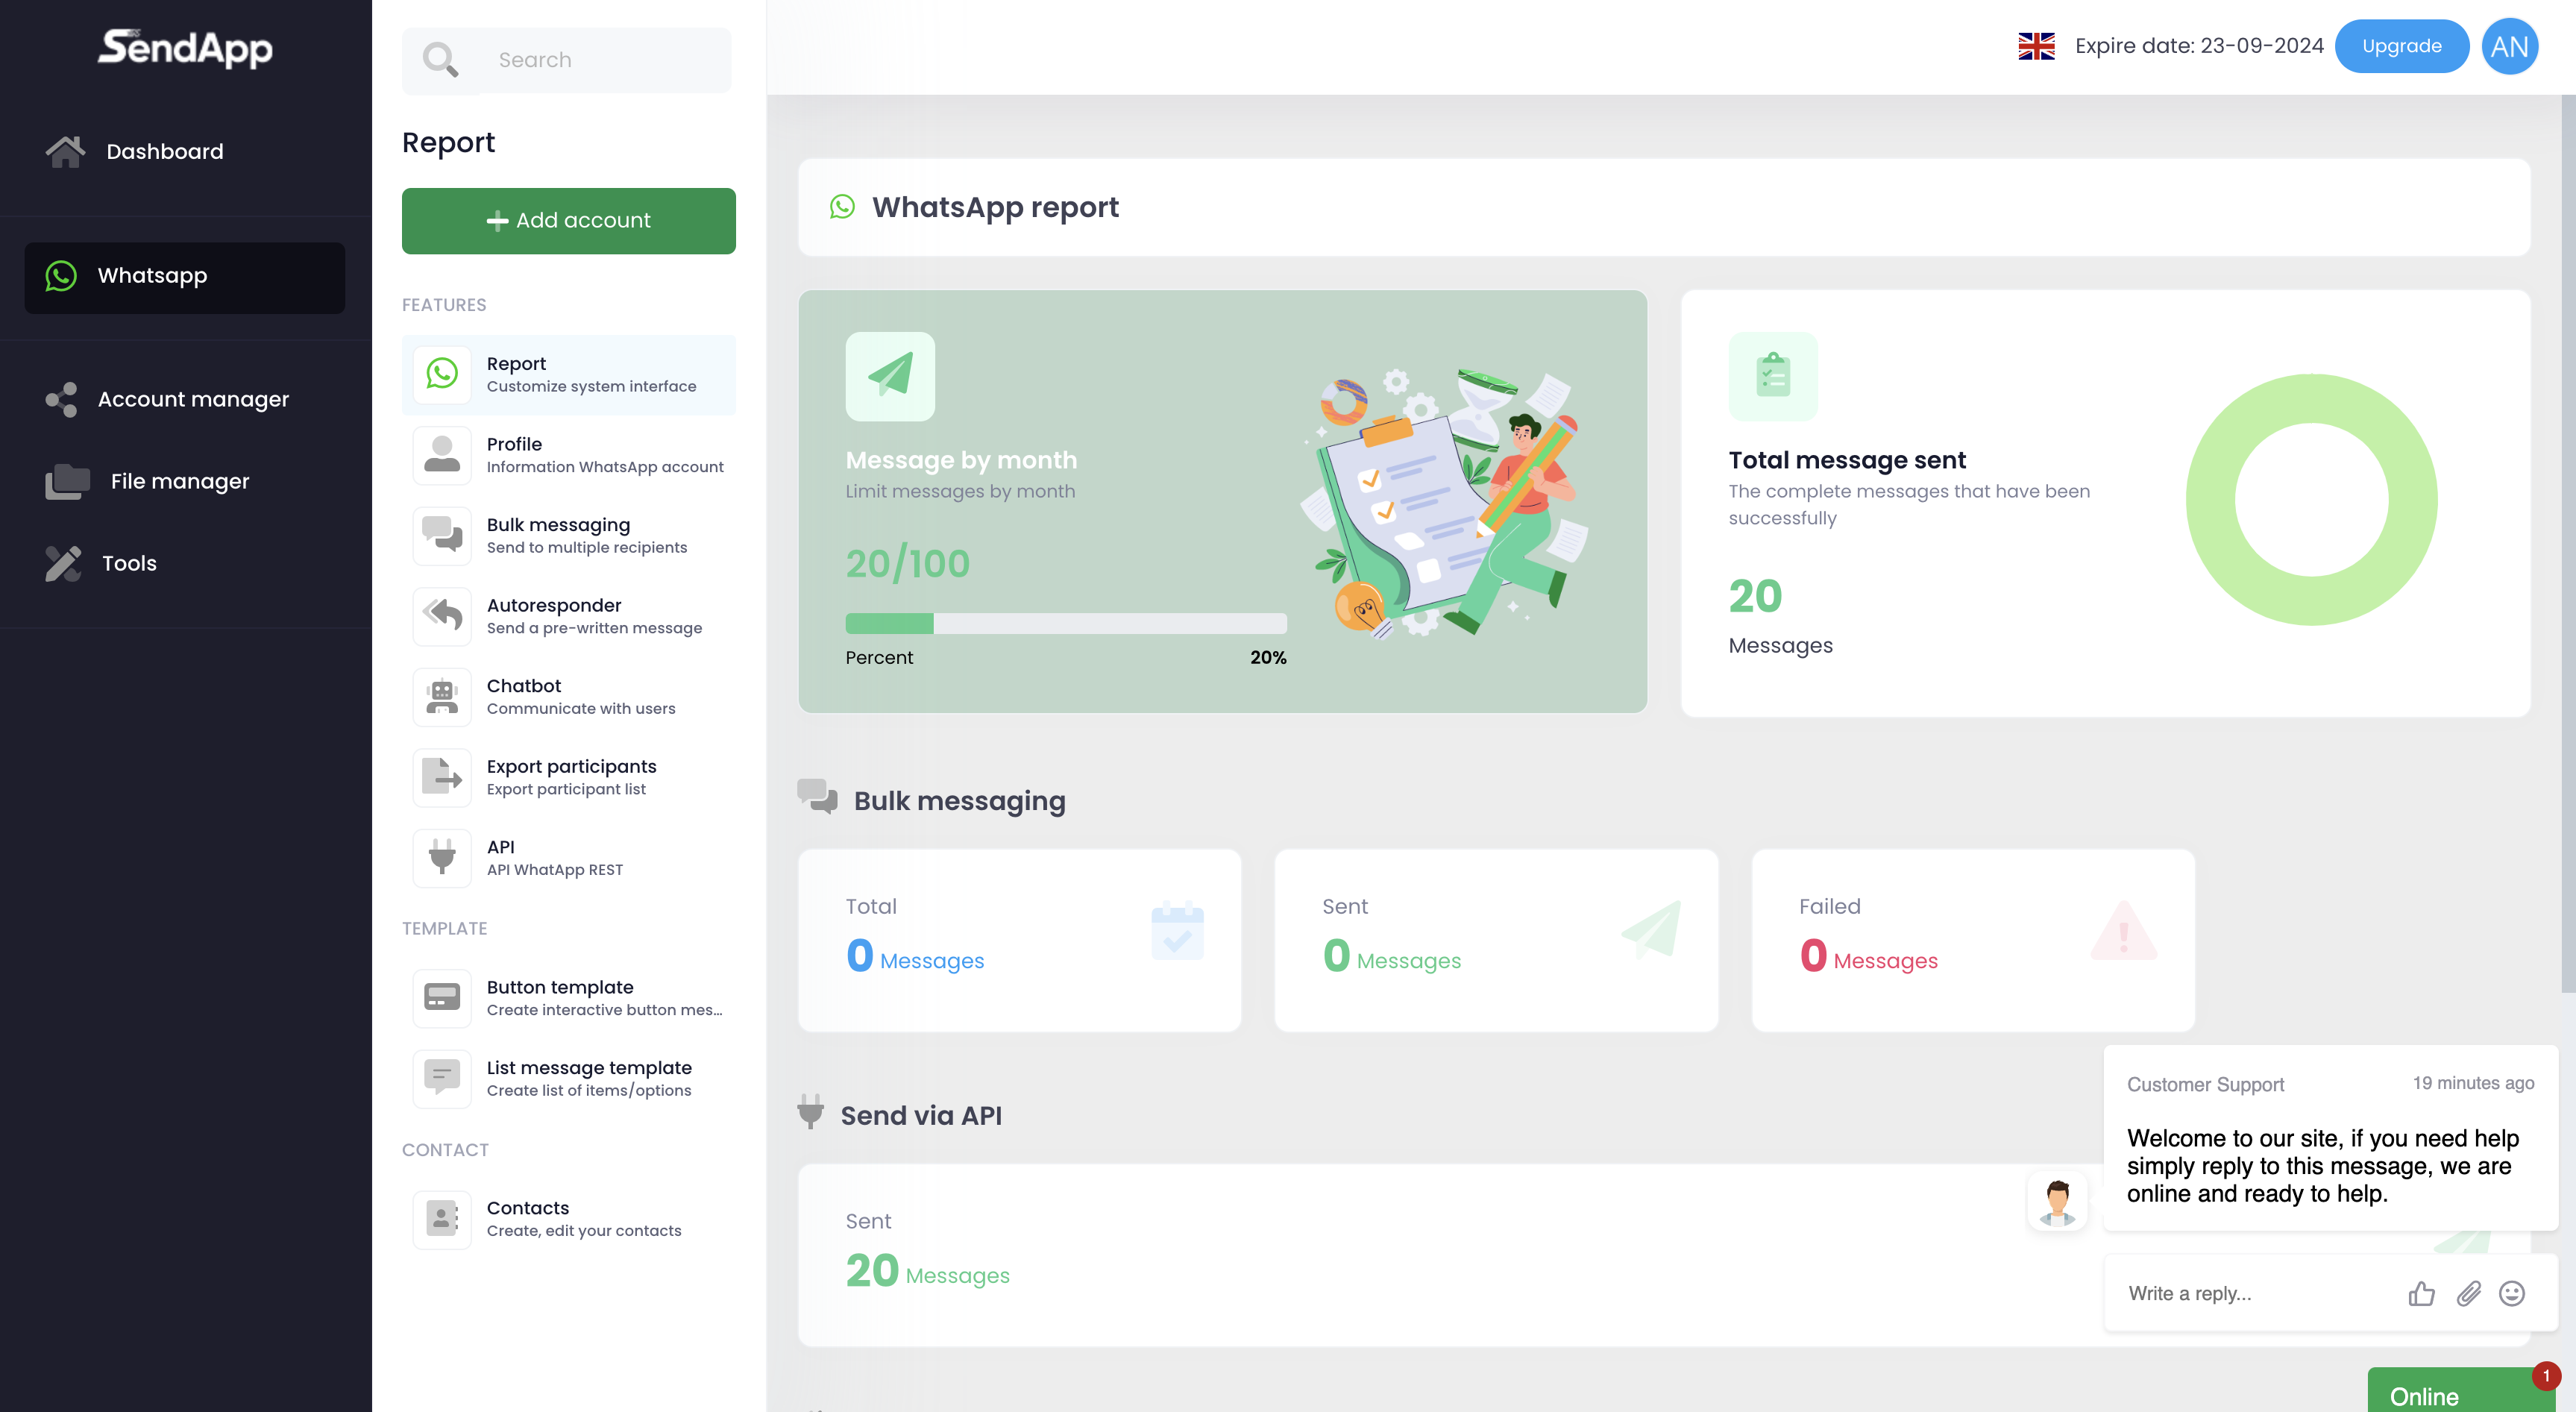
Automate your communication through Whatsapp using SendApp is Google Sheets is possible thanks to Pabbly, an automation tool that simplifies workflows between different applications. In this guide, we will show you how to integrate Sendapp with Google Sheets using Pabbly to automatically send WhatsApp messages whenever new data is added to the spreadsheet.
Step 1: What you need
Before you start, make sure you have:
- An account Sendapp Cloud active.
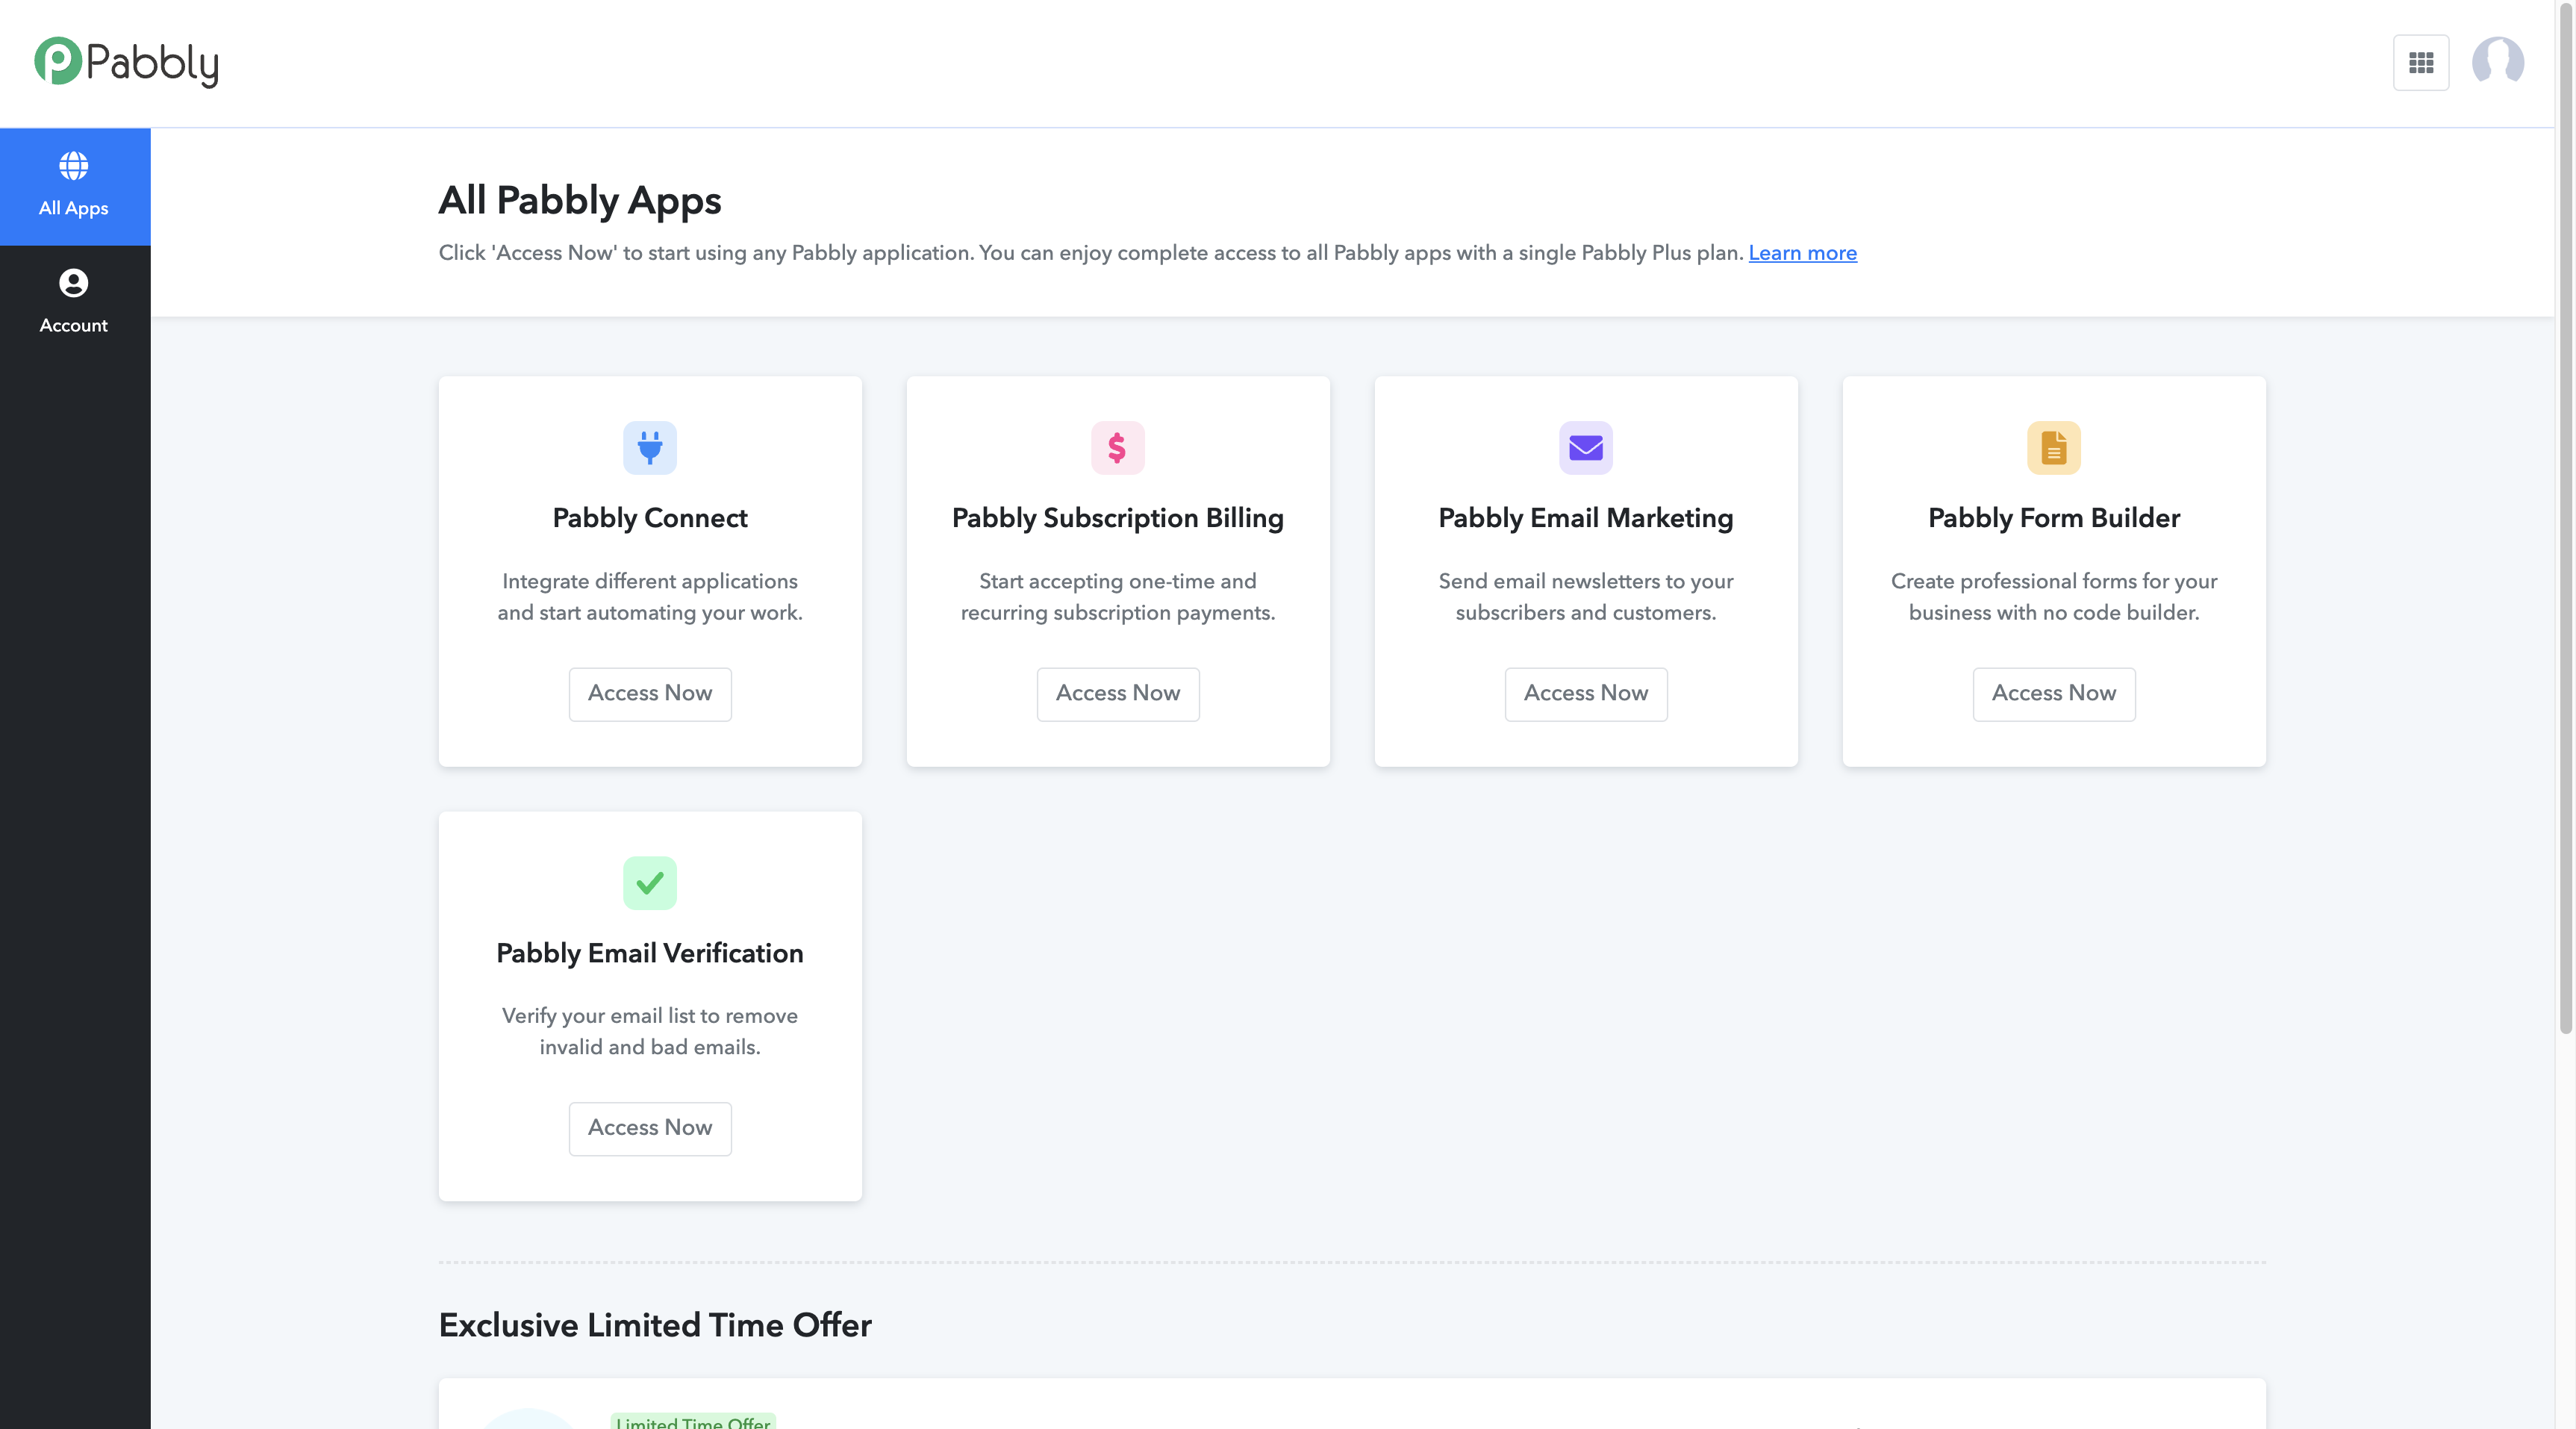
- An account Pabbly (you can sign up at Pabbly).
- Access to Google Sheets With the Pabbly integration plugin installed.

Step 2: Install the Pabbly Integration in Google Sheet.
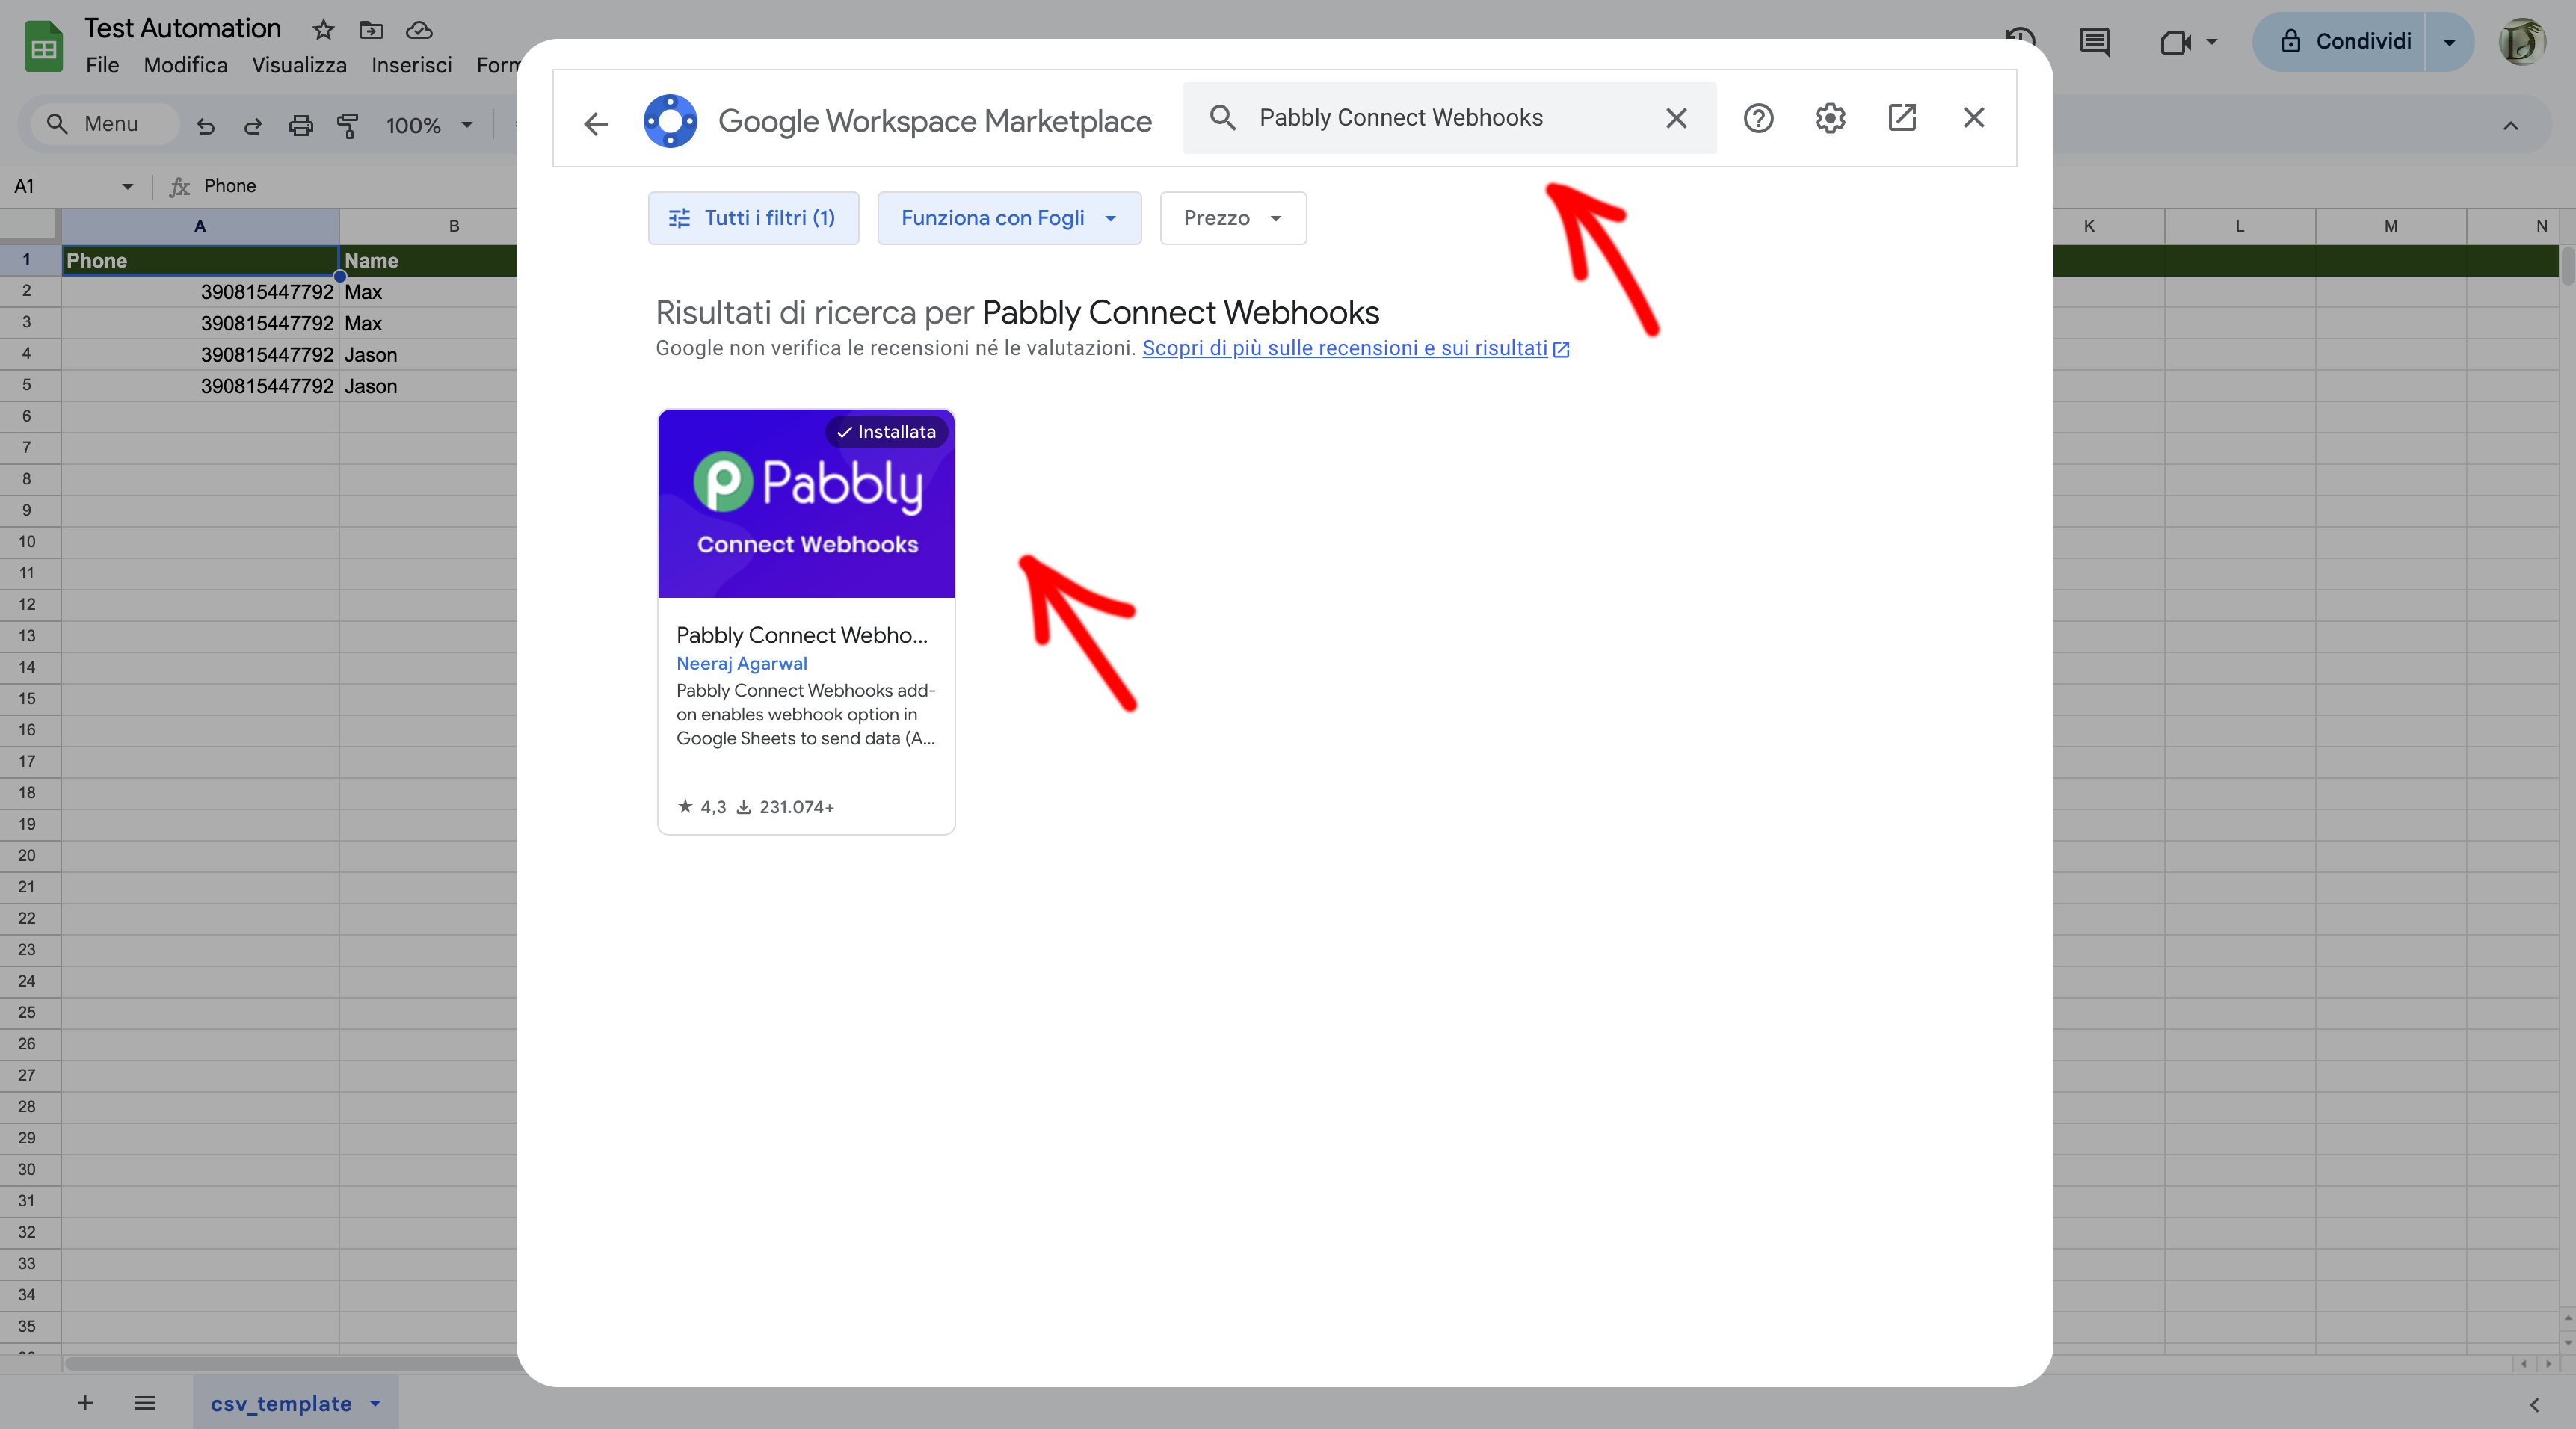
- Open Google Sheets and go to Extensions > Add Additional Components.
- Search for and install the add-on Pabbly Connect.
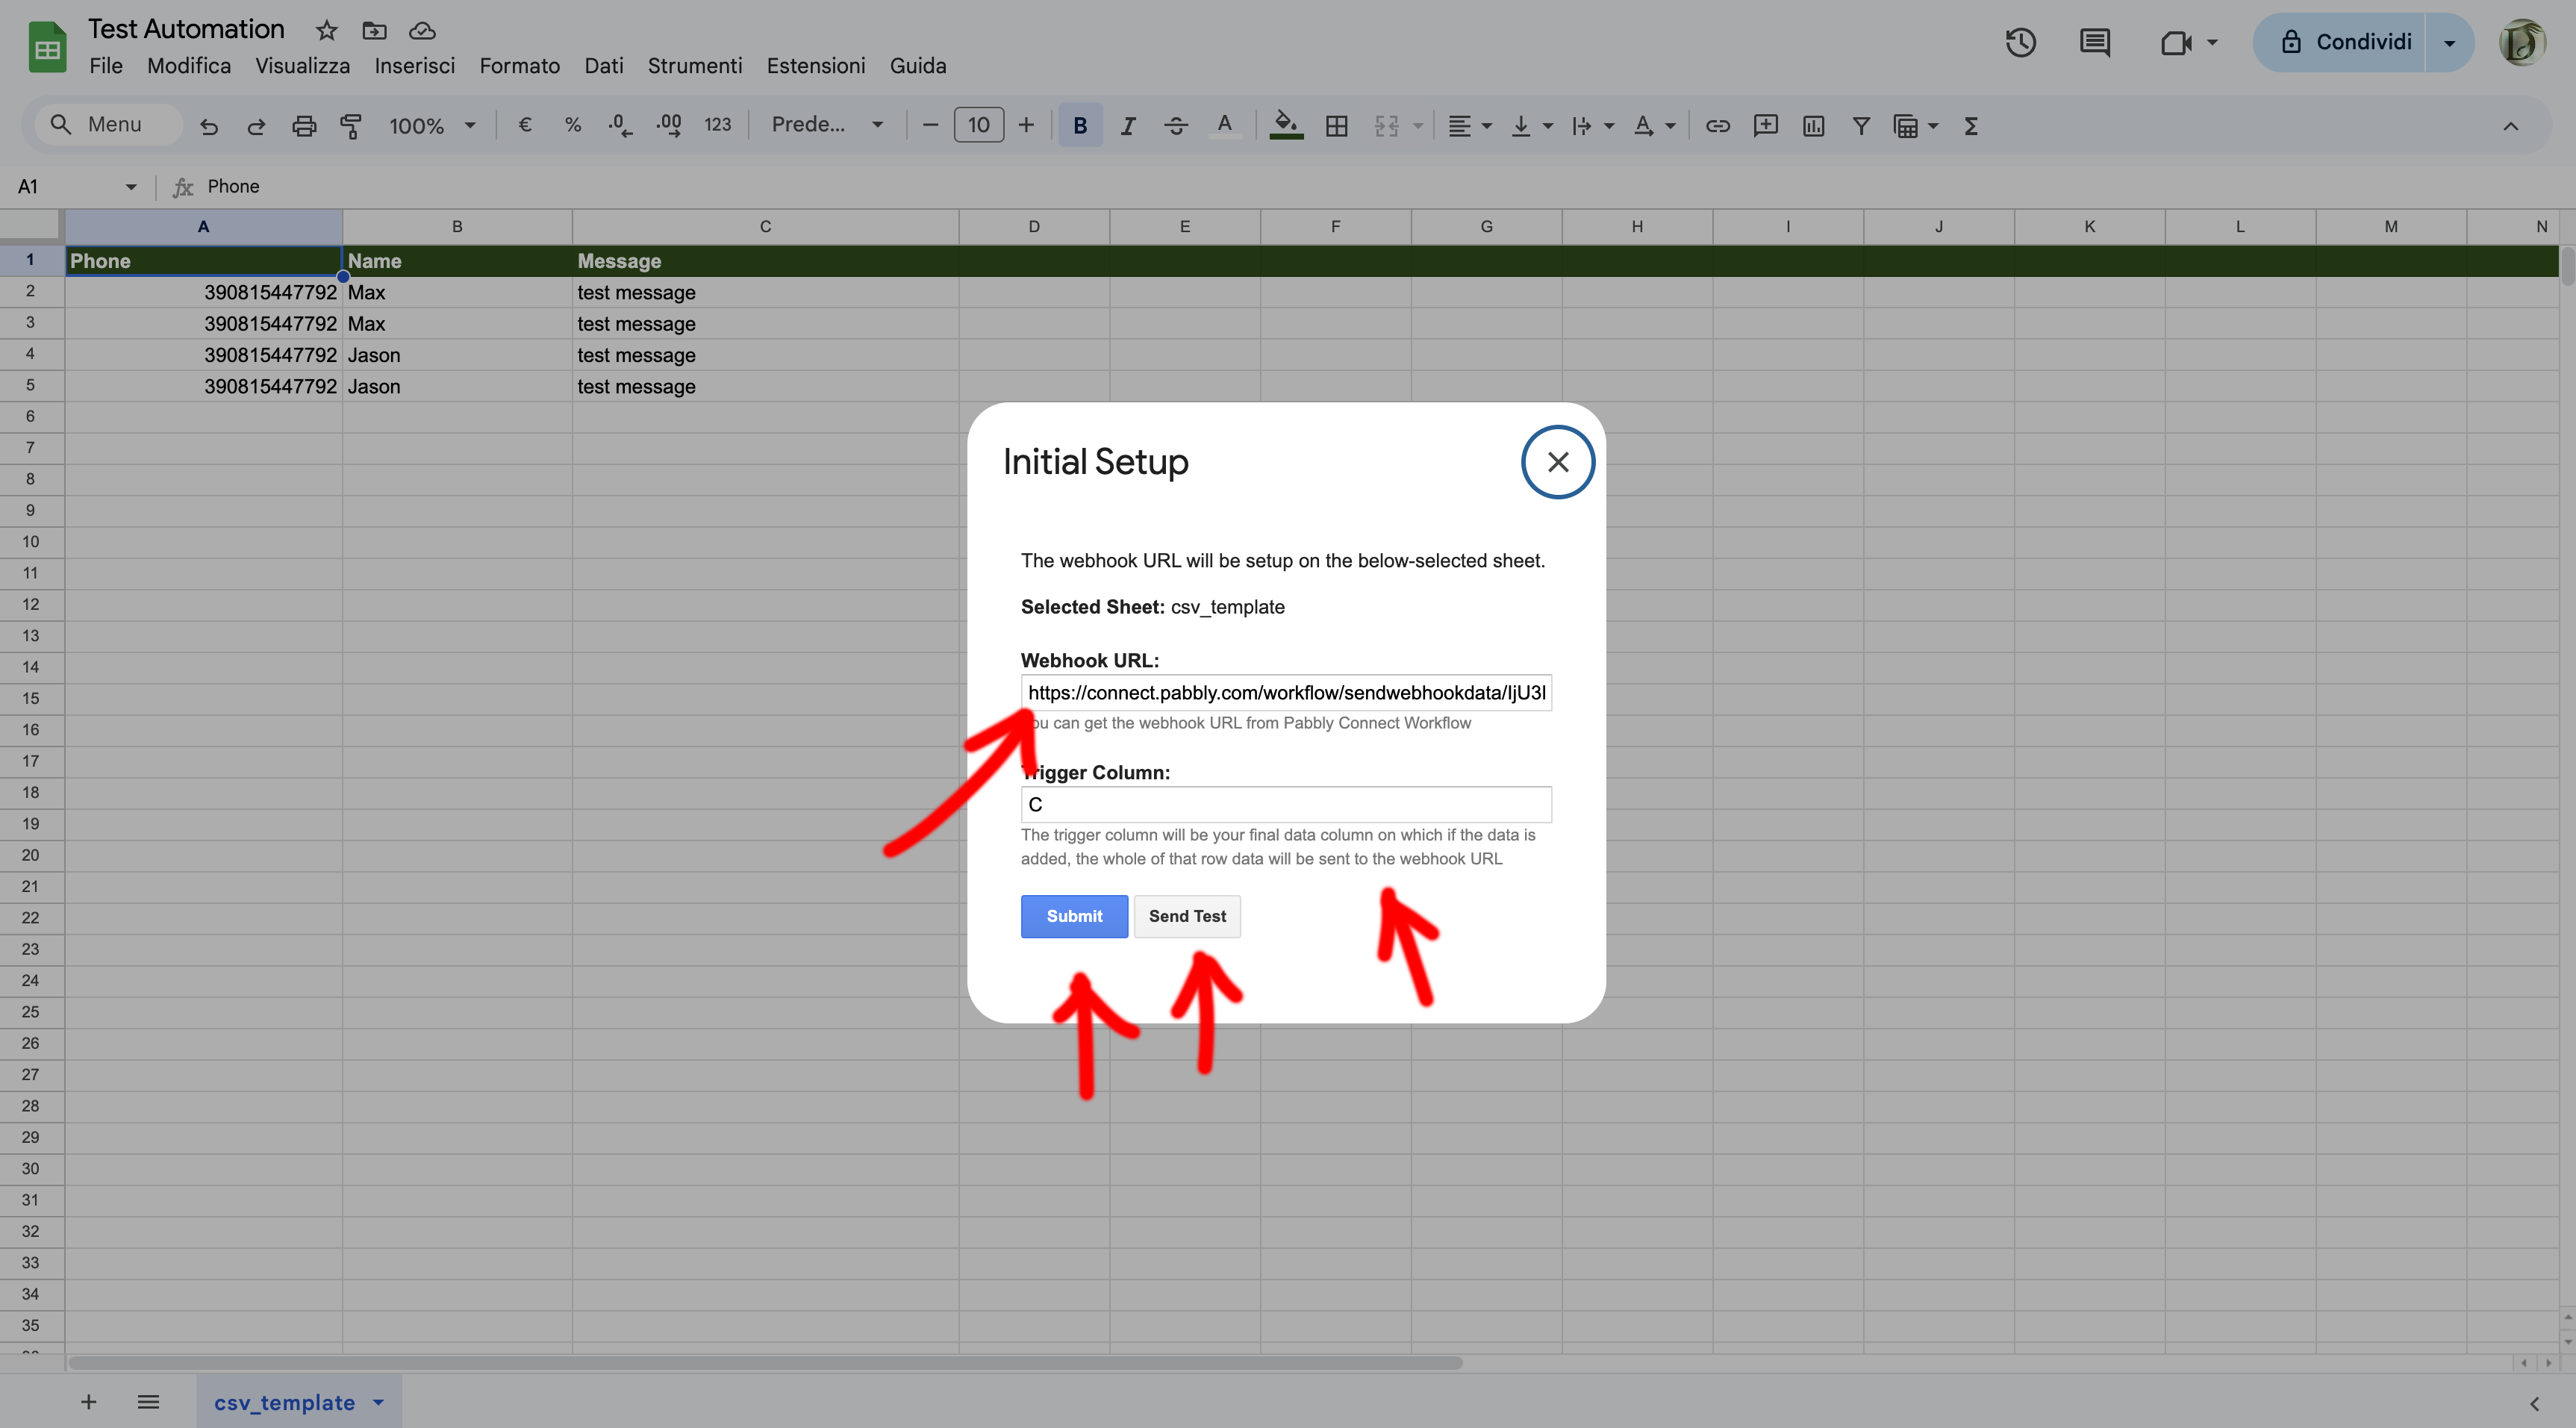
- Copy the Webhook that Pabbly will provide, and select the Trigger column

Step 3: Create a Pabbly Account and Configure Workflow
- Sign in or register for your account Pabbly on pabbly.com.
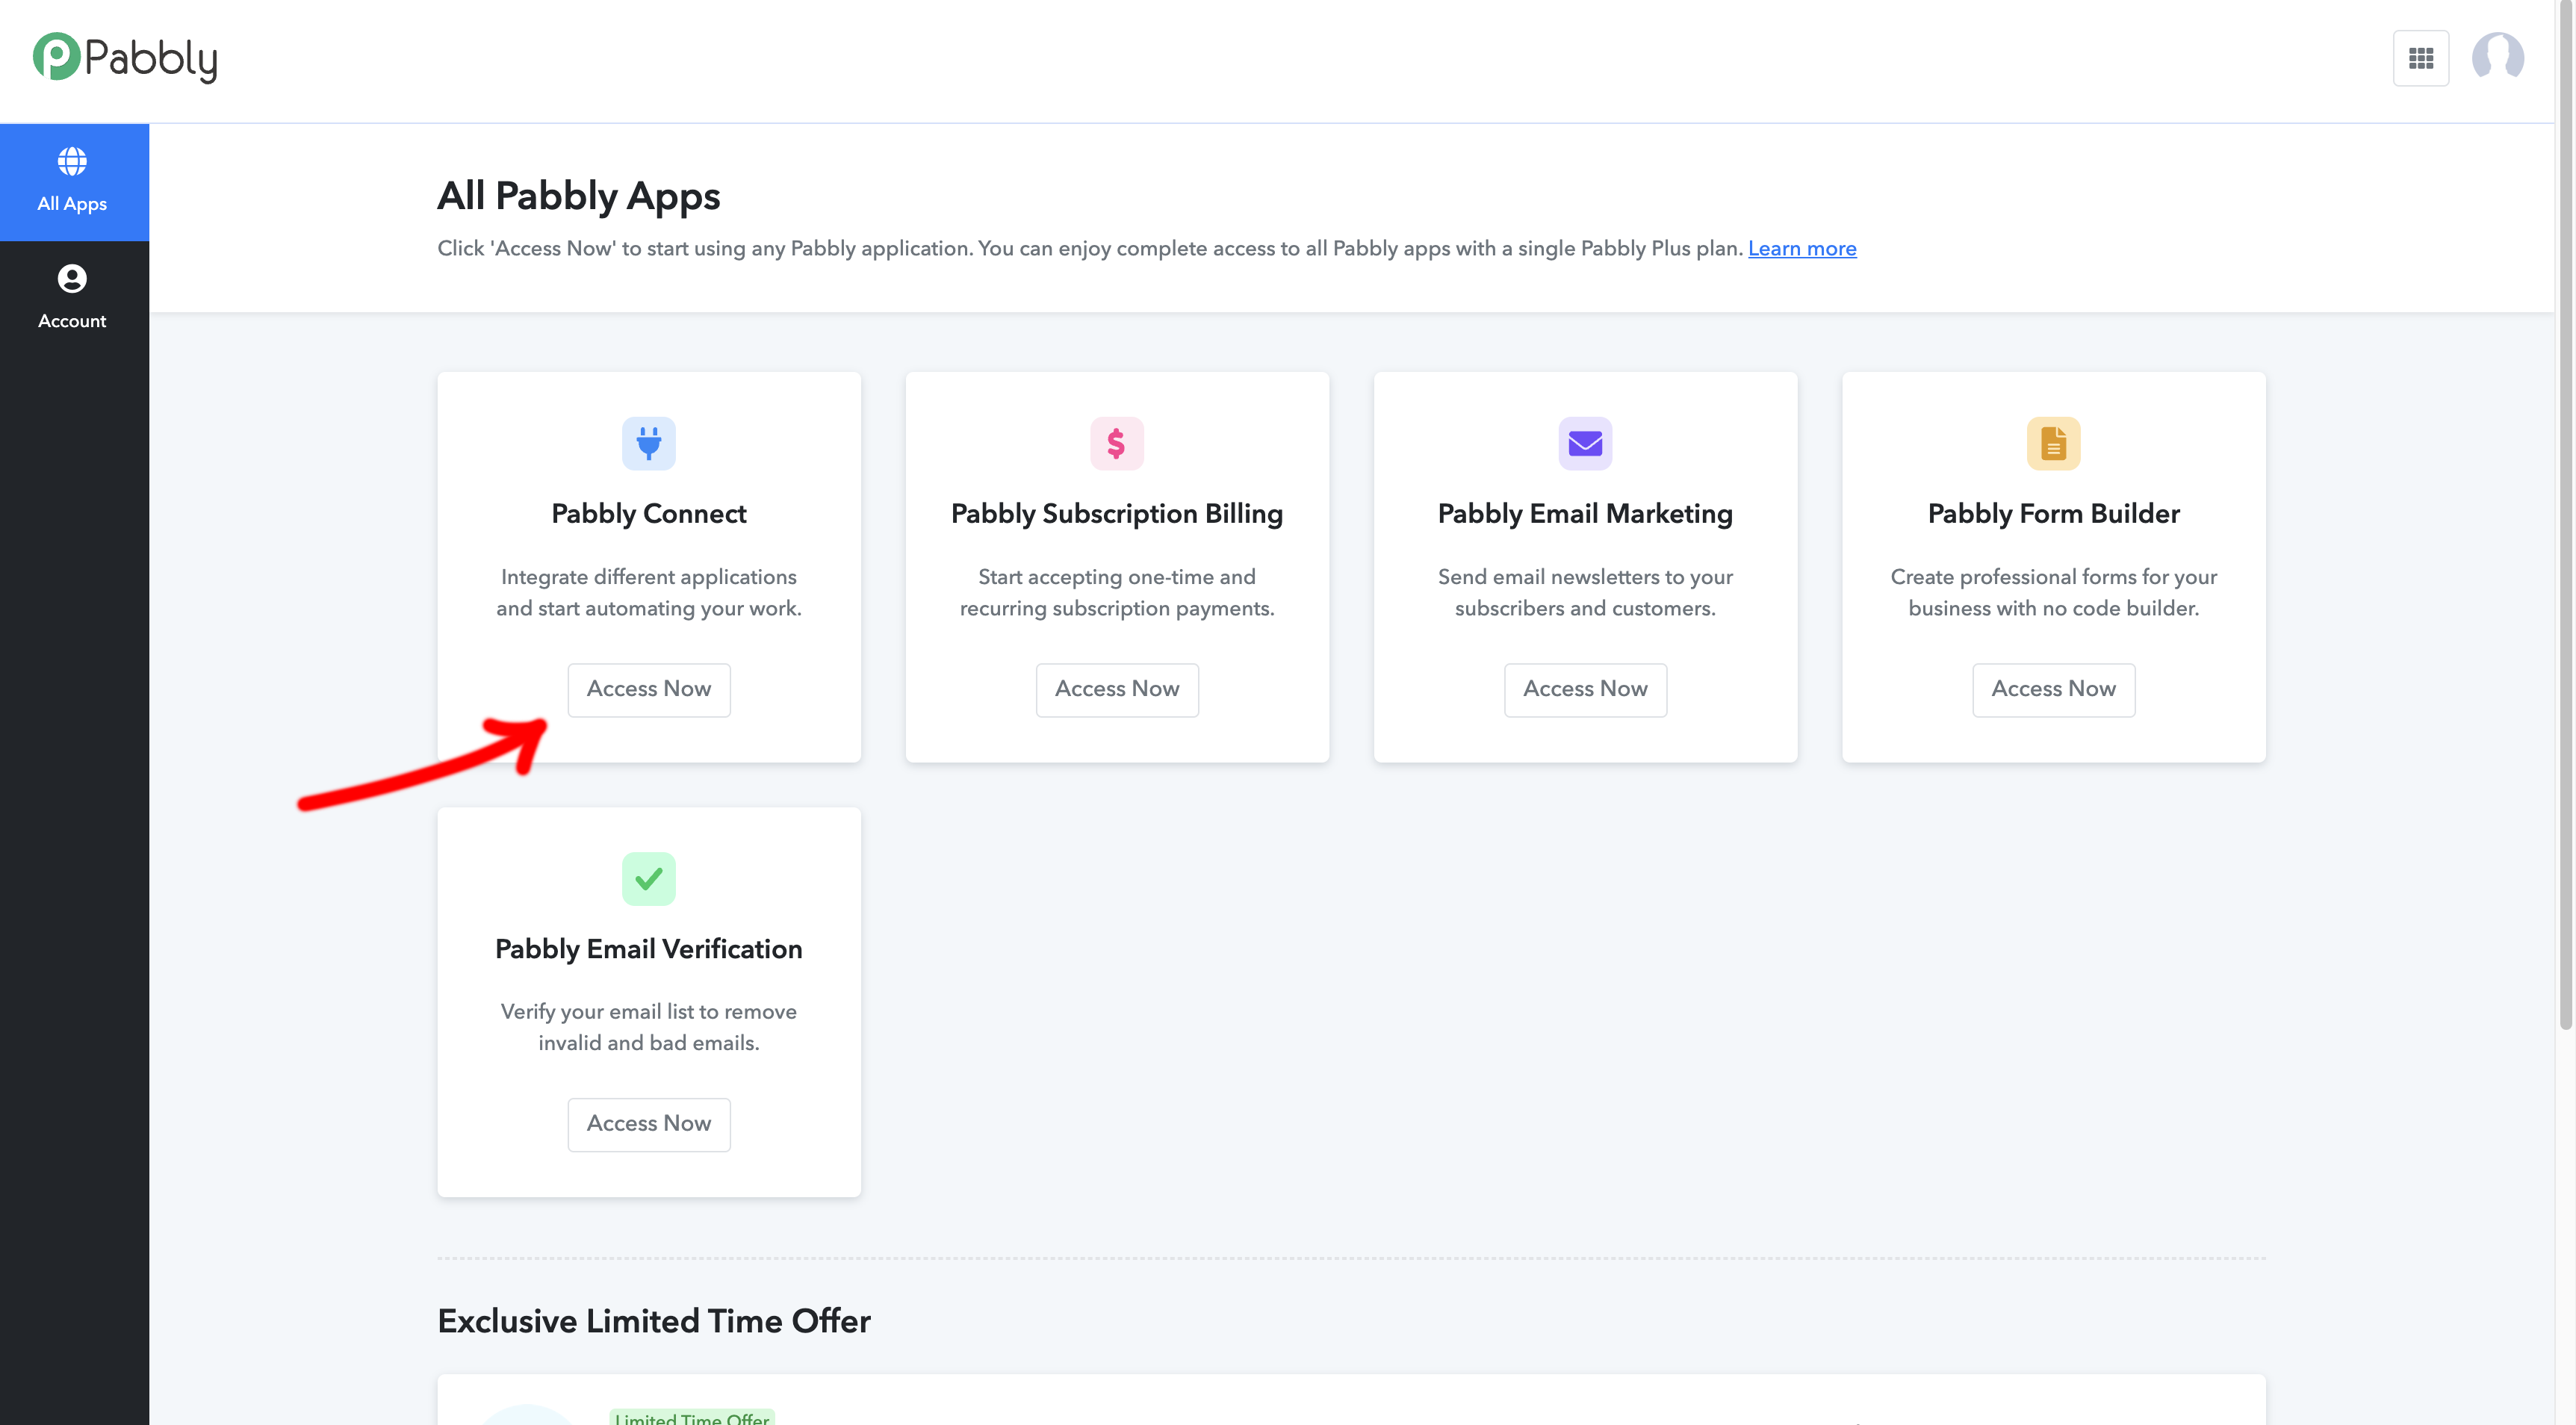
- Click on Create Workflow To create a new workflow.
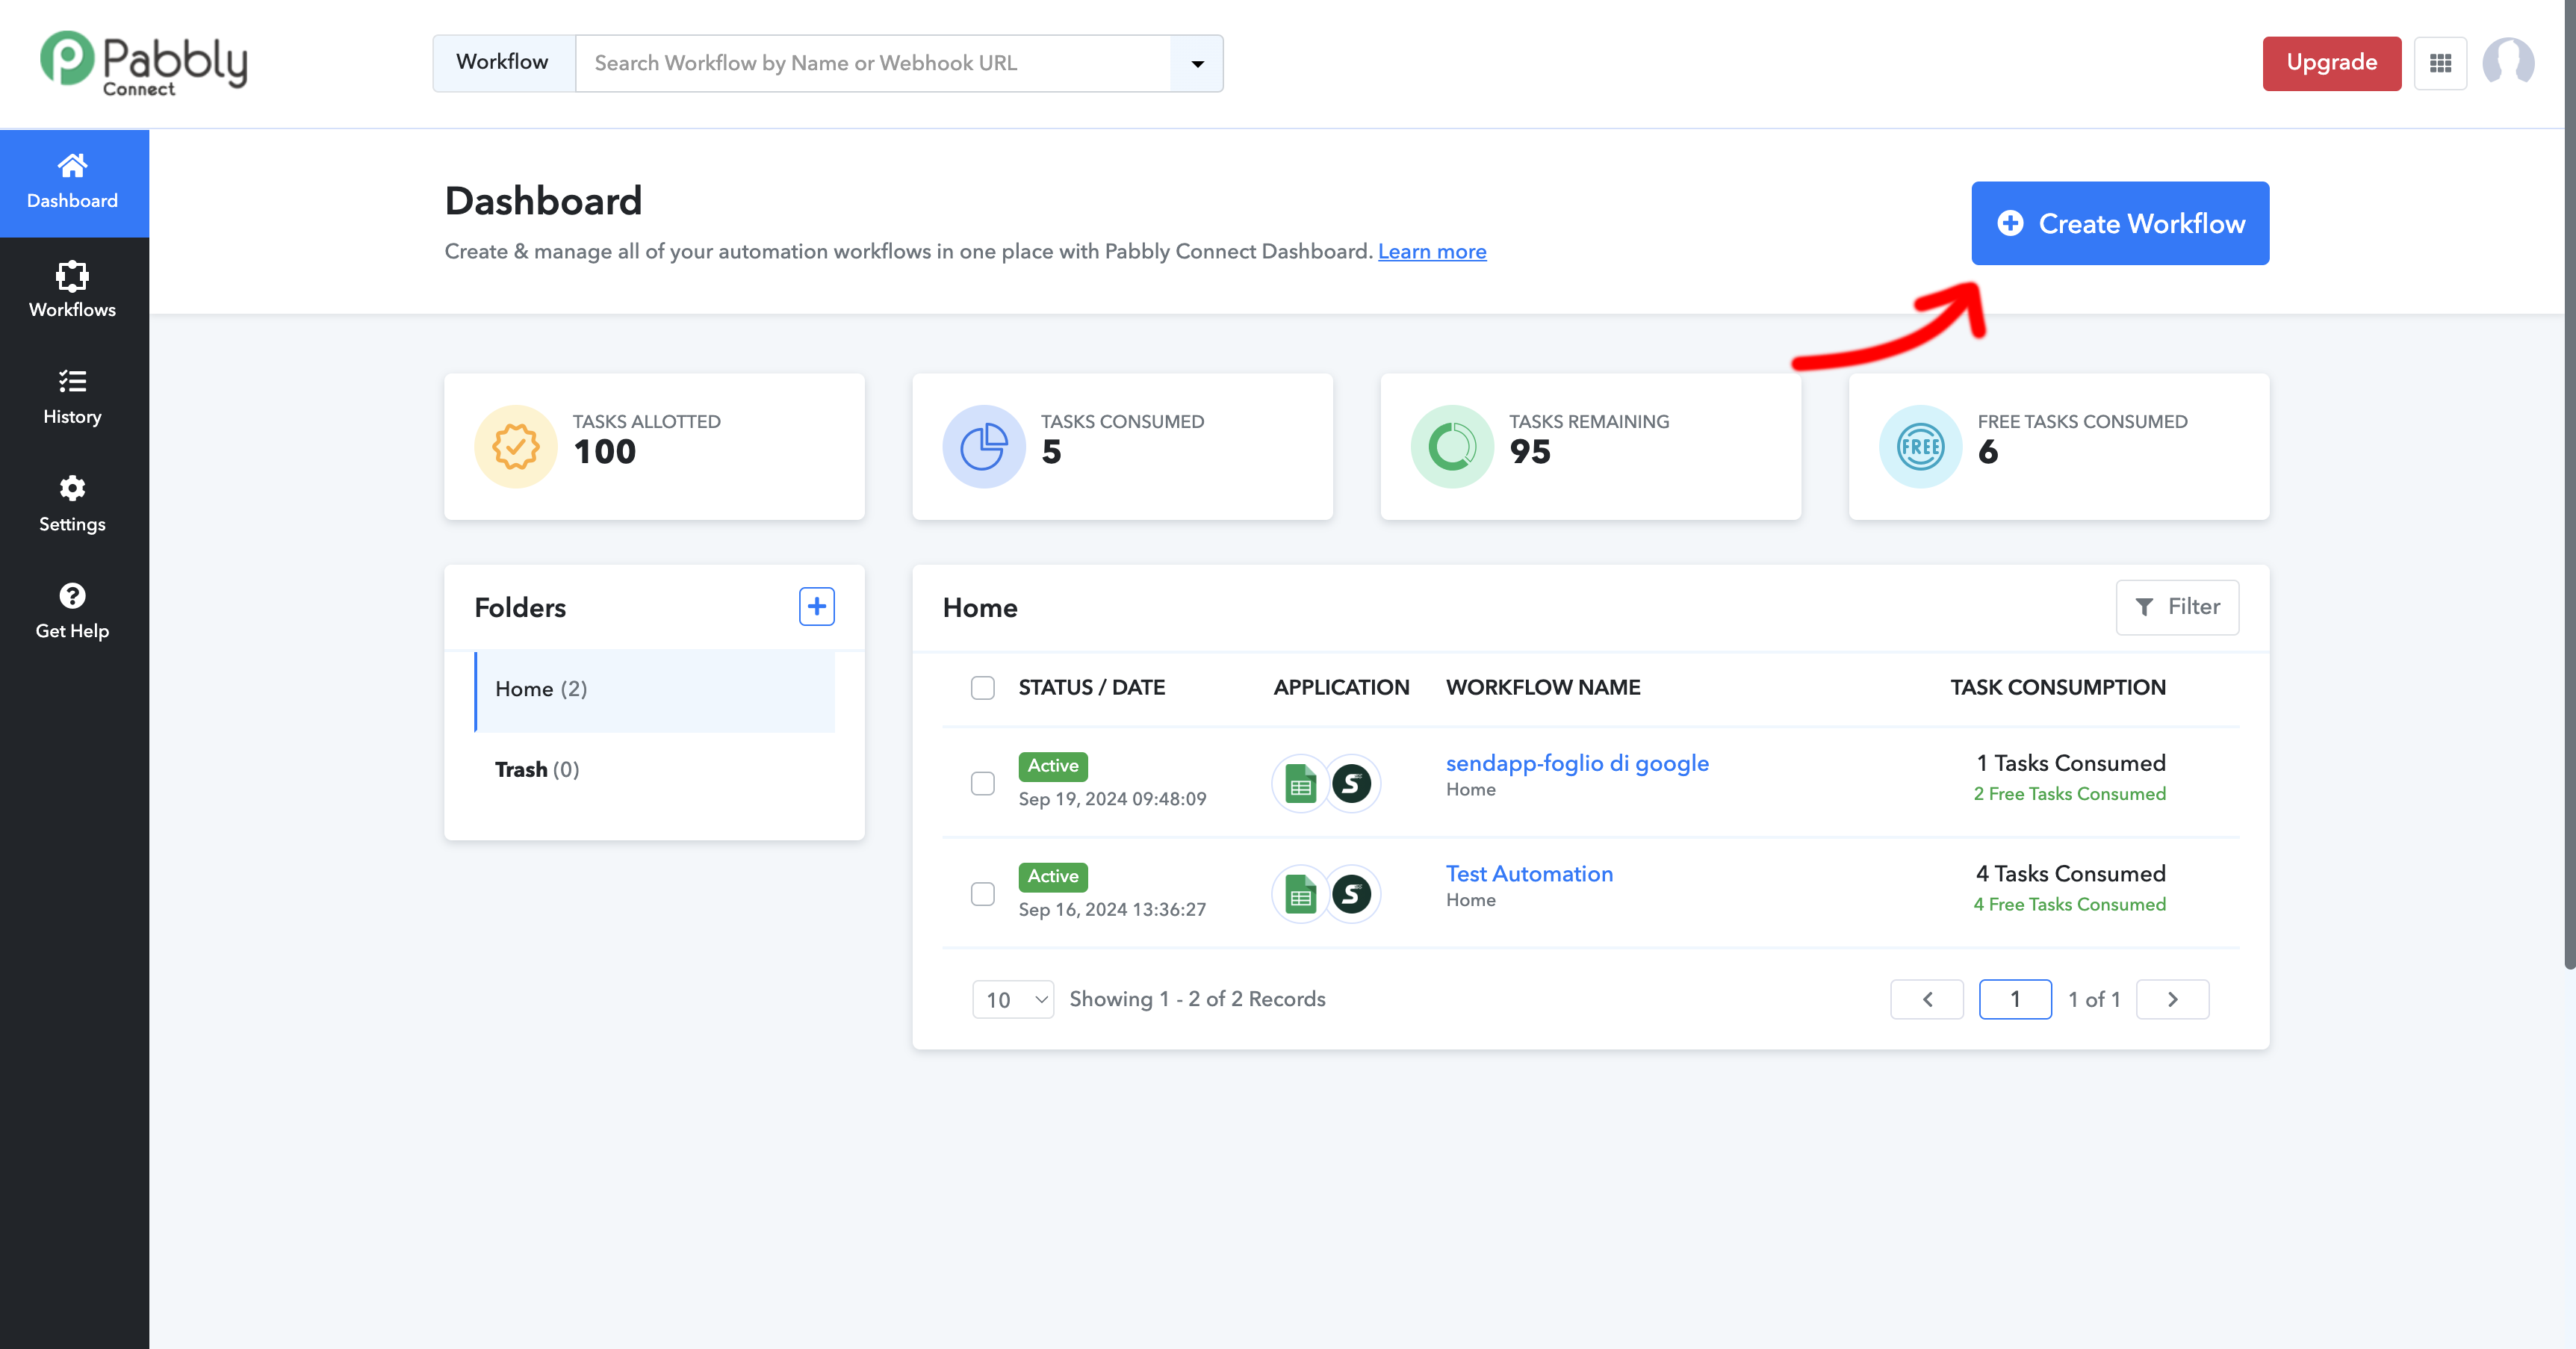
- Give your workflow a name, e.g. "Sendapp to Google Sheets Automation".
Step 4: Configure the Trigger in Pabbly
- In the Workflow you just created, select Google Sheets as Trigger App.
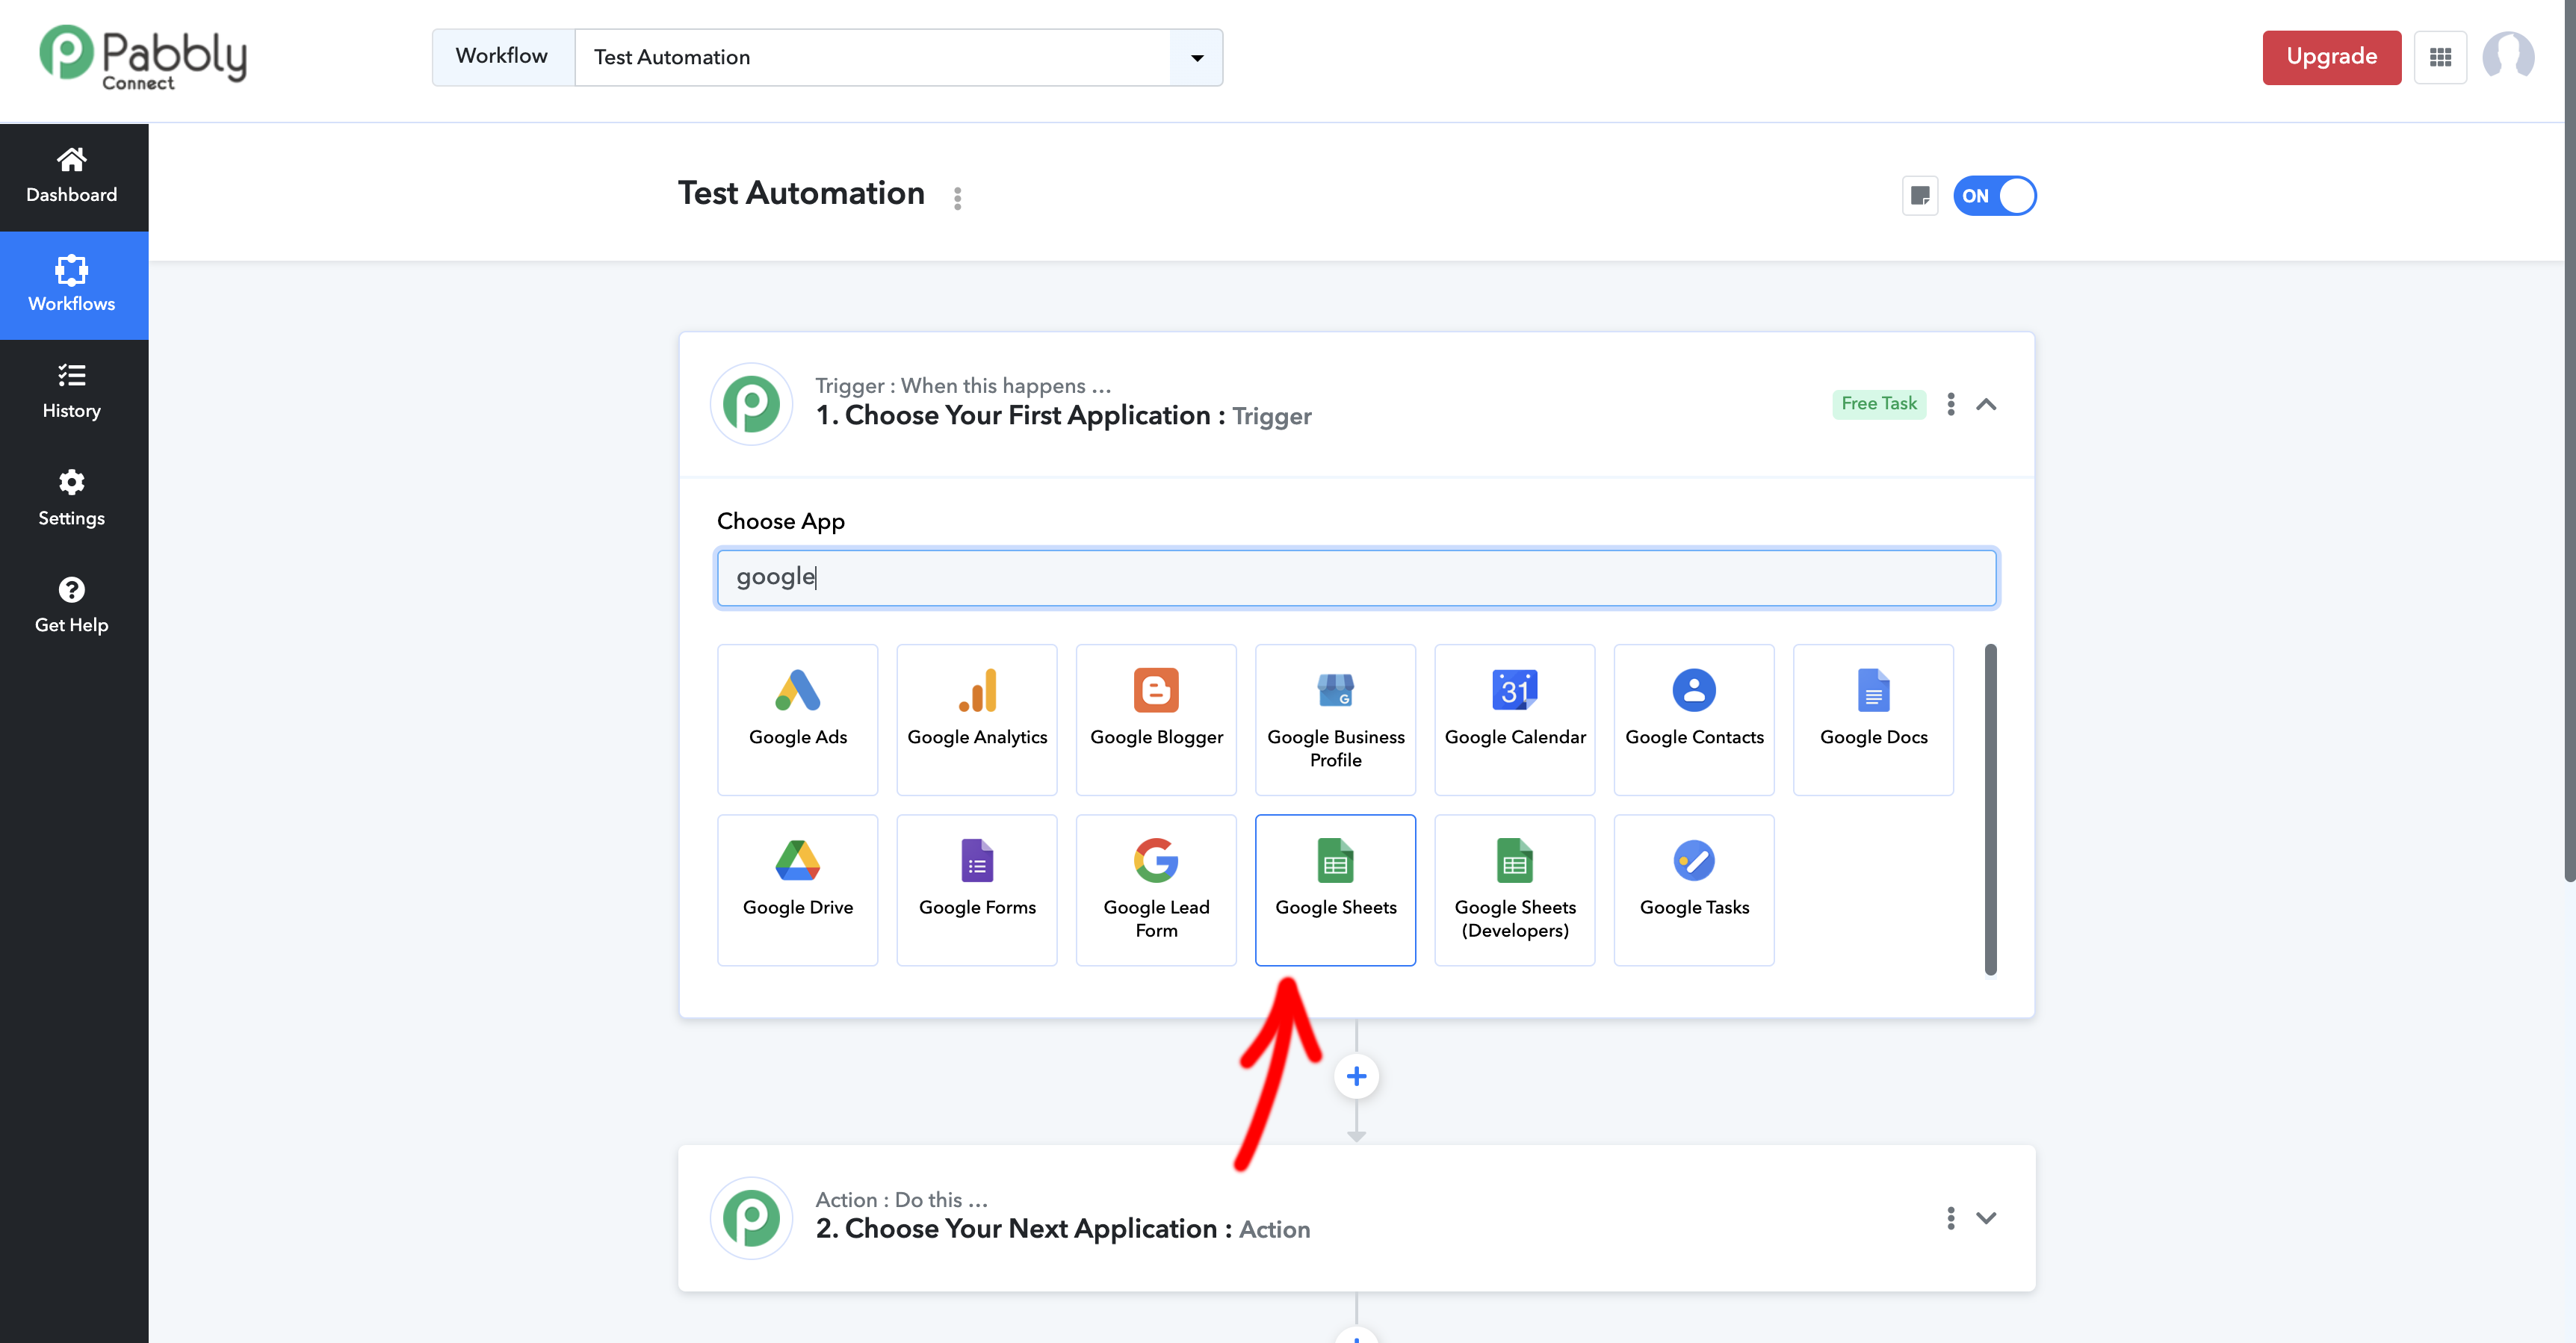
- Choose the trigger "New Spreadsheet Row", which will be triggered when a new row is added to your Google sheet.
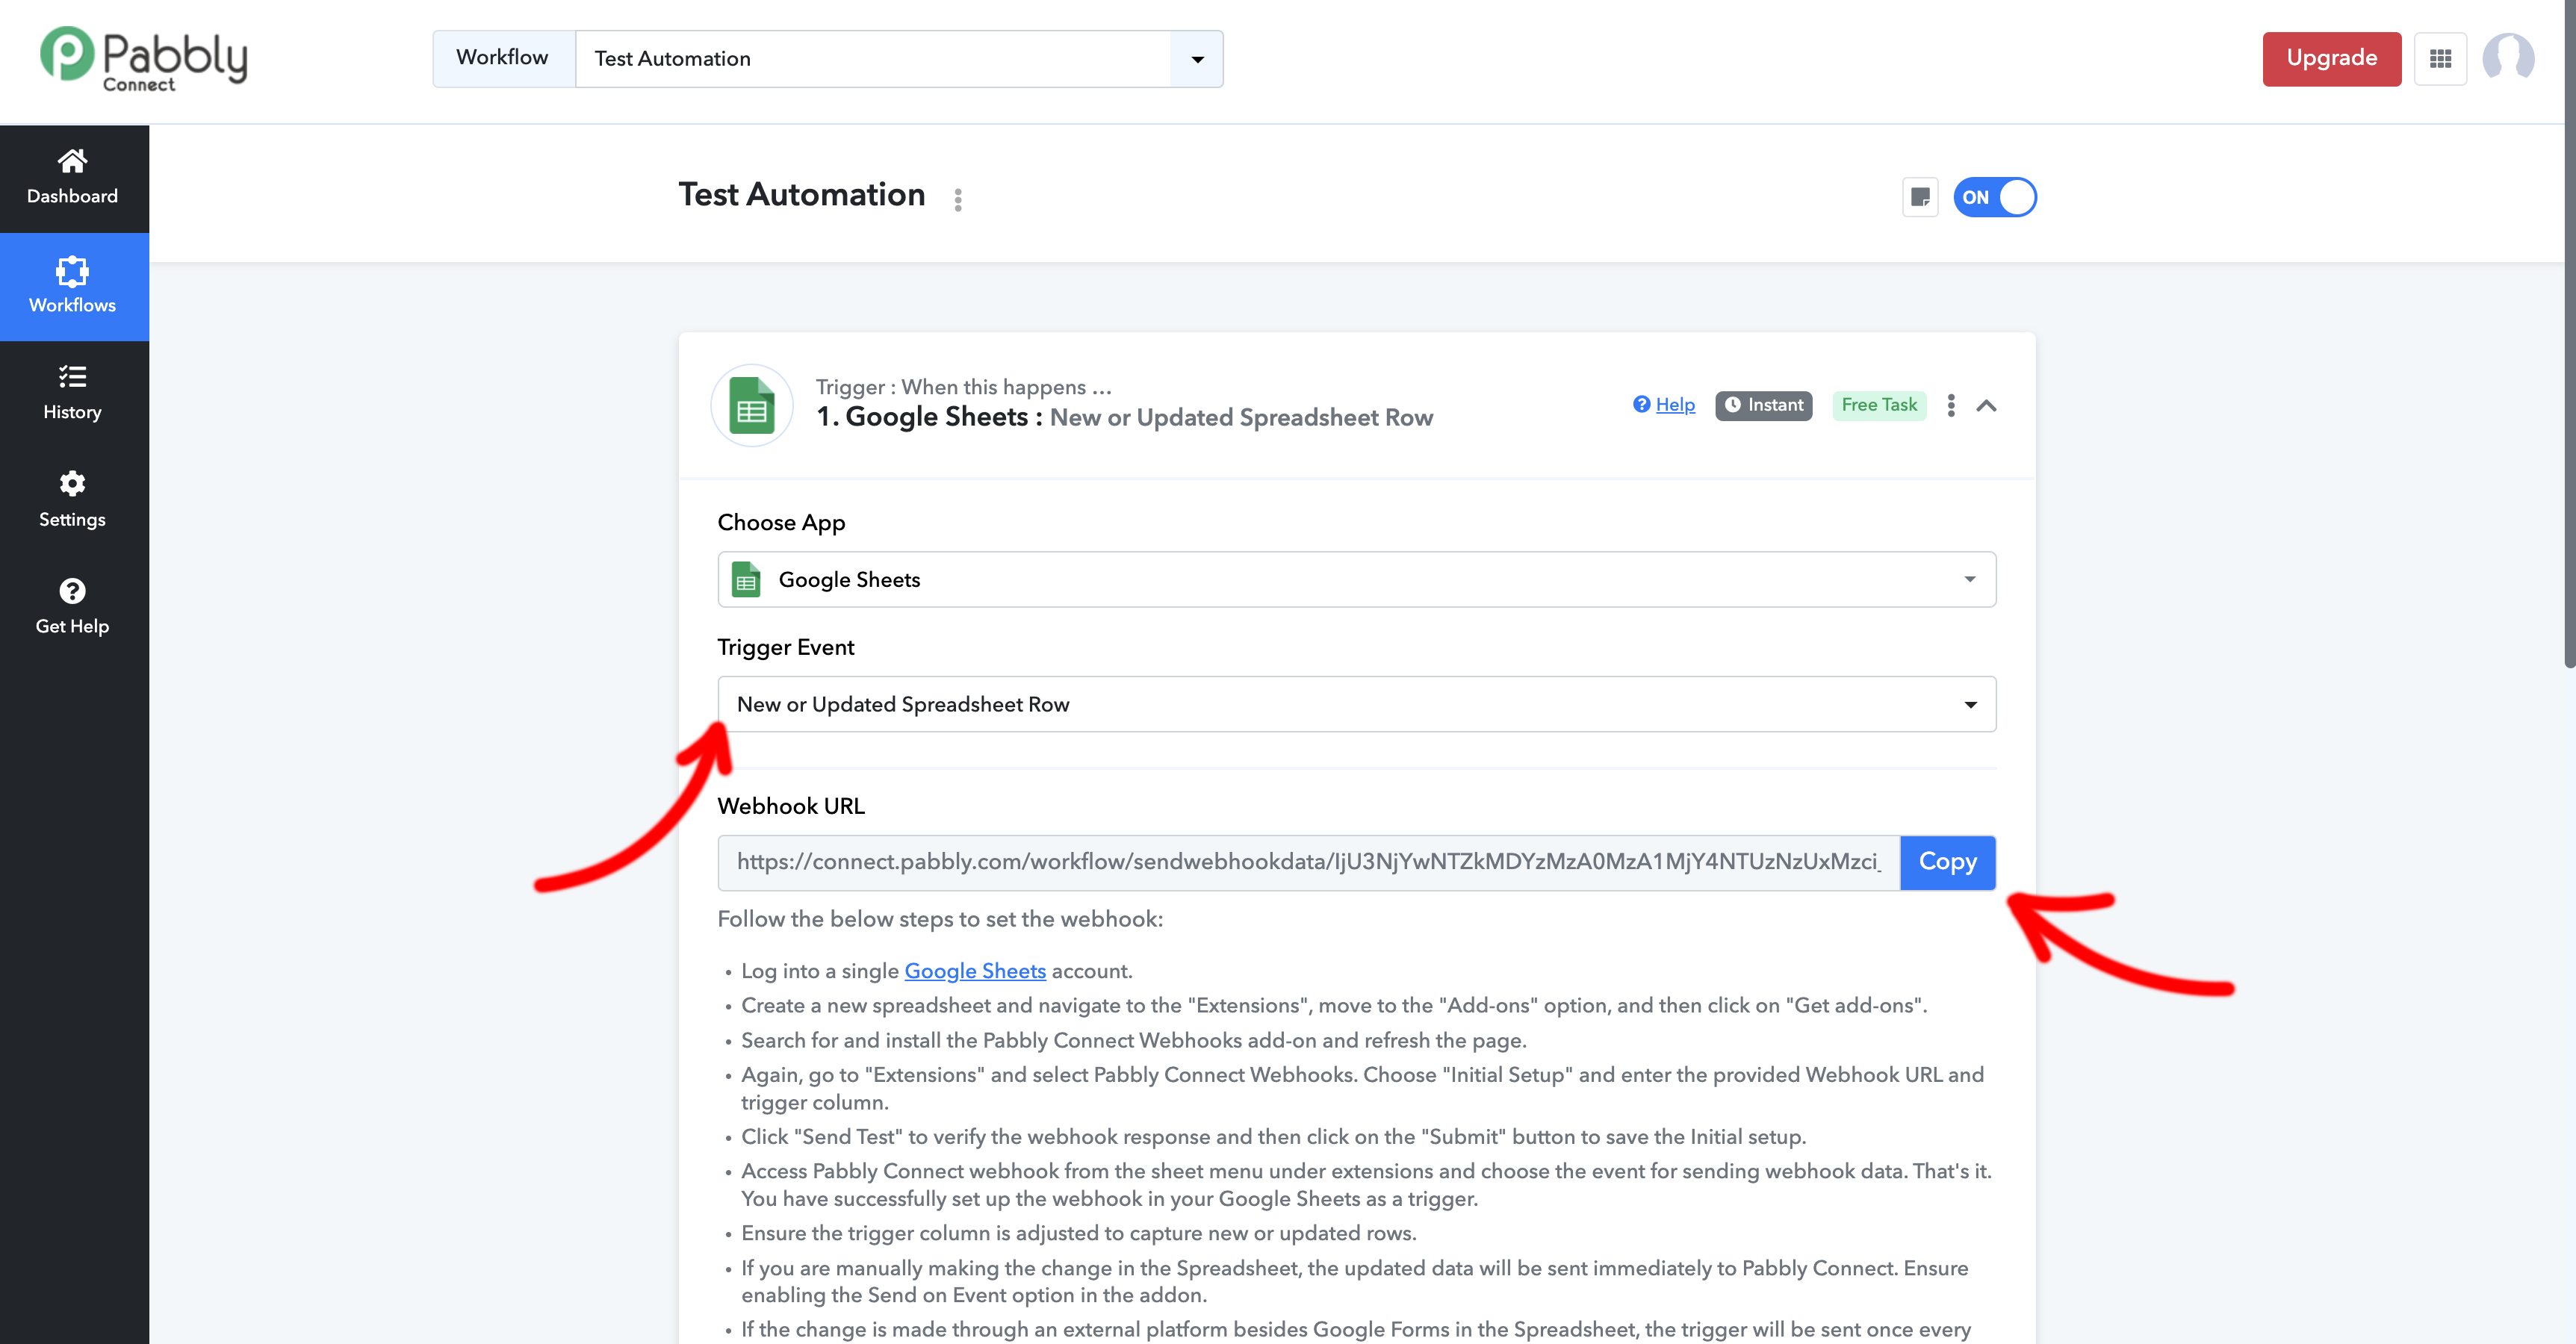
- Pabbly will provide you with a Webhook URL. Copy this URL into the extension you downloaded in the Google sheet
Step 5: Add the Webhook to the Google Sheet
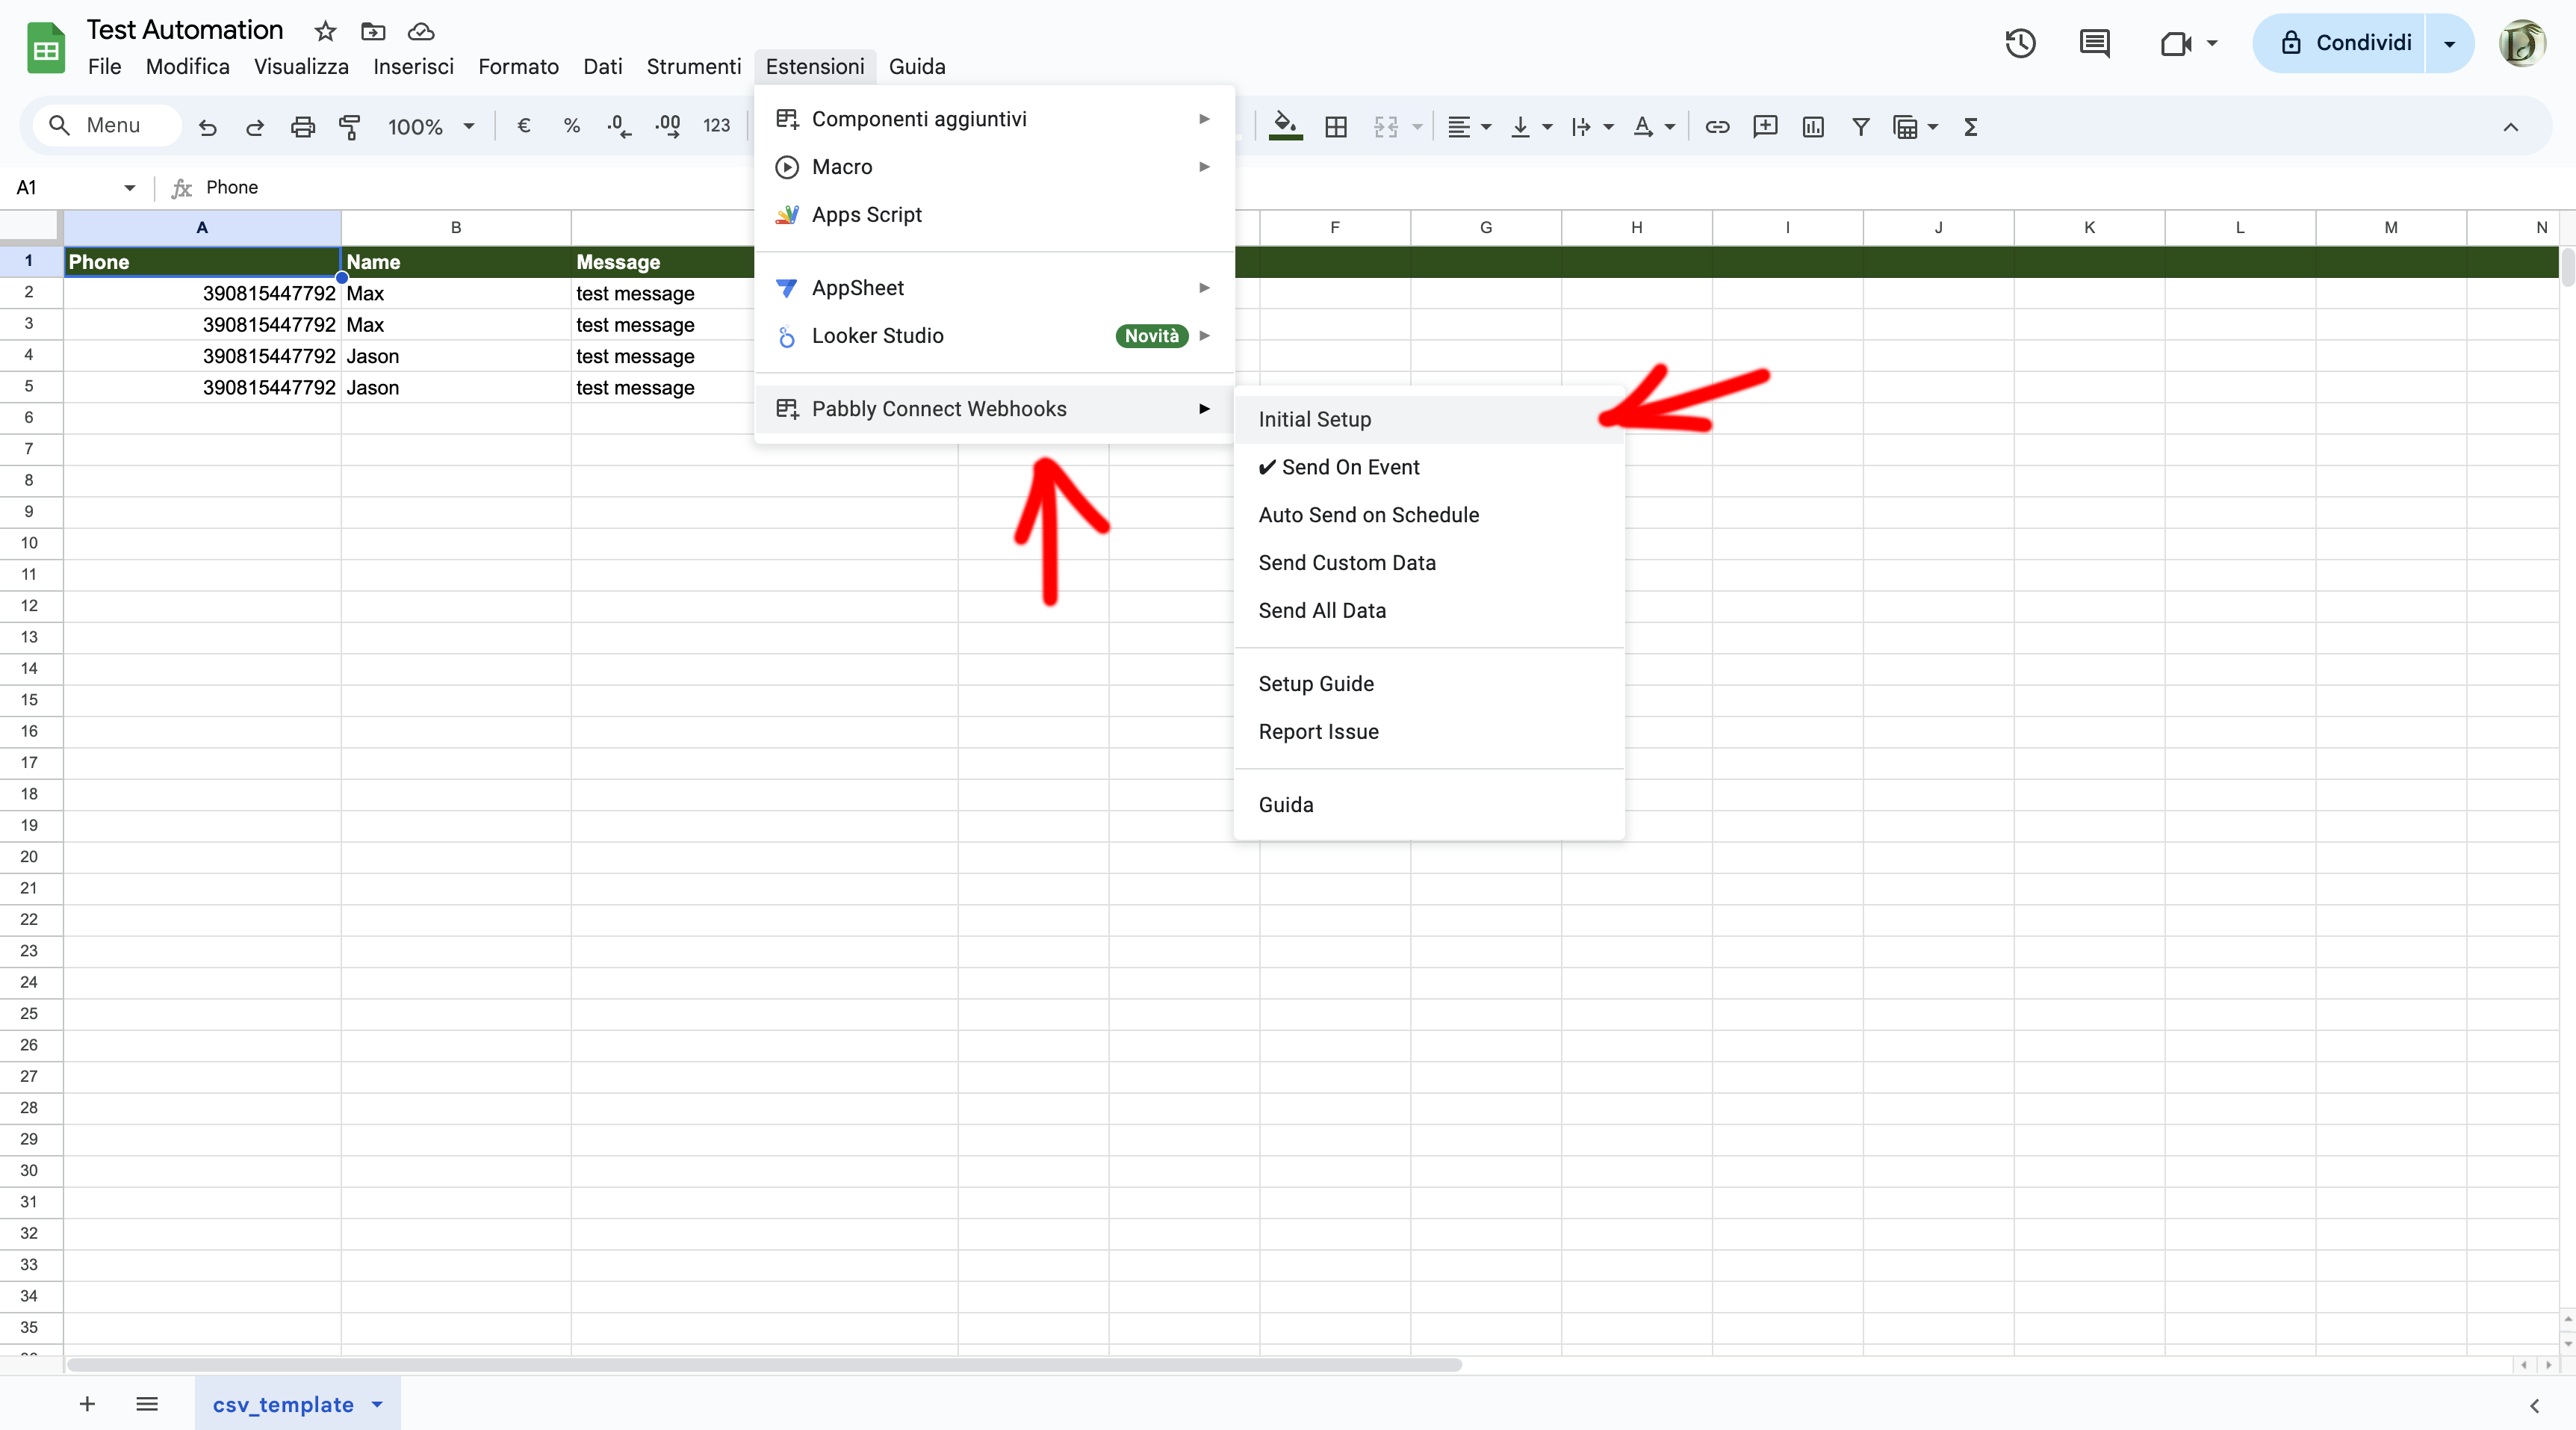
- Back to top Google Sheets, go to Extensions > Pabbly Connect.
- Paste the Webhook URL provided by Pabbly in the Google sheet configuration.
- Save and close the configuration. Each new row entered in the sheet will send data to the Pabbly webhook.
Step 6: Perform the Submission Test
- Add a new row in the Google sheet with the data to be sent via Sendapp (e.g., phone number, message, etc.).
- Go to Pabbly and click on Webhook test to make sure the data is received correctly.
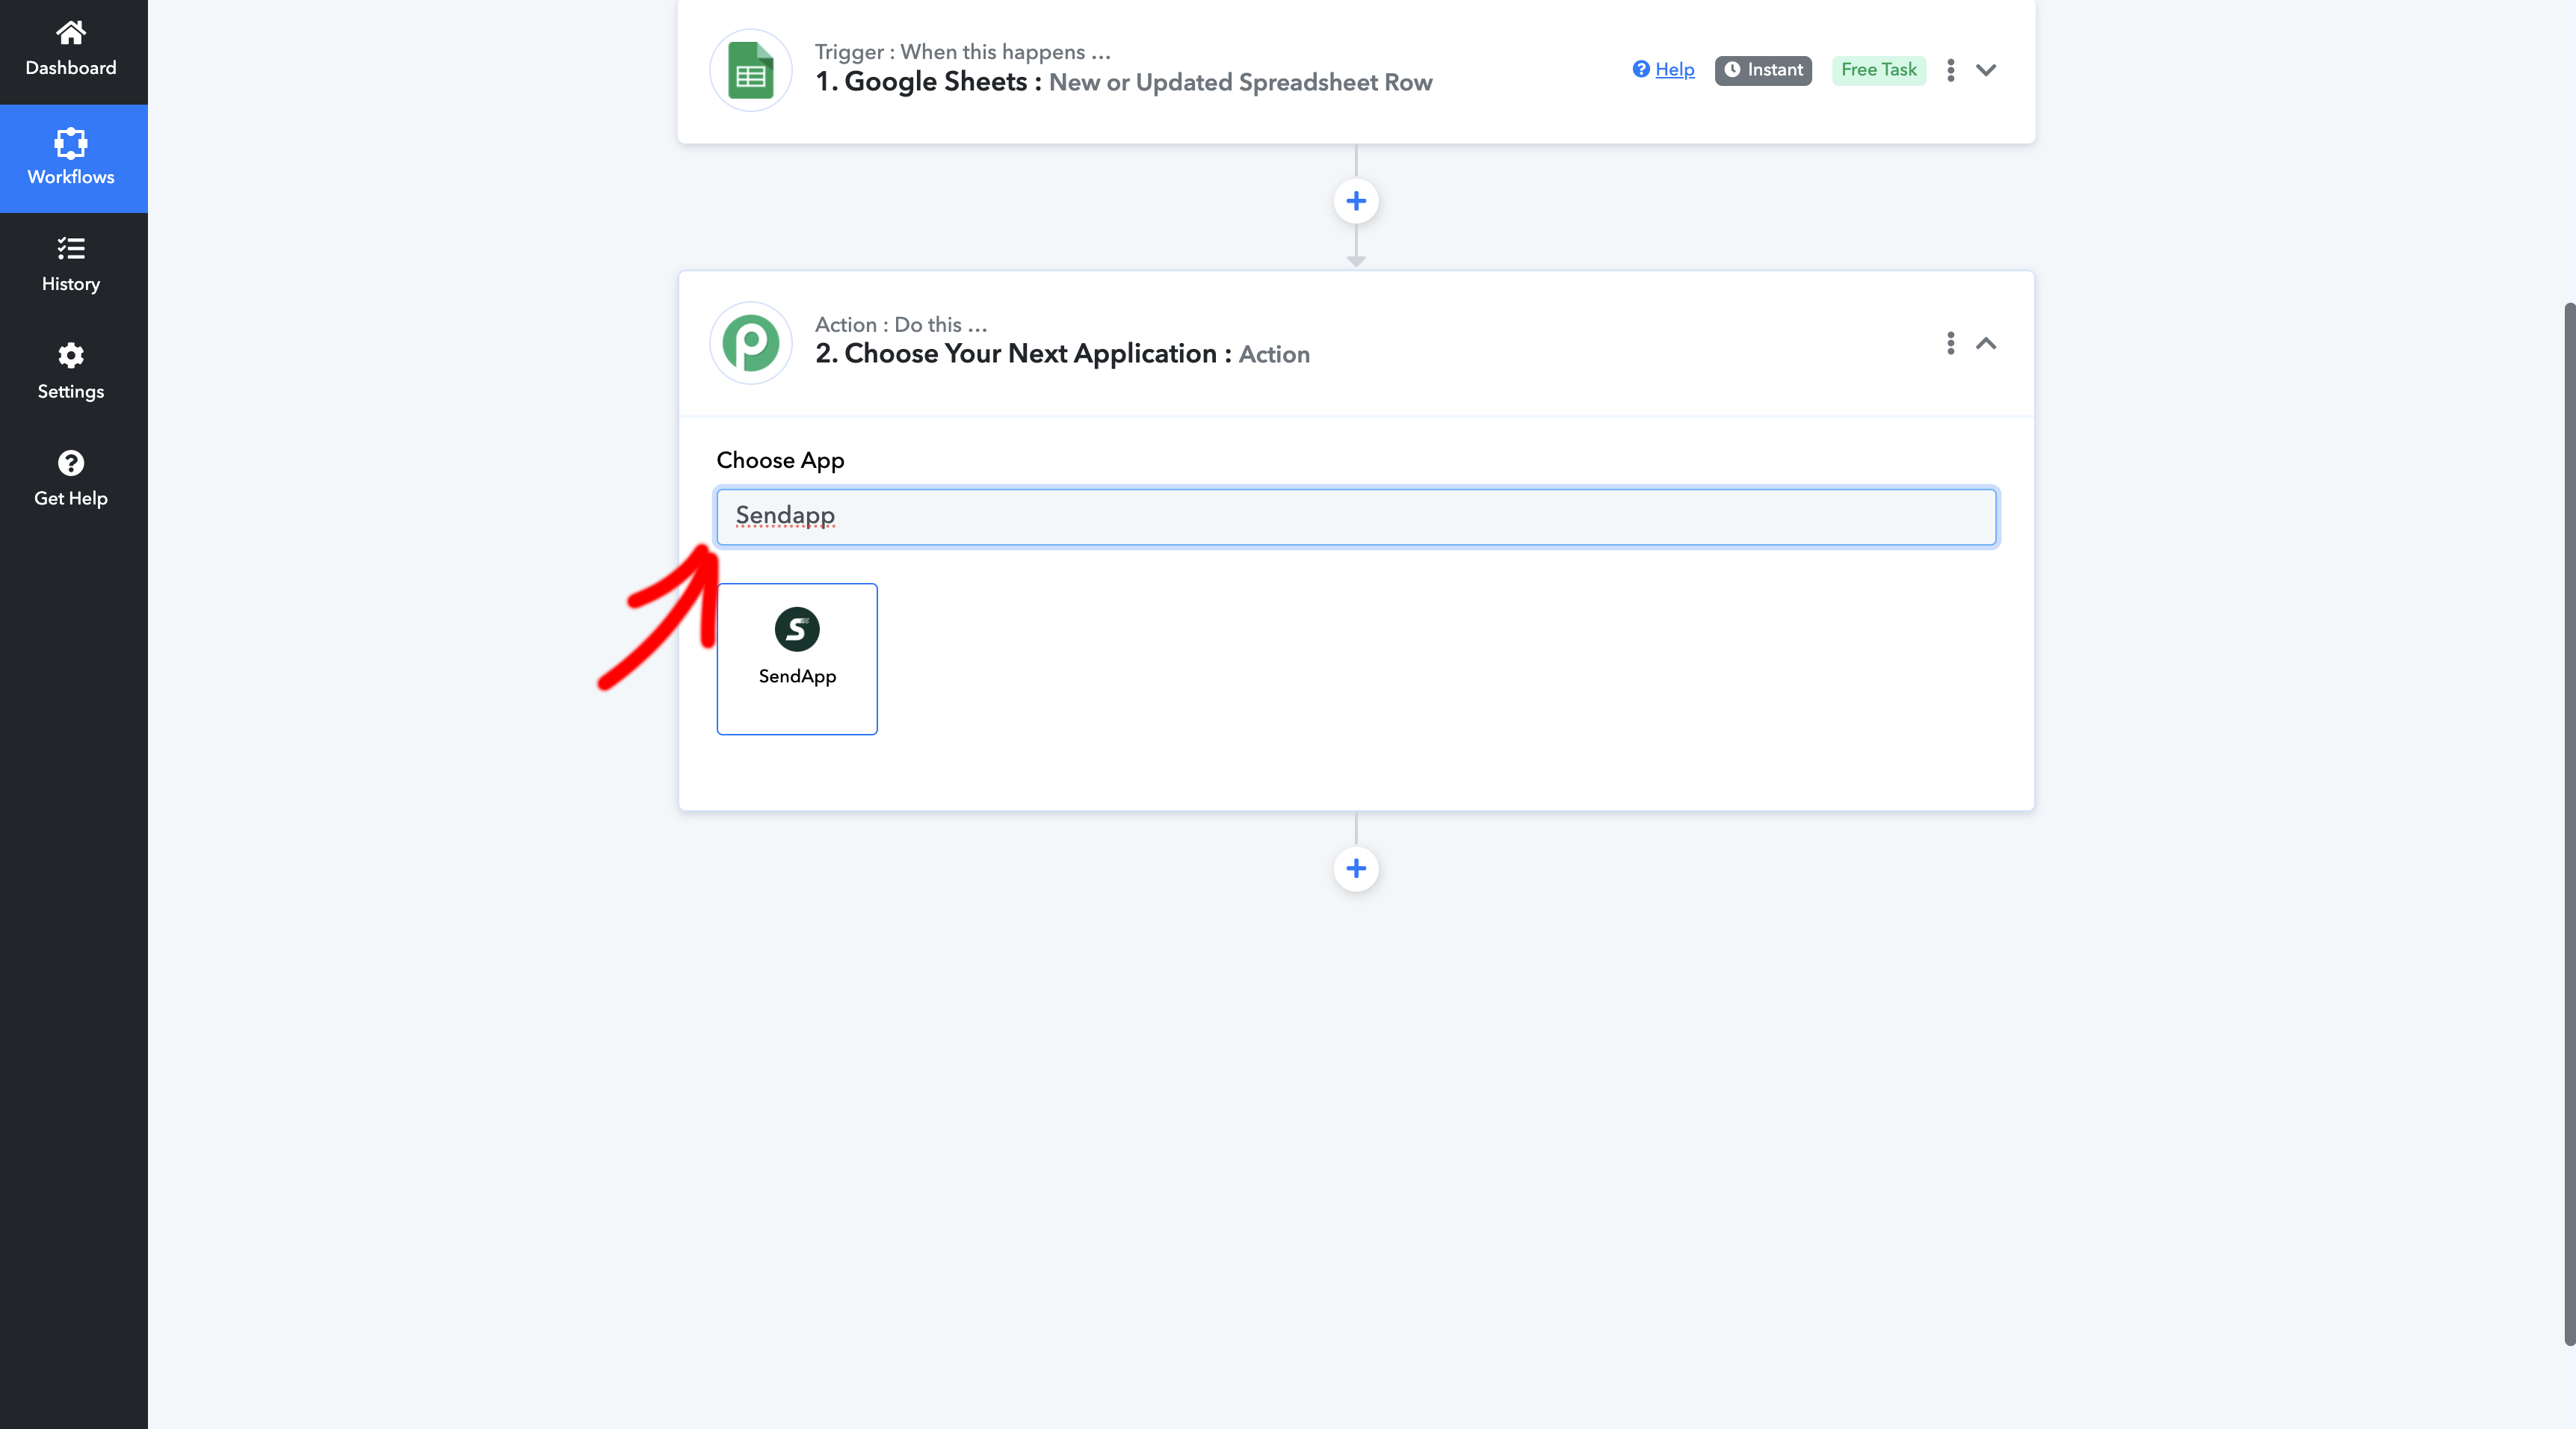
Step 7: Add Sendapp as an Action in the Workflow.
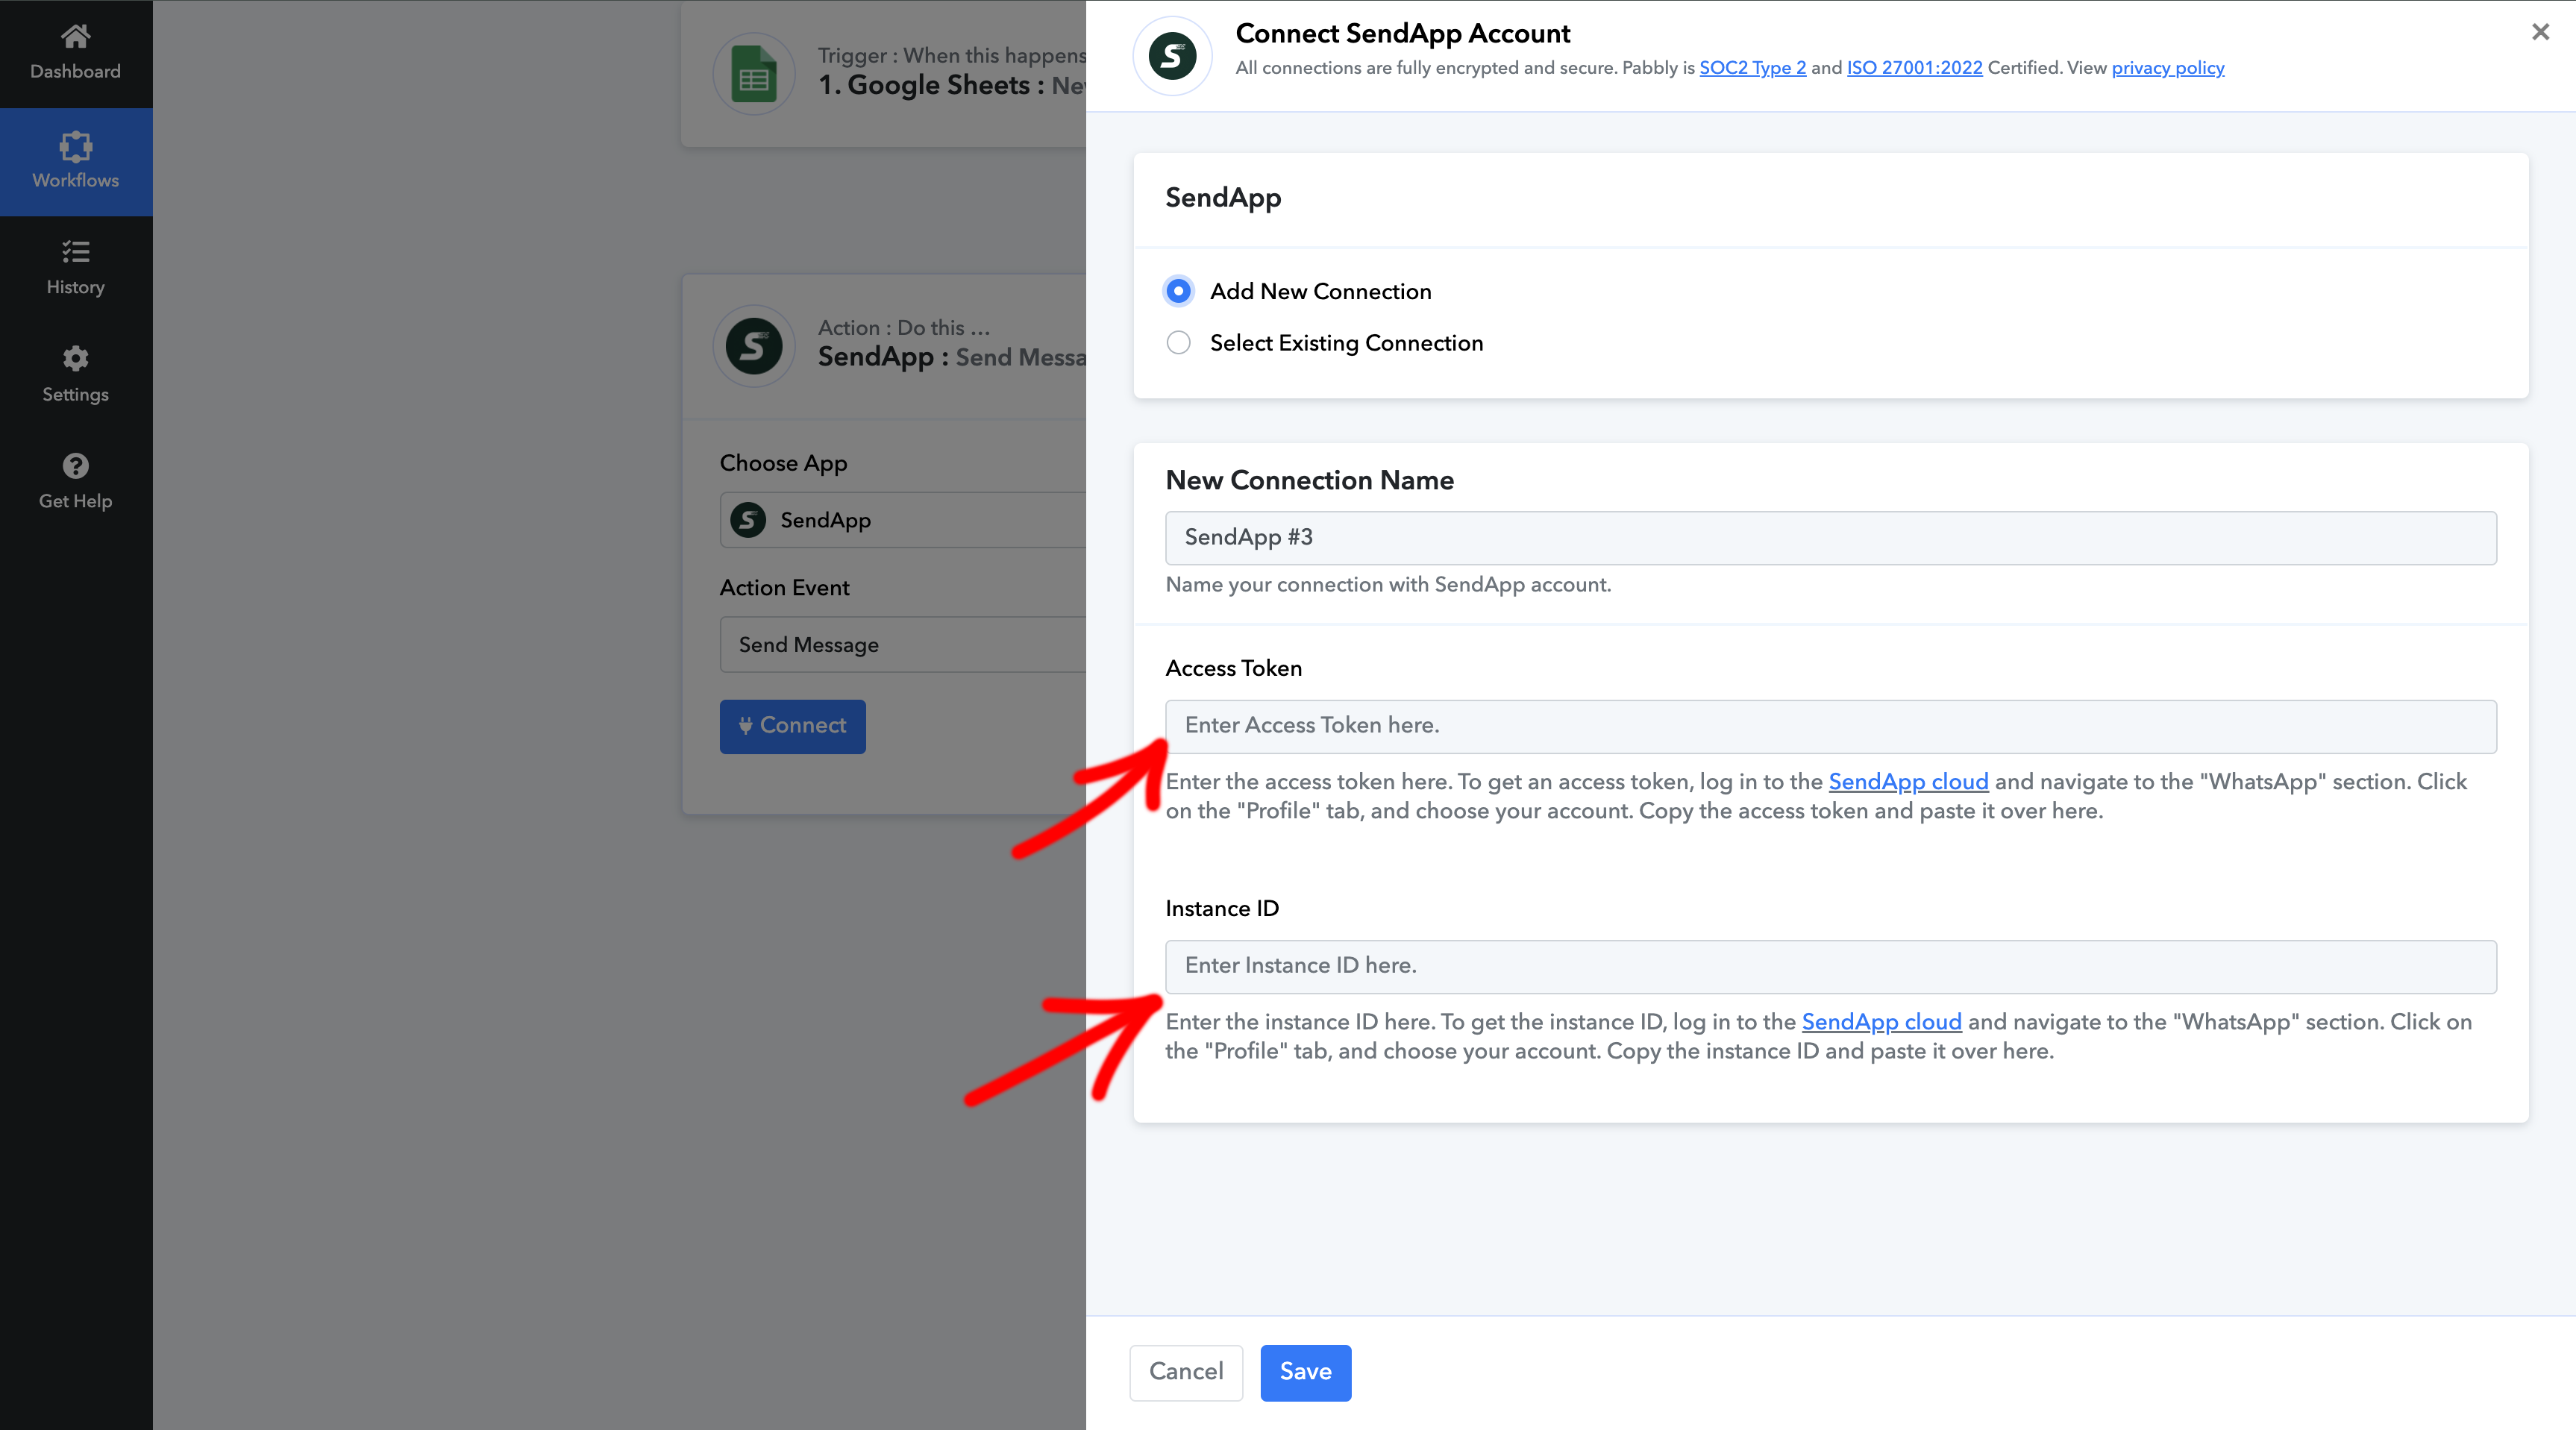
- After configuring the trigger, click on Add Action and select Sendapp as the Action App.
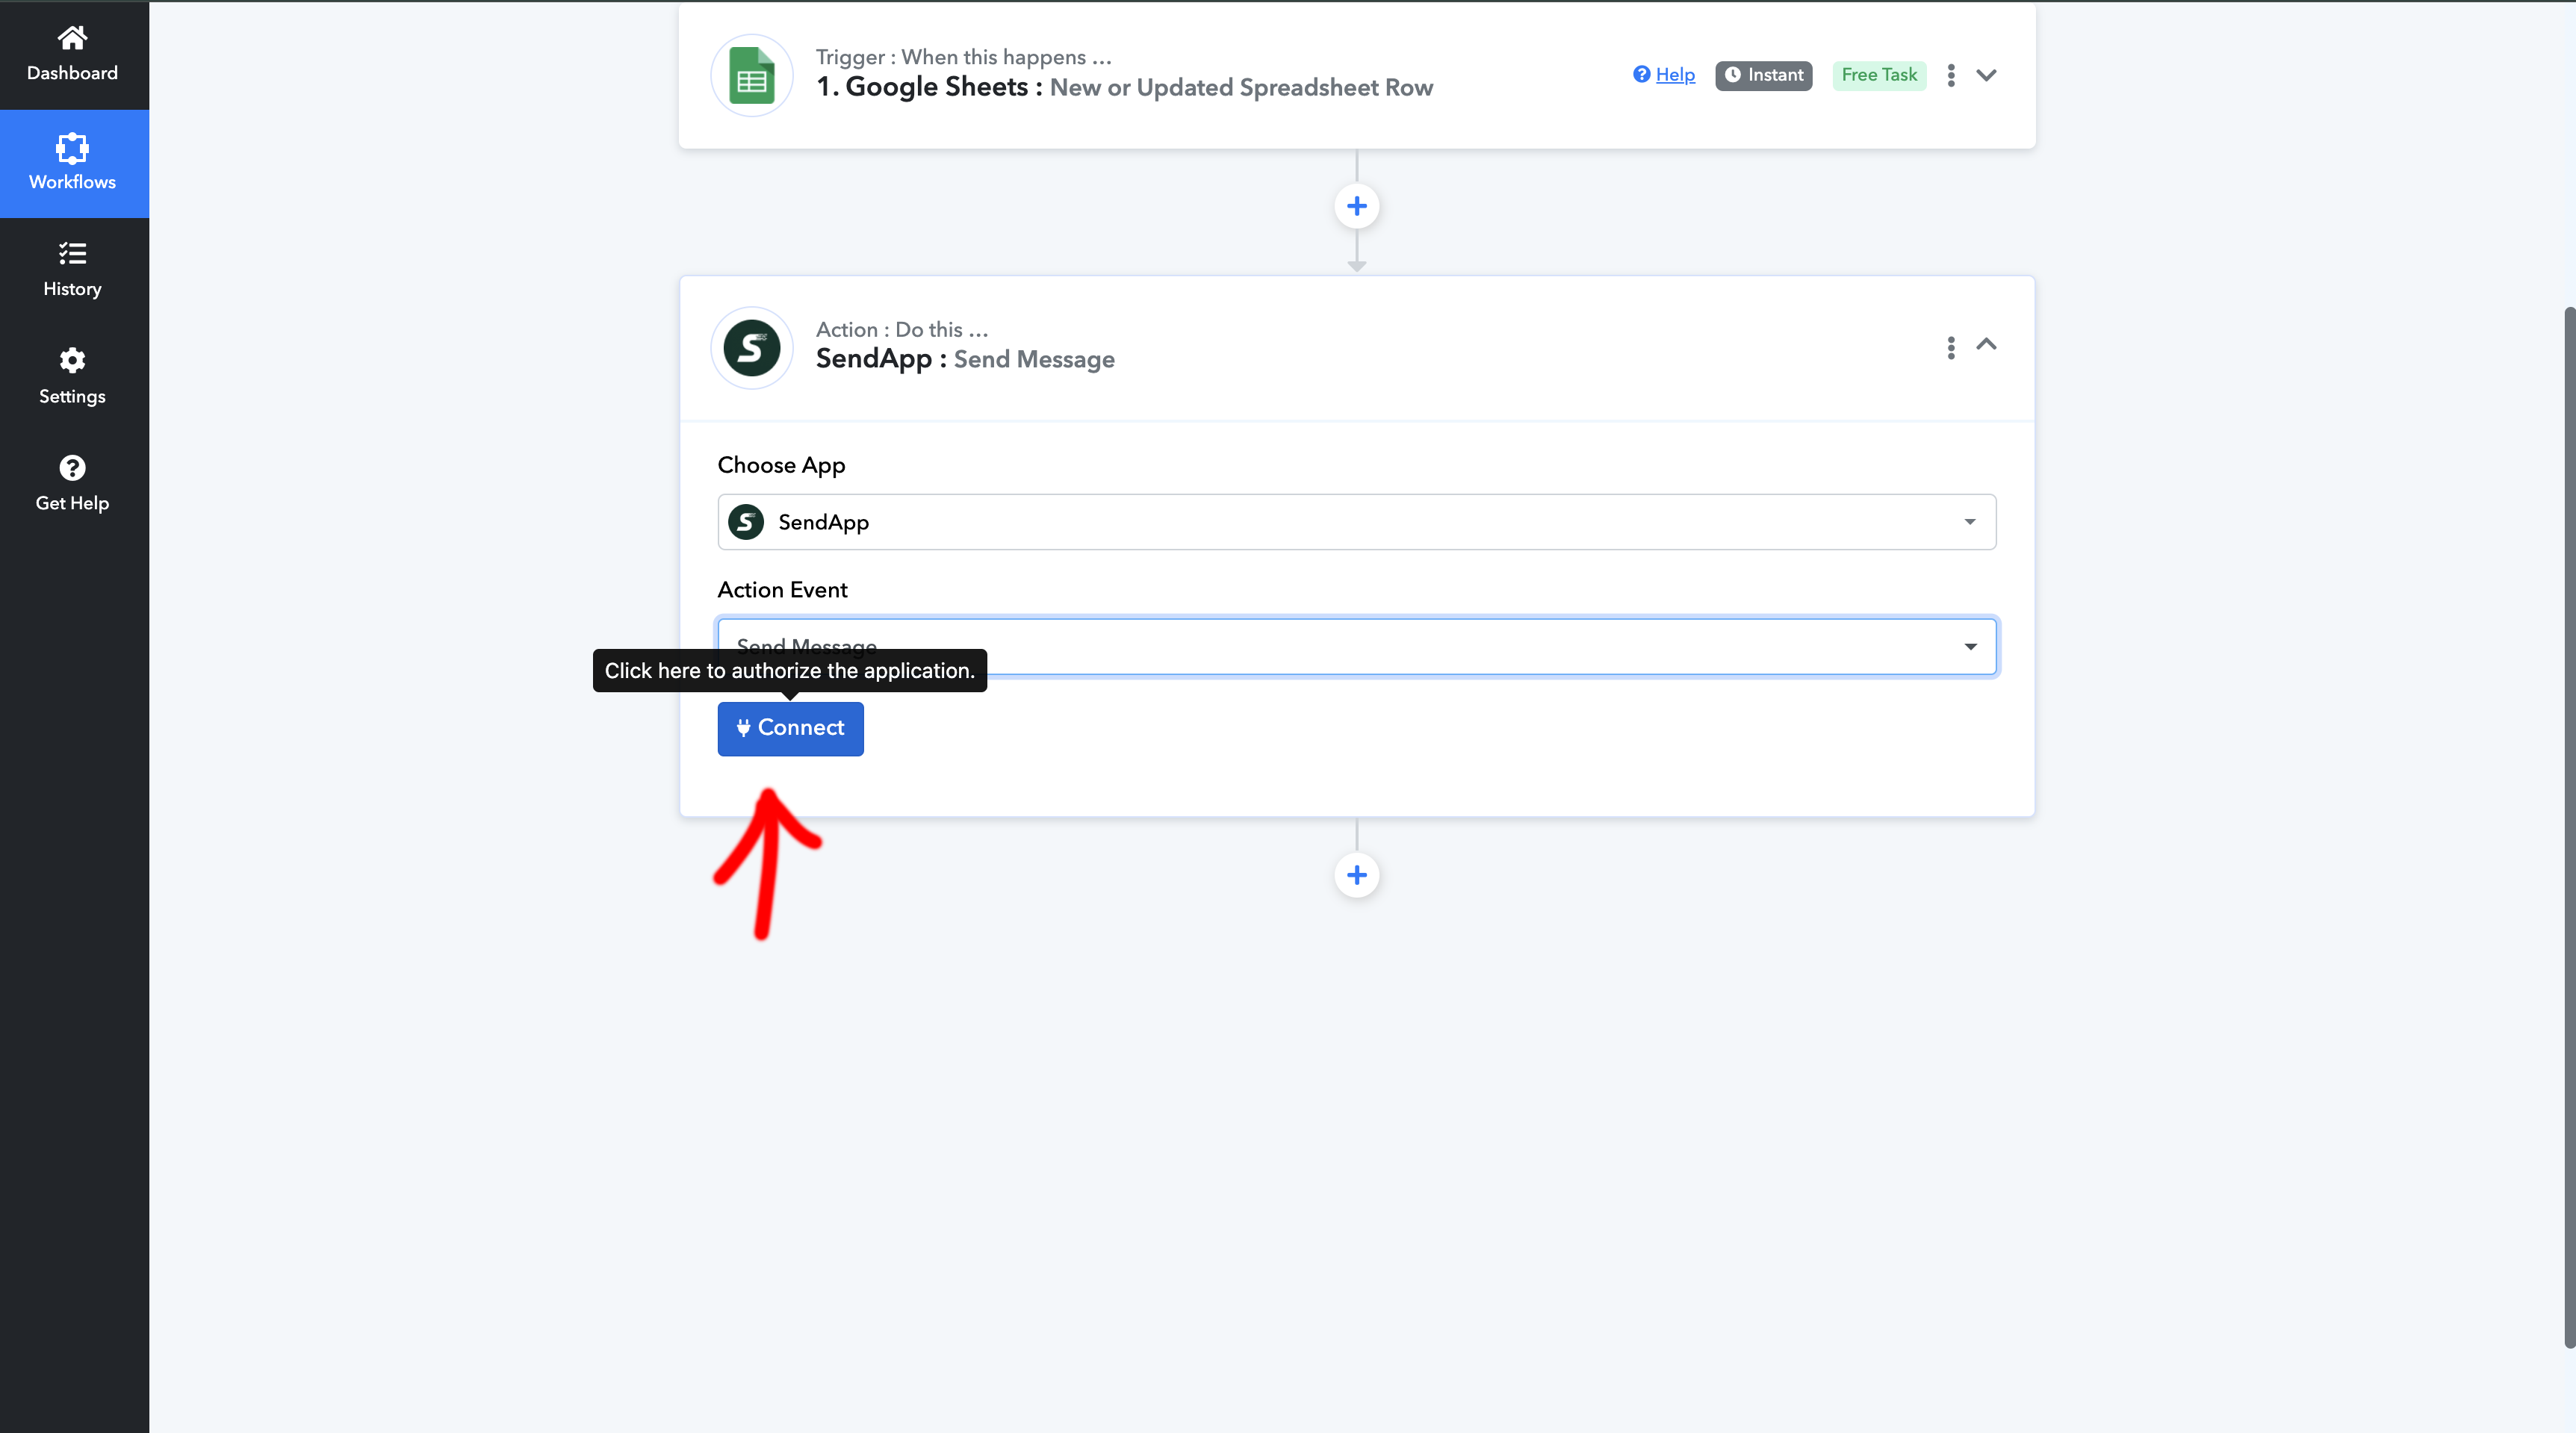
- Connect your Sendapp account by entering the Access Token and Instance ID, which pure from your Sendapp profile by scanning the QR Code With the WhatsApp app.
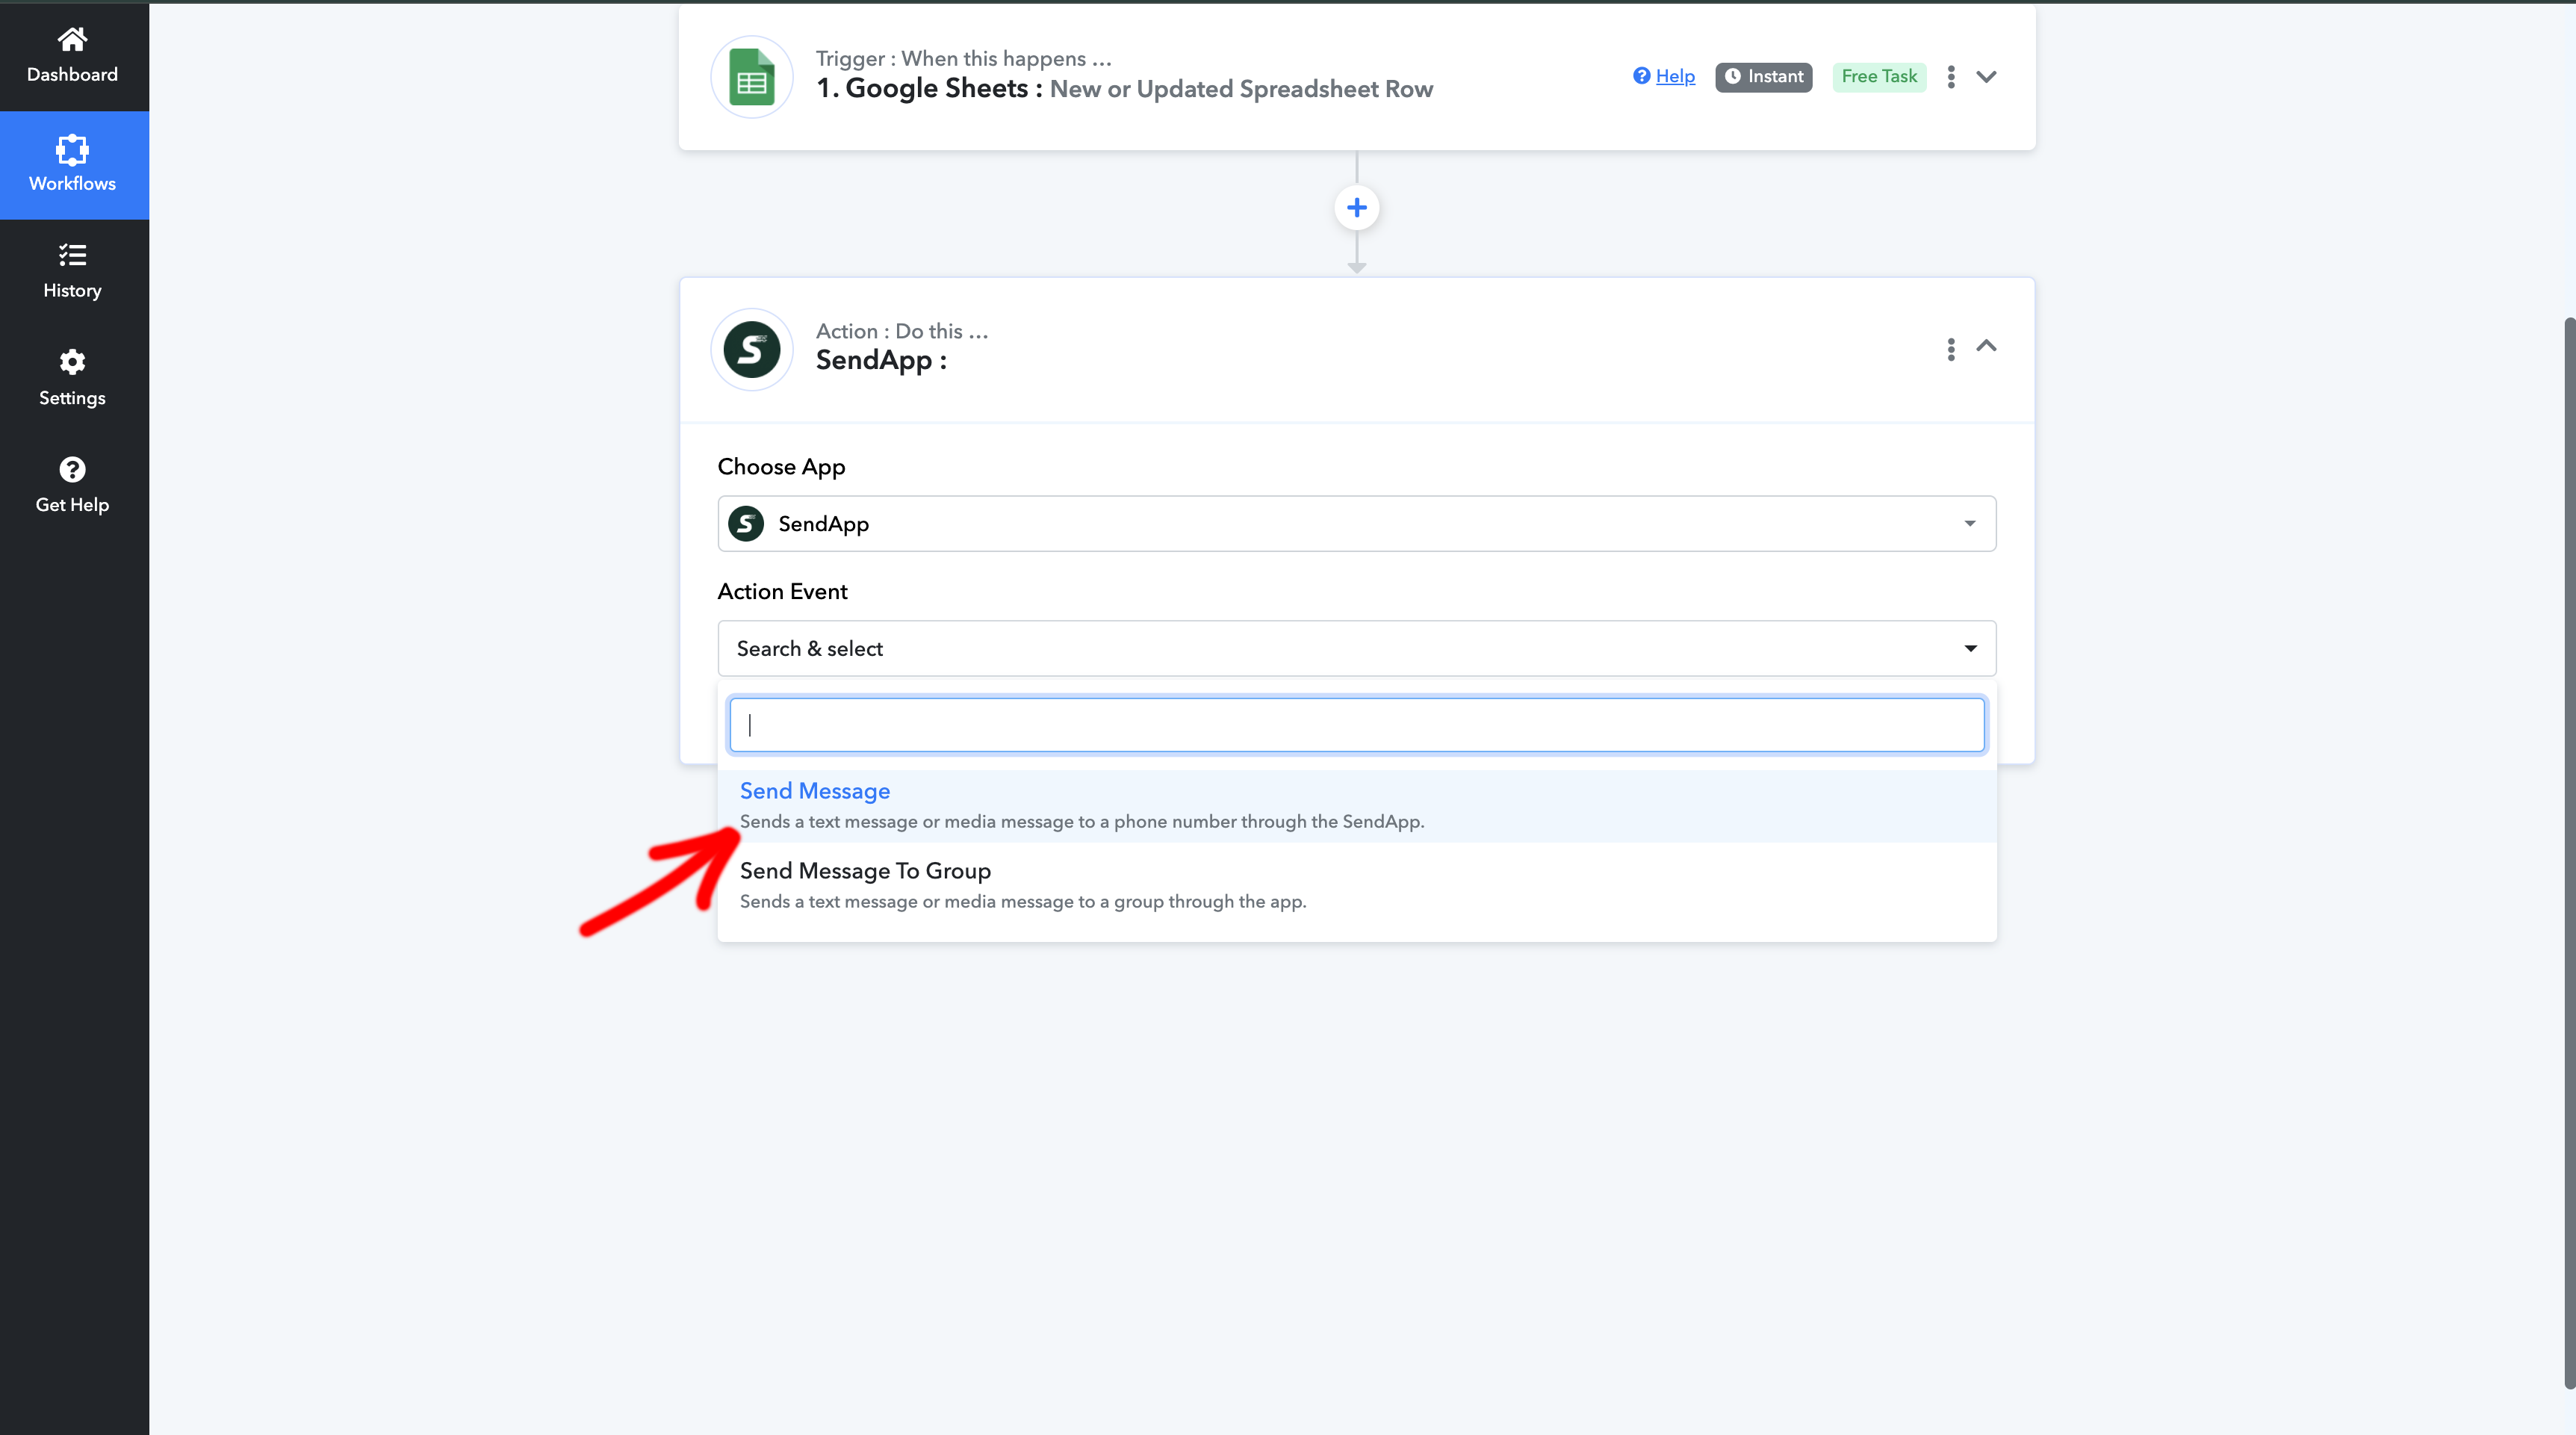
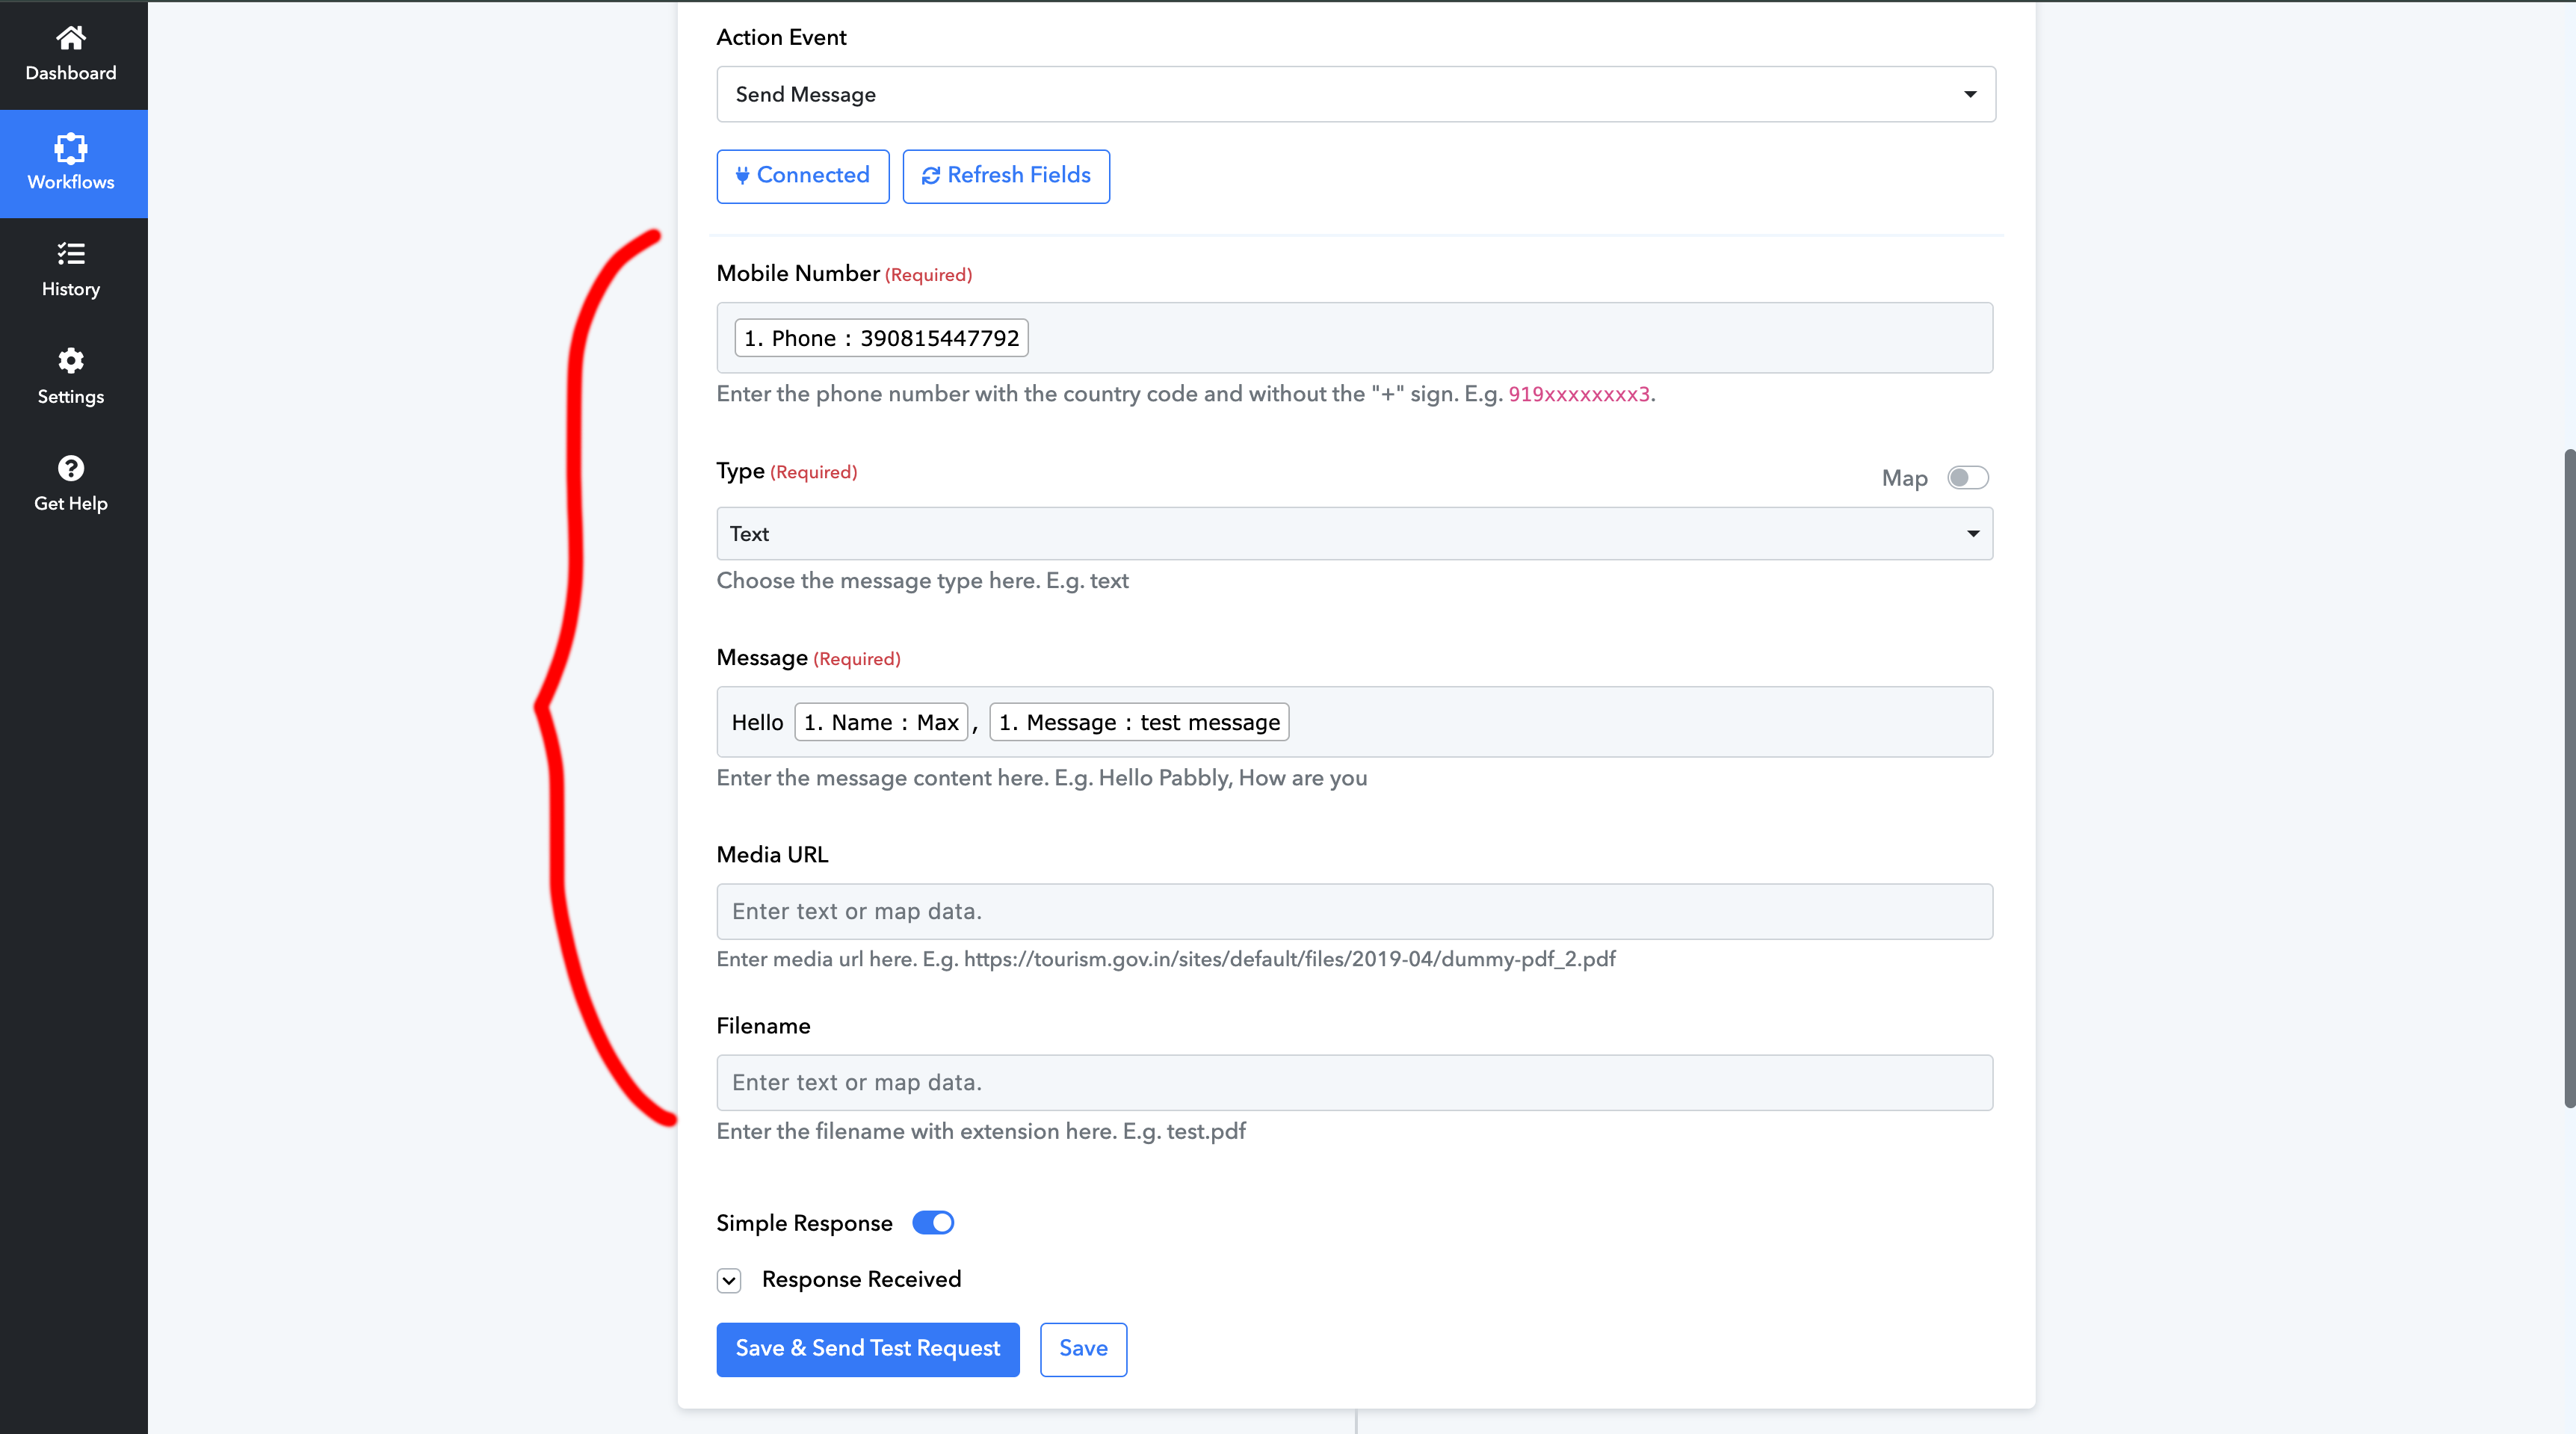
Step 8: Configure Sendapp Action Details.
- In the Phone Number field, select the phone number from the Google sheet.
- Set Message Type to Text.
- Structure the custom message using the fields in the d sheetthe Google, such as name and other specific information.
- Click on Save & Send Test Request To test sending the message.
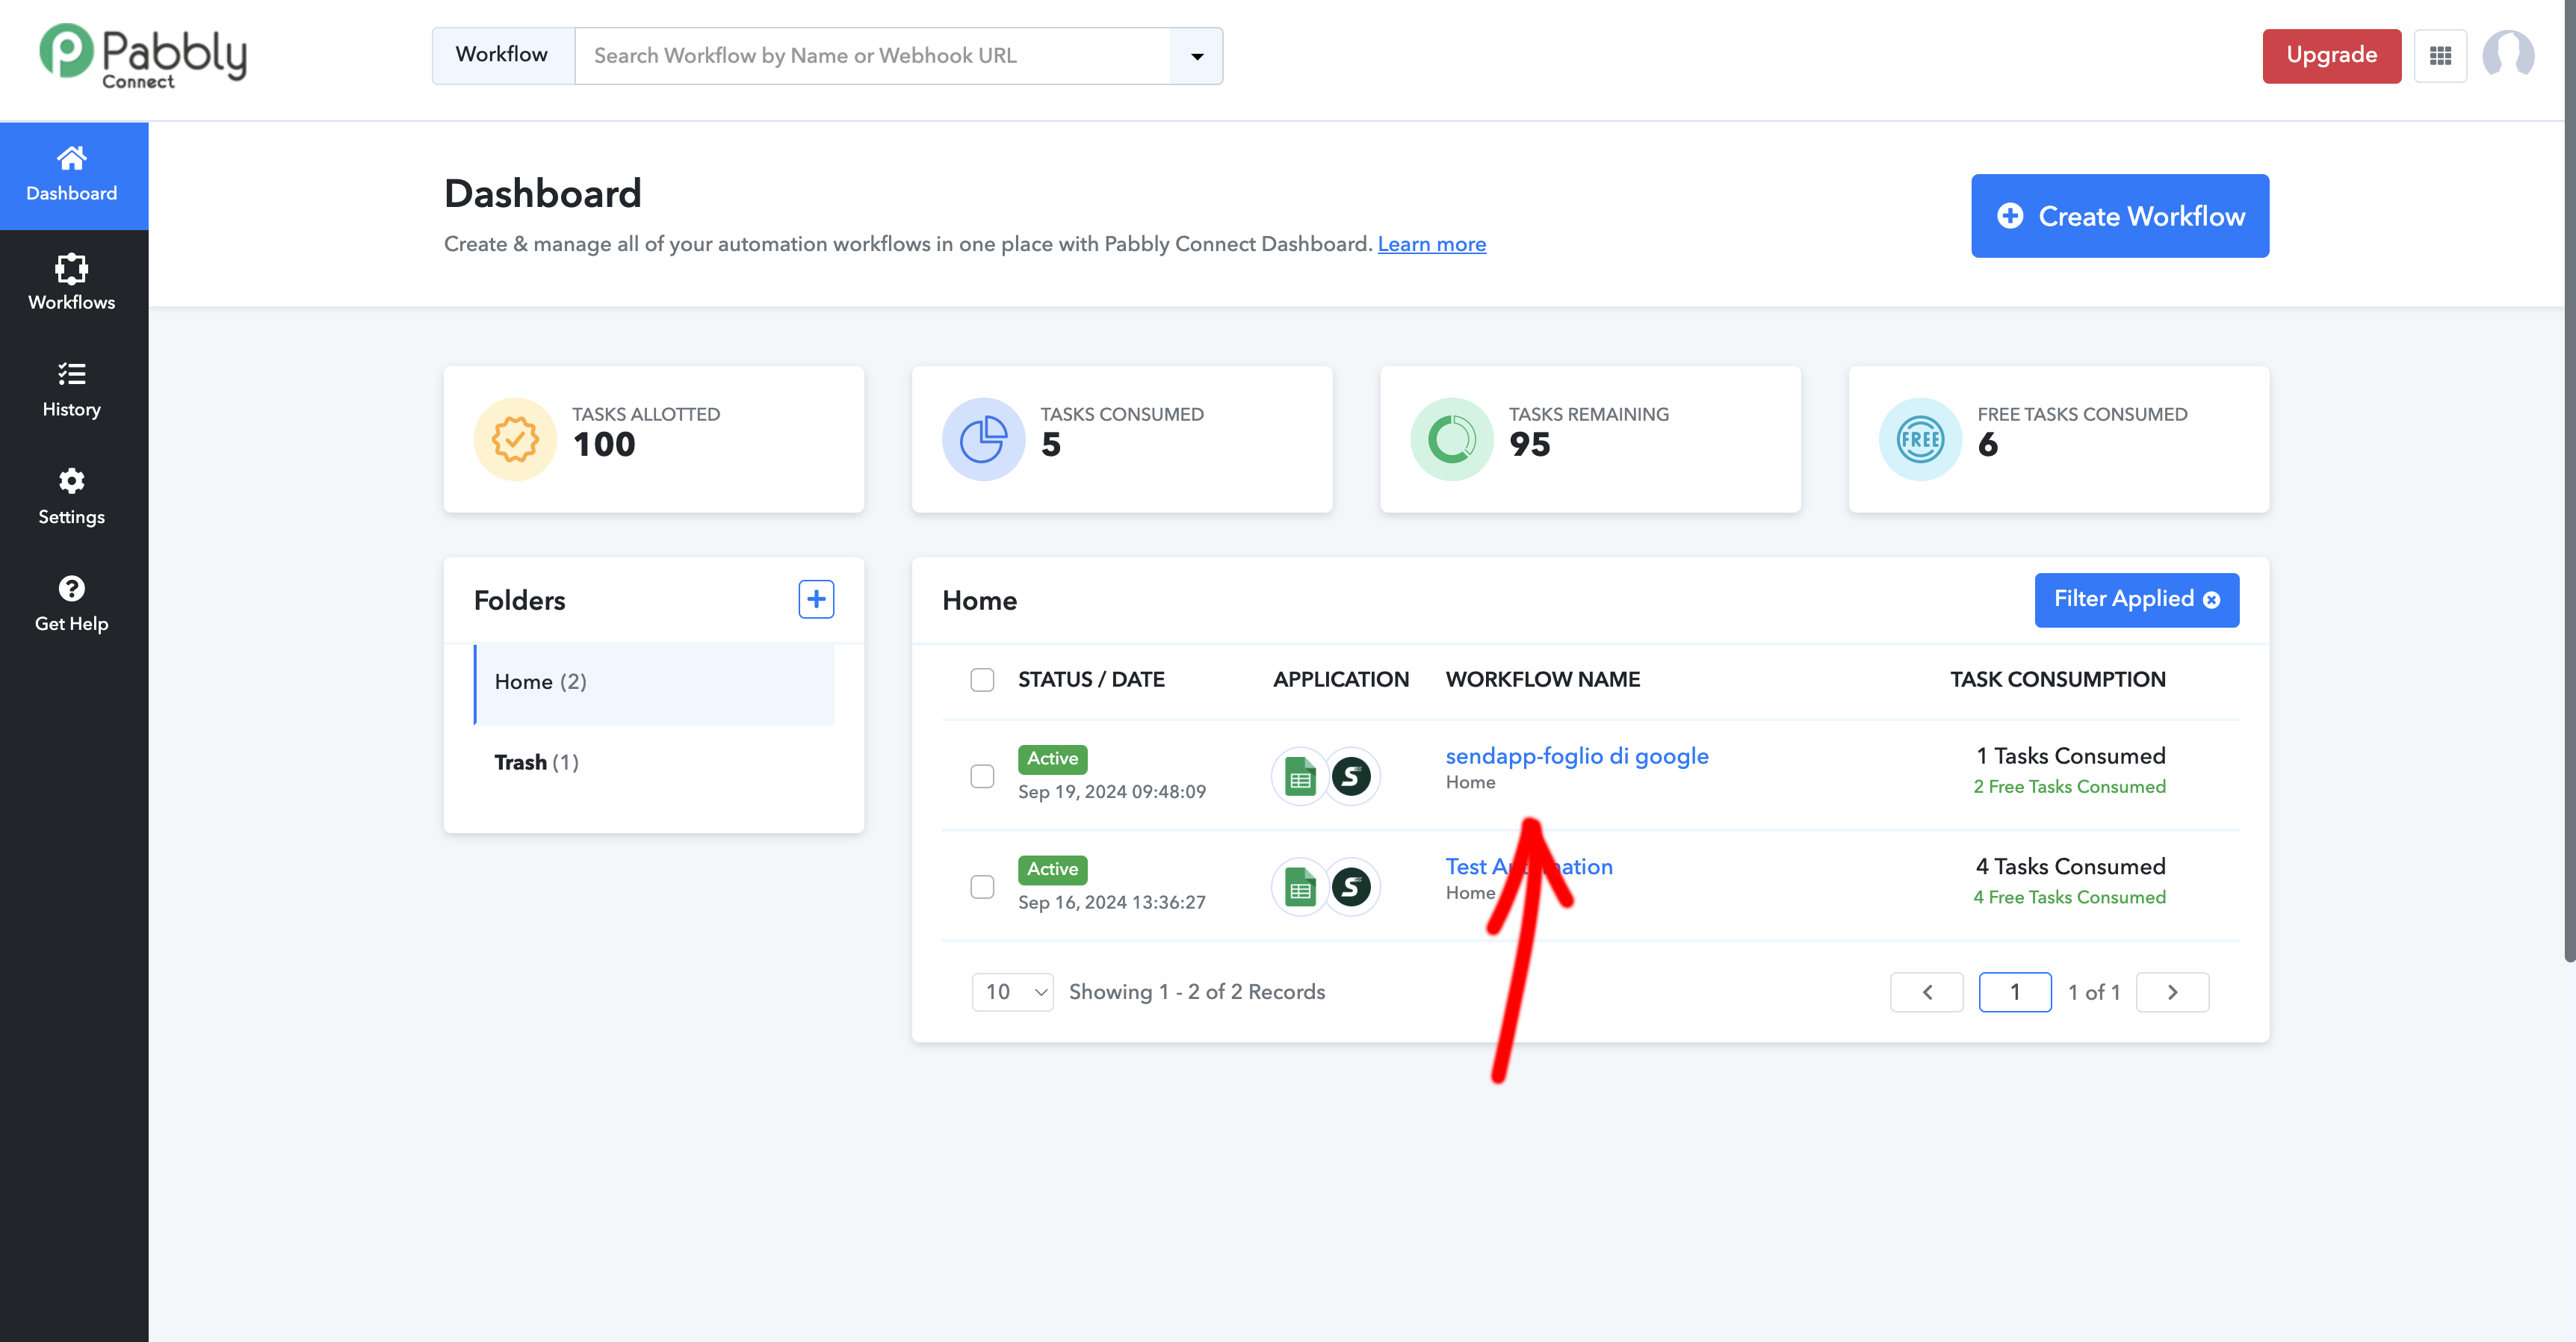
Step 9: Activate Workflow
- If the test is successful, click Save and then Enable Workflow.
- From now on, every time you add a new row in the Go sheet.ogle, Sendapp will automatically send a WhatsApp message to the recipient.
Conclusion
Connect SendApp to Google Sheets via Pabbly allows you to automate your communication on WhatsApp without manual effort. This workflow is perfect for efficiently managing your contact list and sending personalized messages with ease. Follow these simple steps to get started and see how useful this automation can be in your business!