Automating Whatsapp with Zapier
In short
Automating processes is key to saving time and increasing productivity. In this guide, we will show you how to connect Sendapp, our powerful marketing software on WhatsApp, to Google Sheets using Zapier
Introduction
Automating processes is key to saving time and increasing productivity. In this guide we will show you how to connect SendApp, our powerful marketing software on WhatsApp, to Google Sheets using Zapier. This will allow you to send WhatsApp messages automatically whenever you add new rows to your Google Sheet.
Step 1: Choose Sendapp's Plan
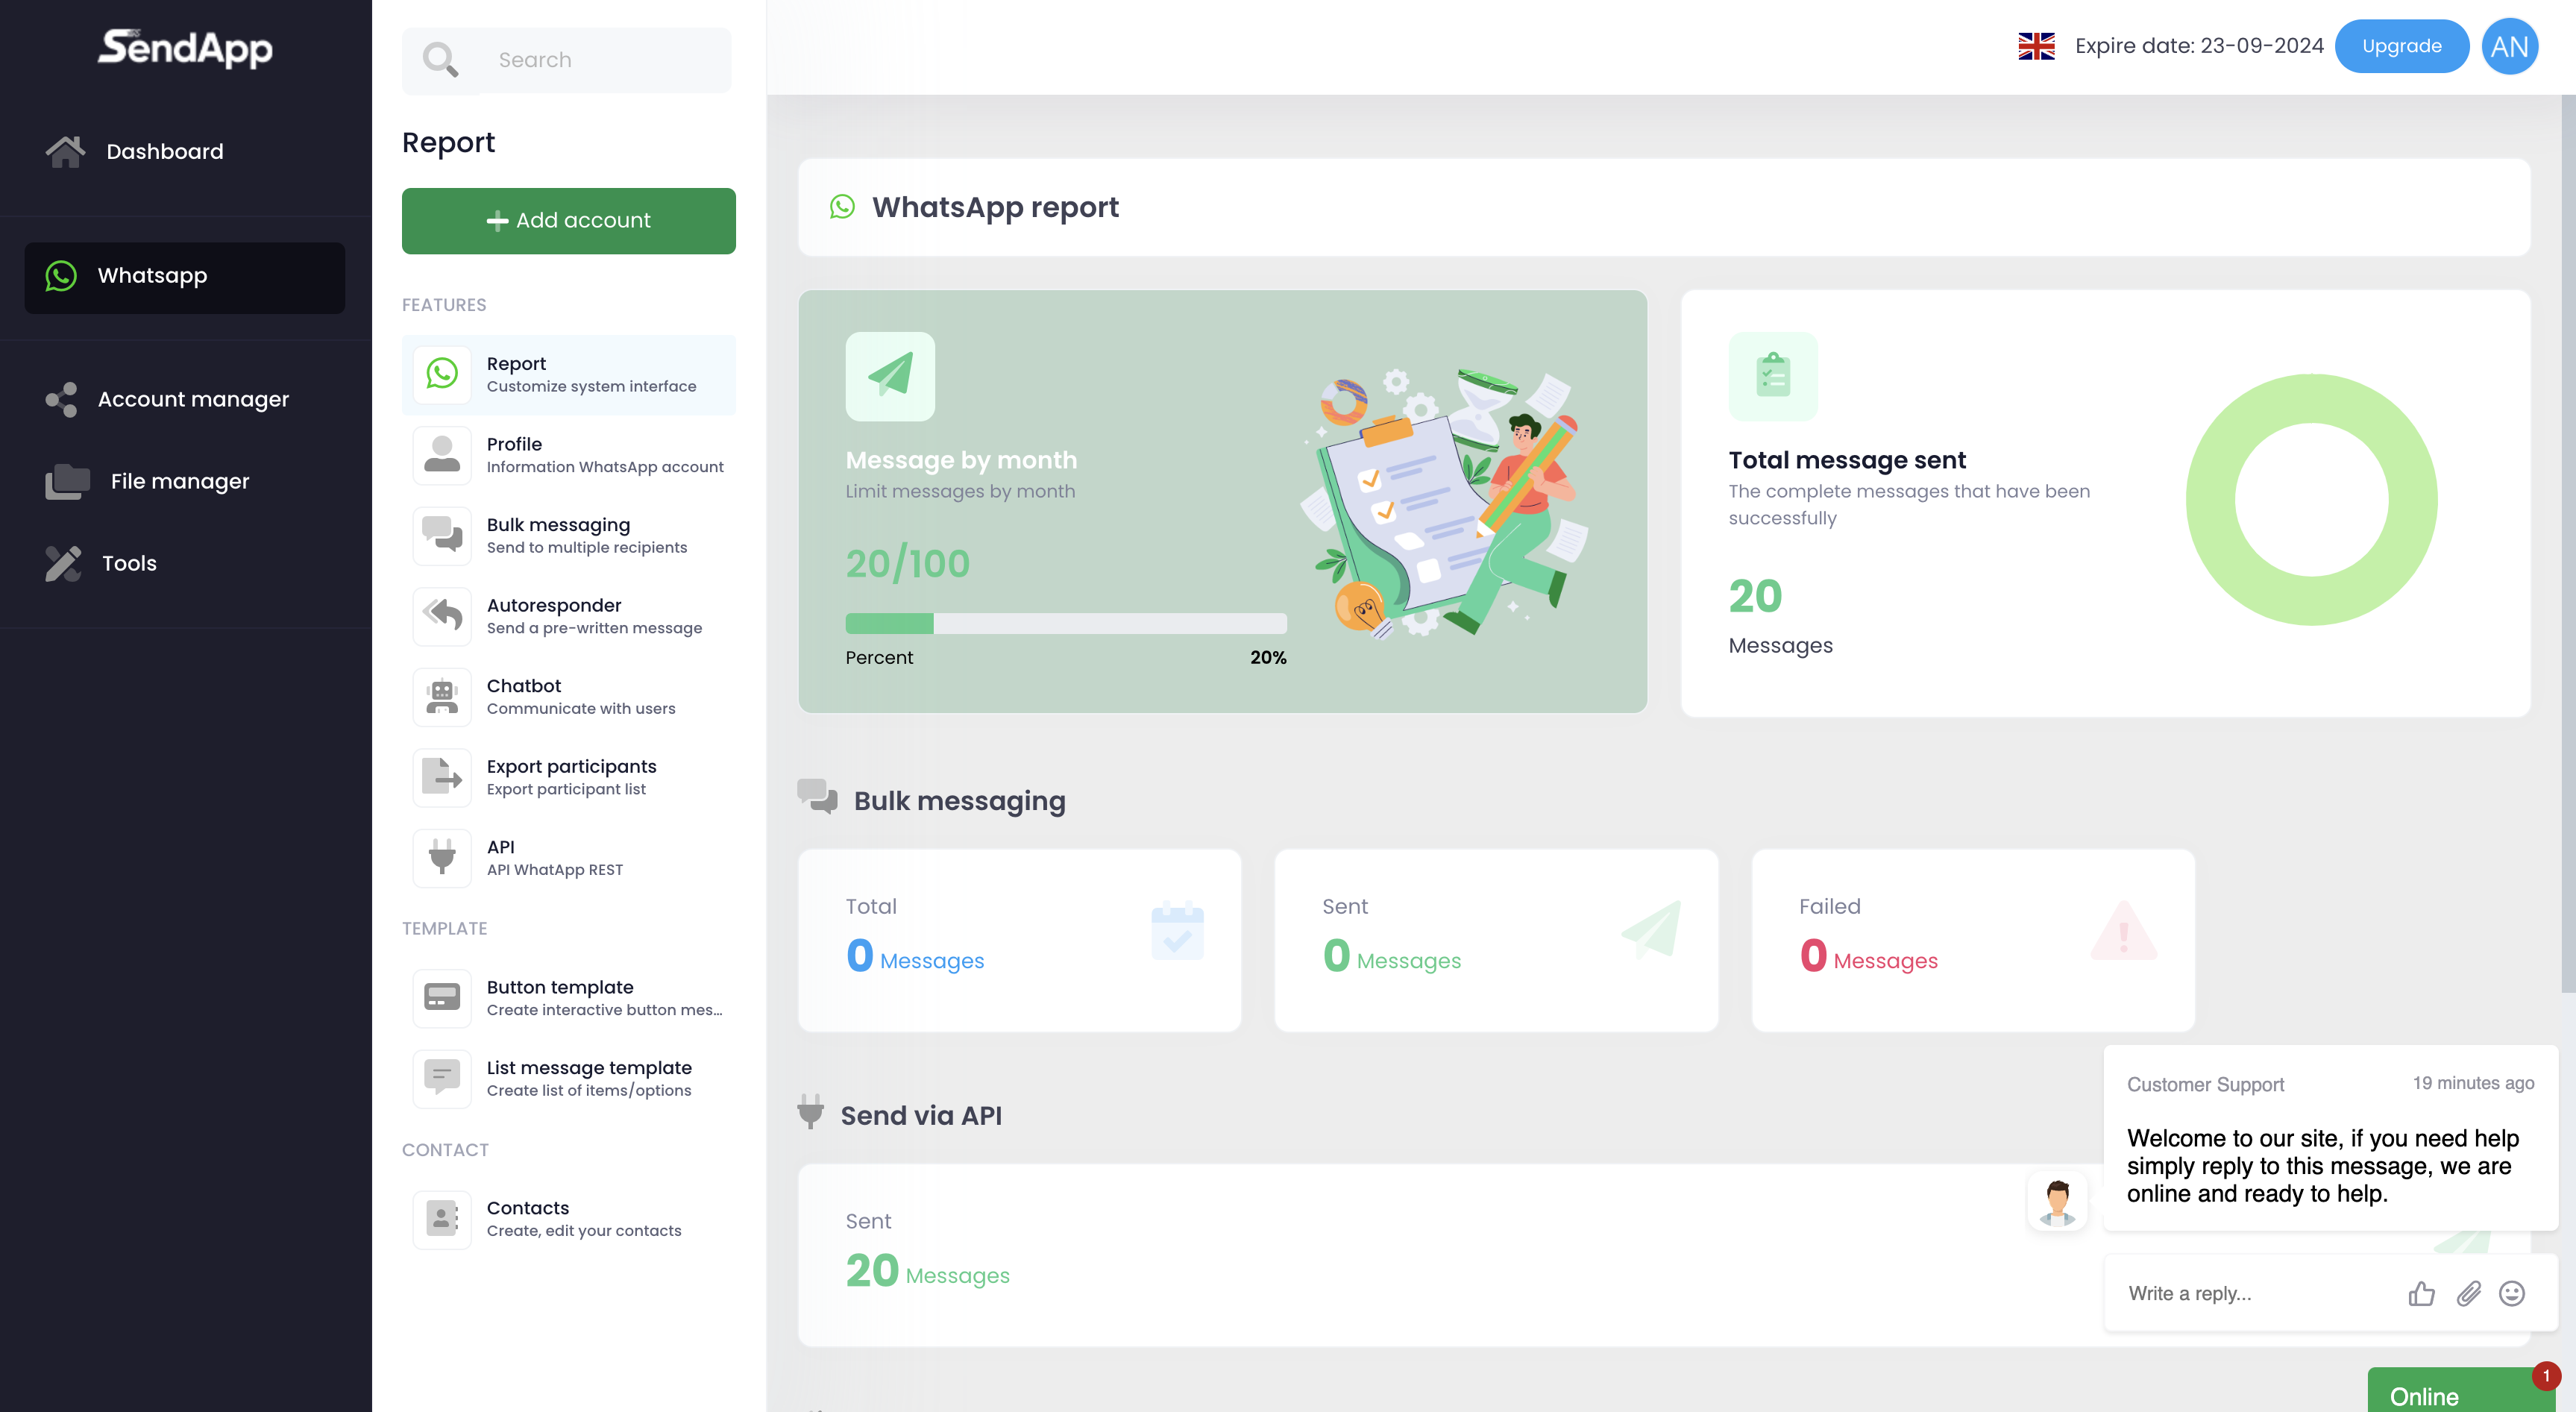
First of all, you will have to choose the plan of SendApp That's right for you. You can opt for a demo plan or for one for a fee. After activating the plan, you will need to link your WhatsApp account.
Step 2: Connect your WhatsApp Account
- In SendApp go to Applications → WhatsApp Meta and connect your number to Meta’s official API through Meta’s guided sign-up.
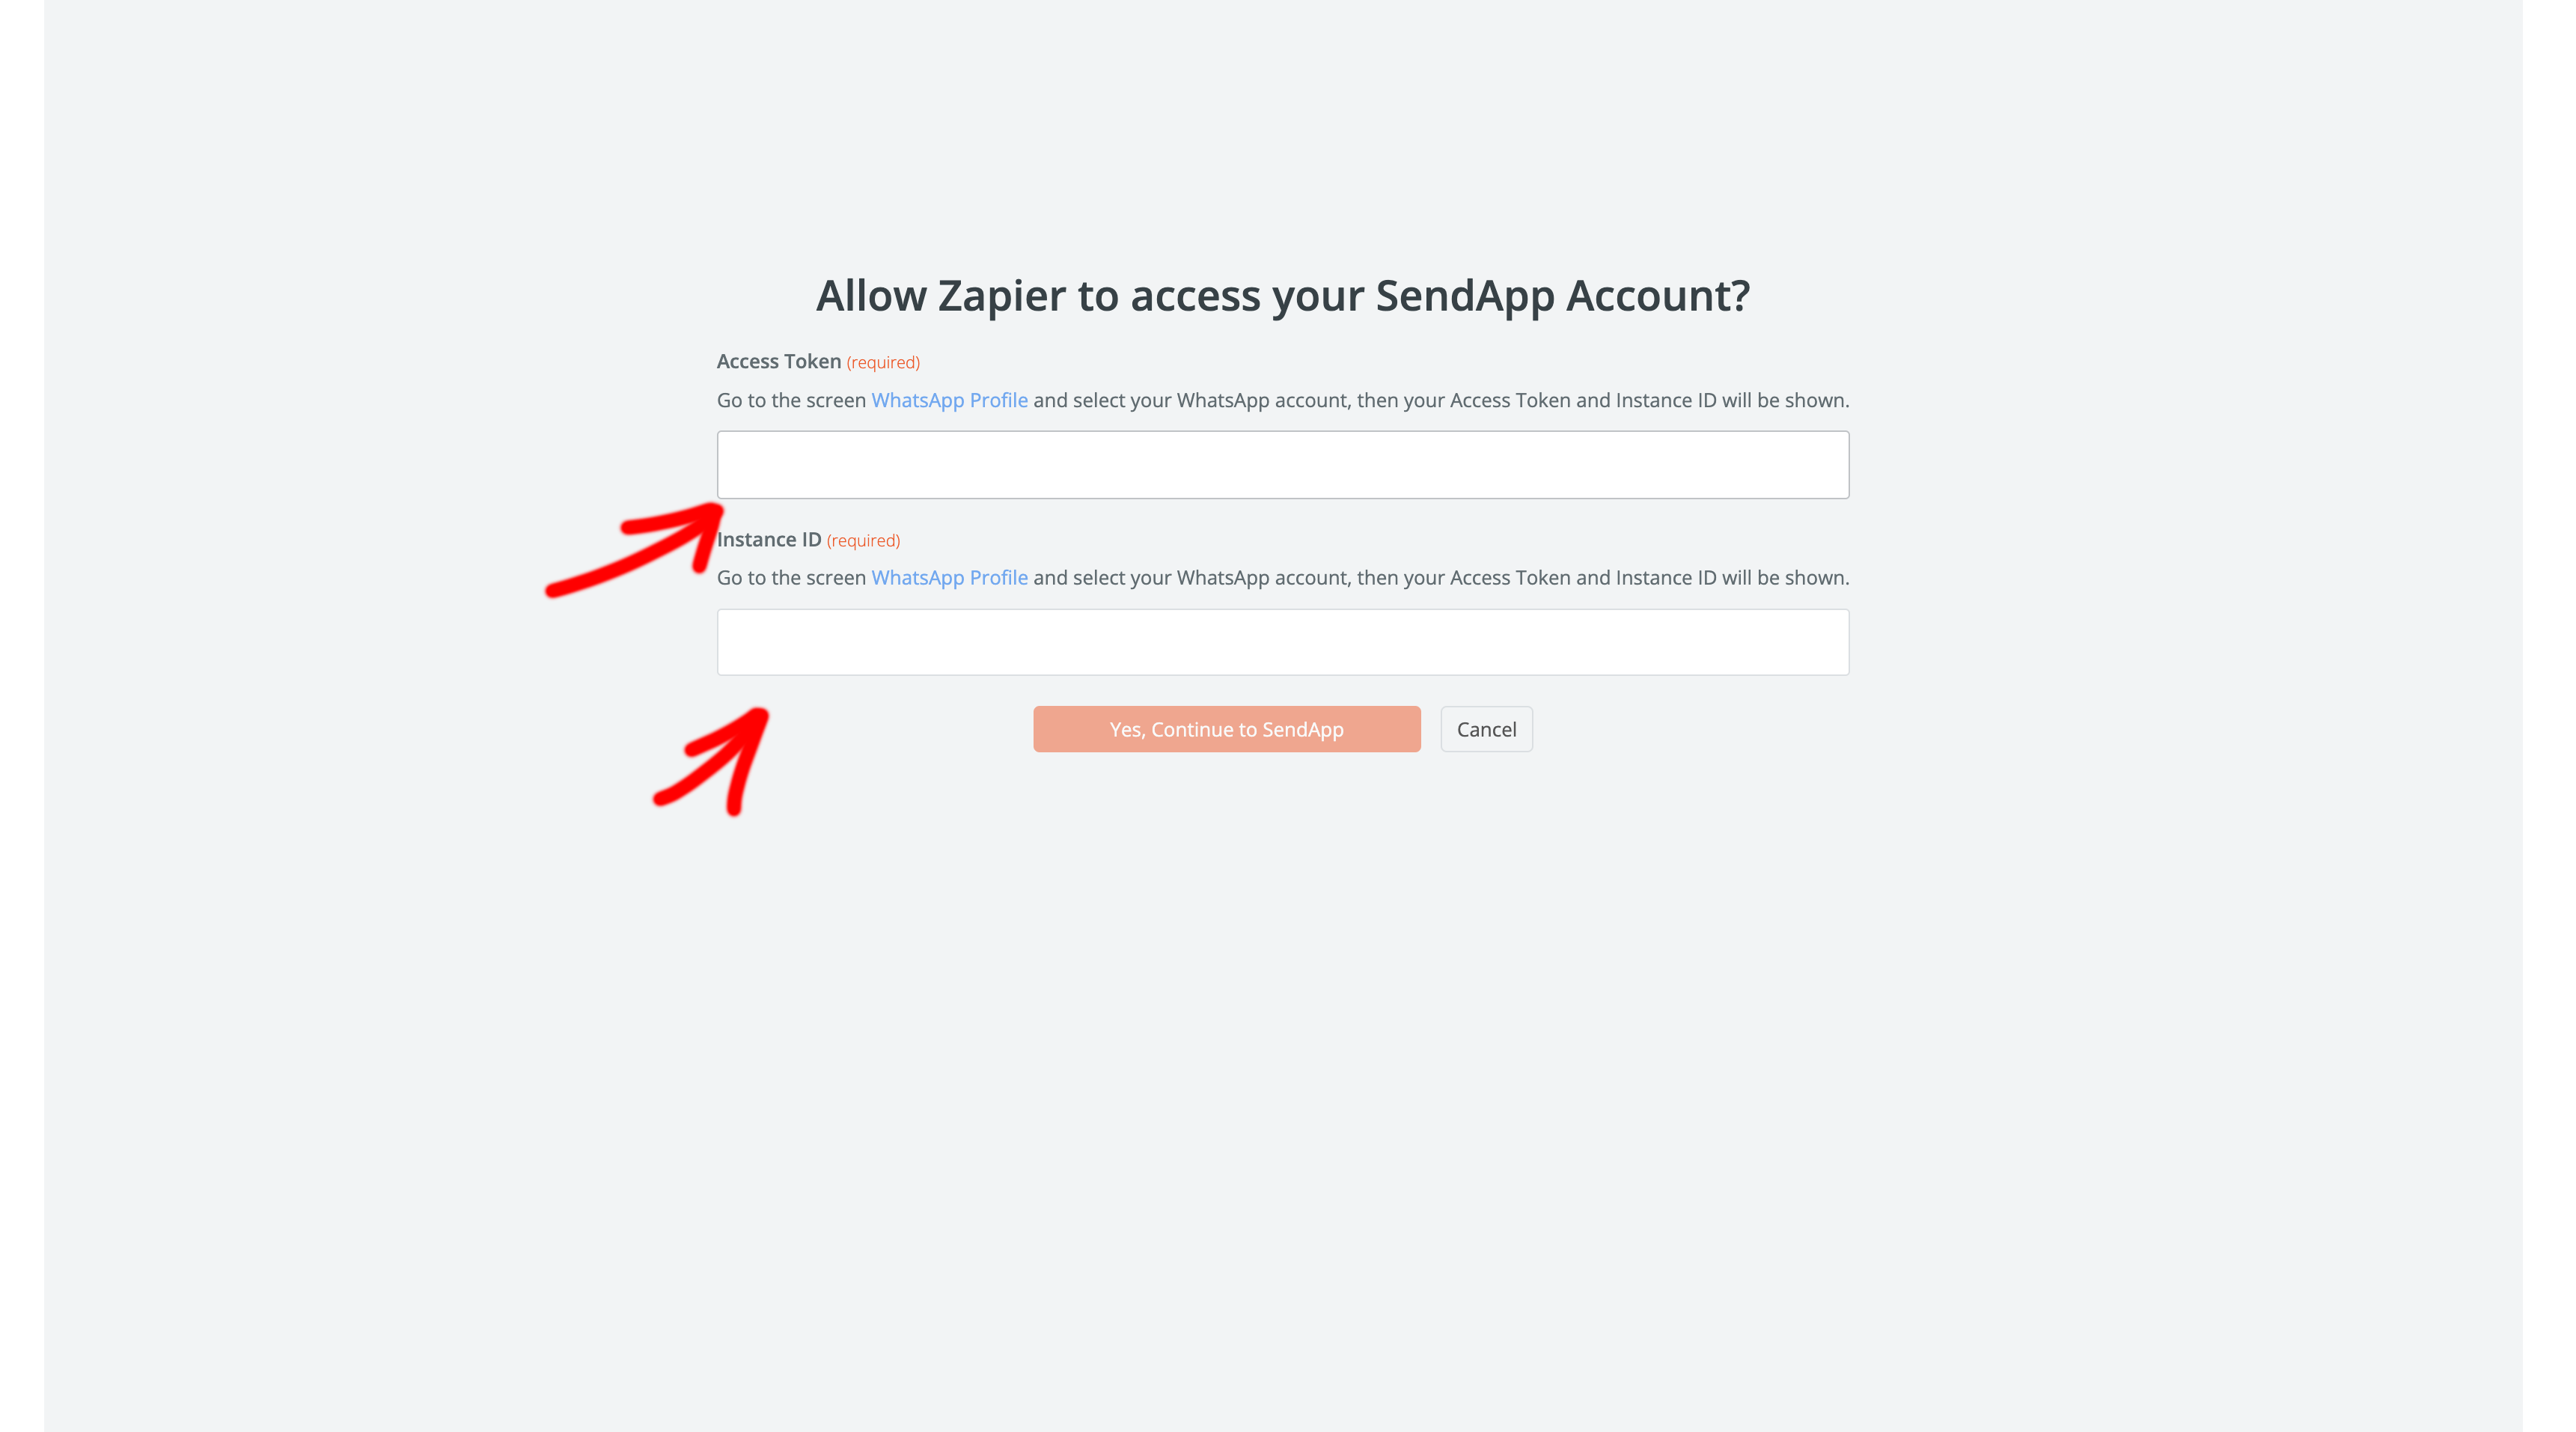
- Open the API section in SendApp and copy the API key: it’s the credential you’ll use in Zapier. Today the integration runs on SendApp’s official API and webhooks, with no QR code, Access Token or Instance ID; up-to-date endpoints and parameters are on the developers page.
Step 3: Create the CSV Template for Google Sheets
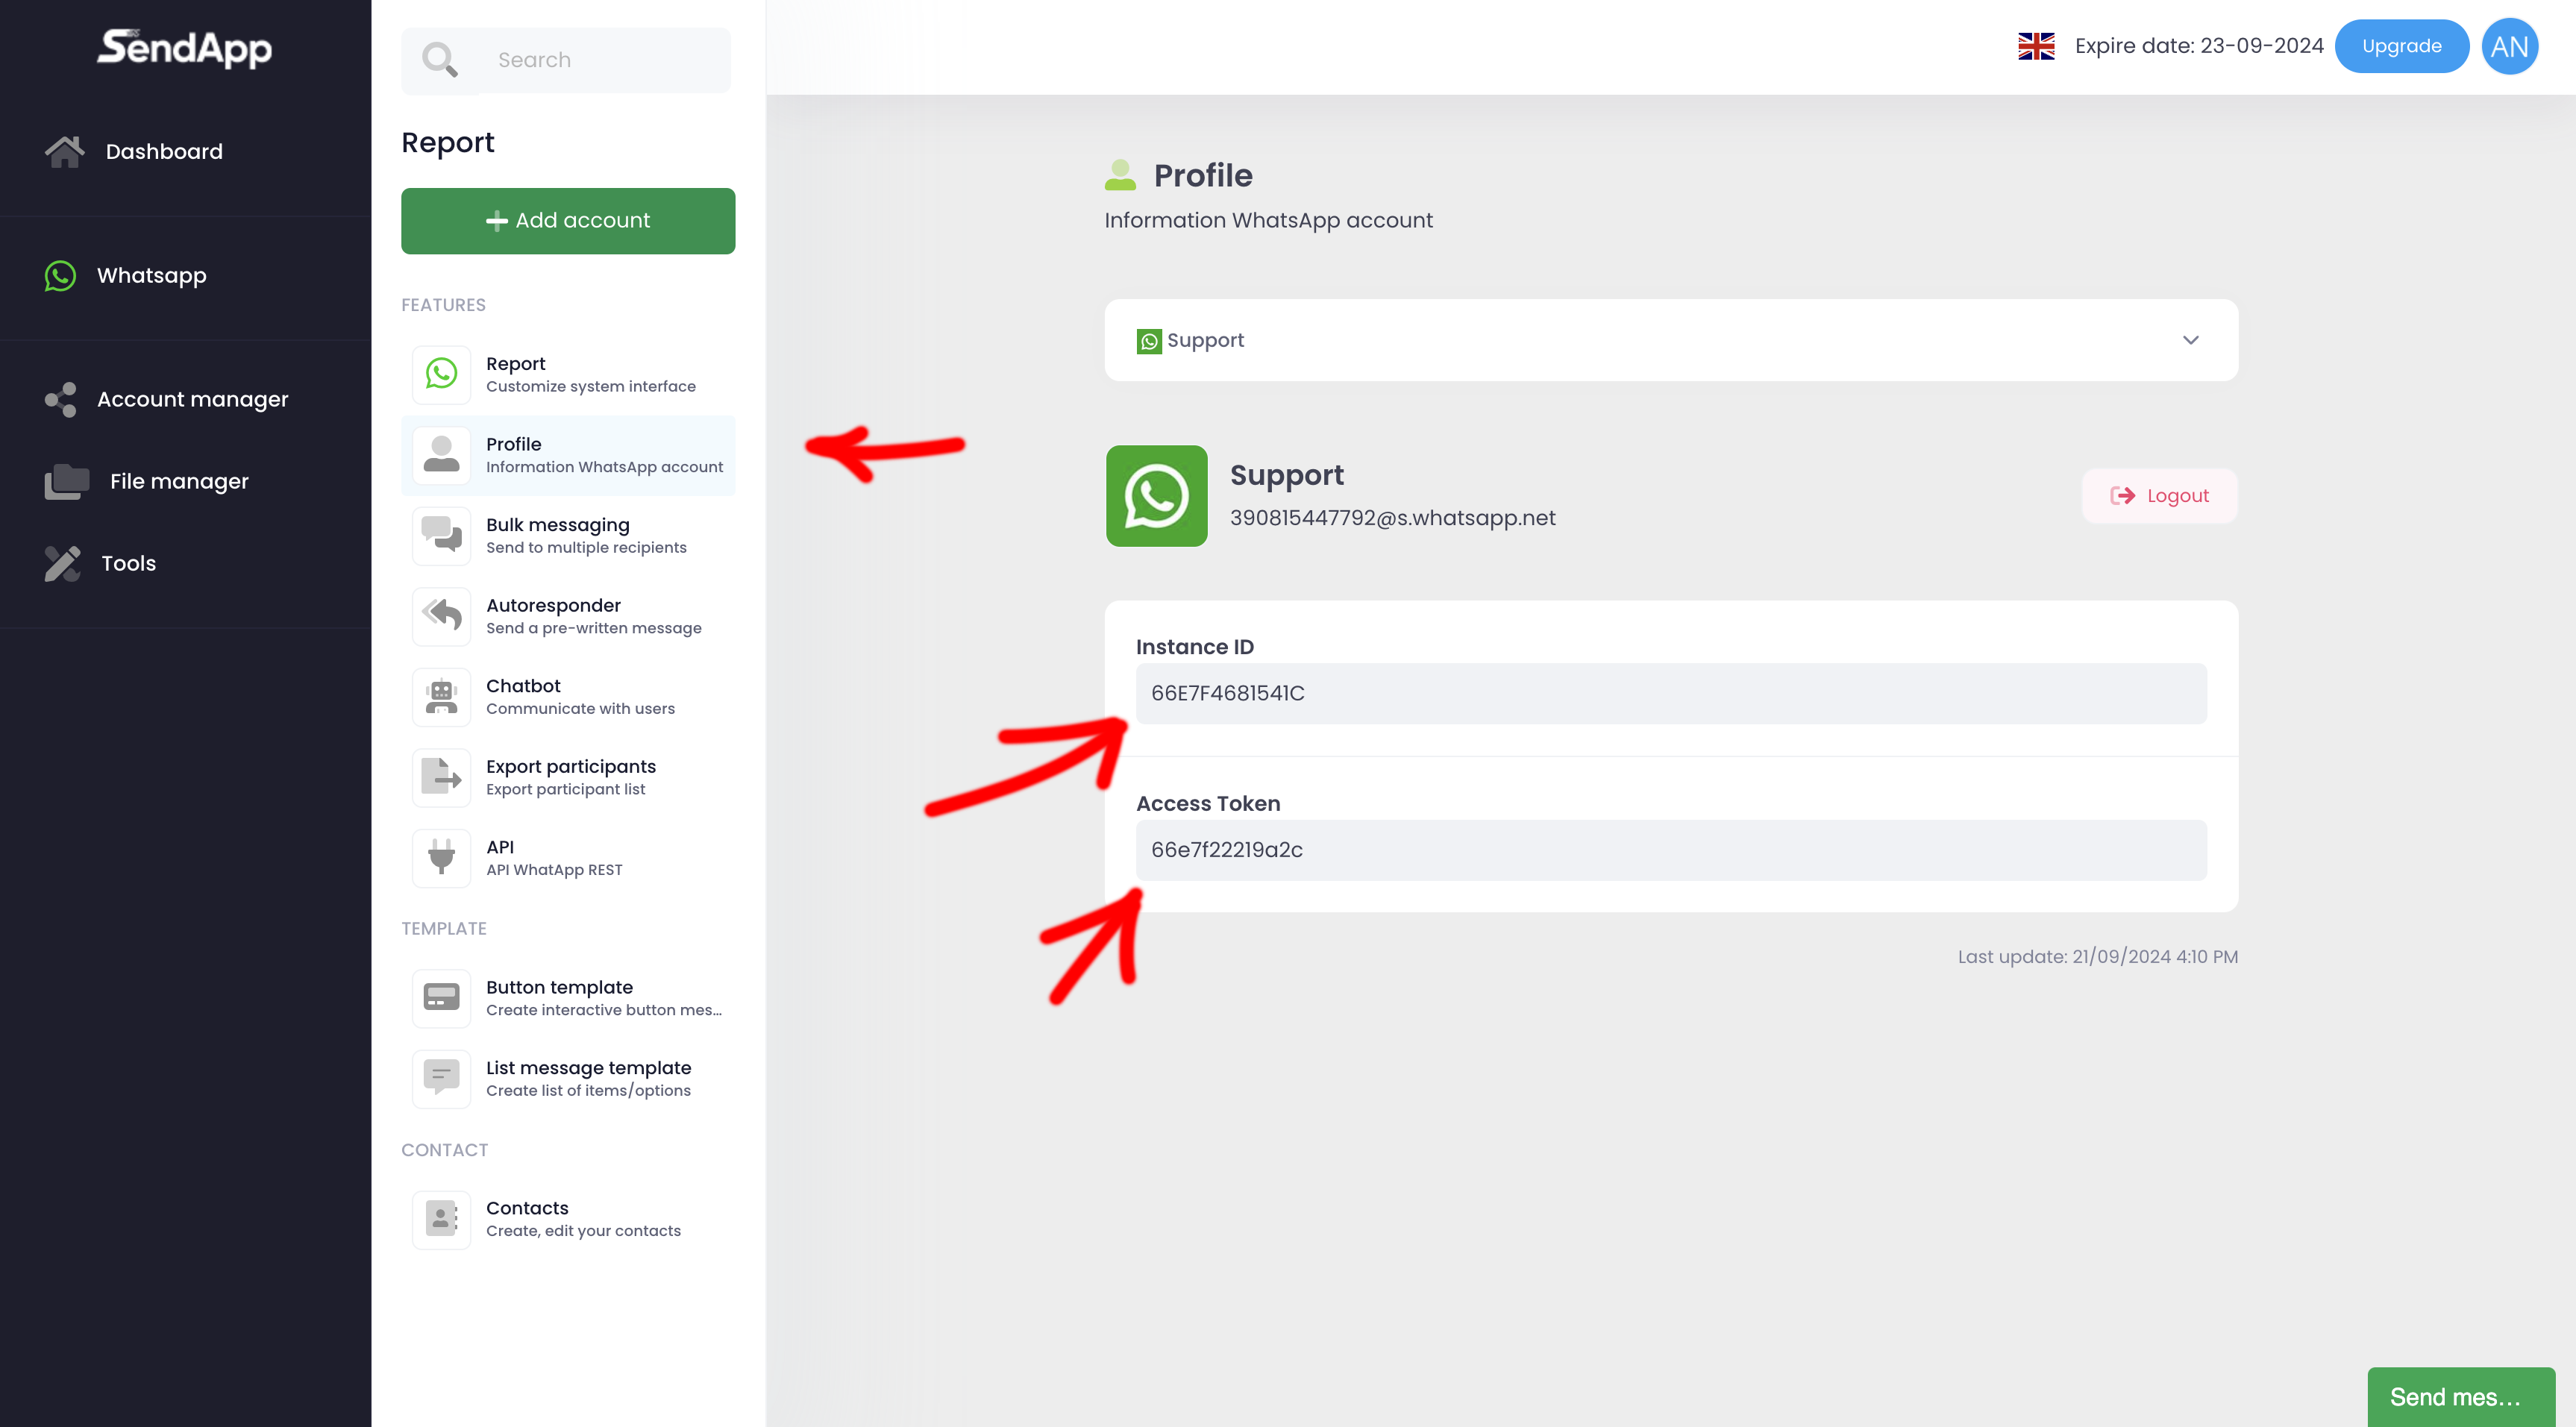
To automate the sending of messages via Google Sheets, it is necessary to create a CSV template. This template will contain the information that will be used by Sendapp to send WhatsApp messages. Make sure that the CSV file includes columns such as:
- Telephone number
- Recipient's name
- Personalized message
Step 4: Create a New Zap in Zapier
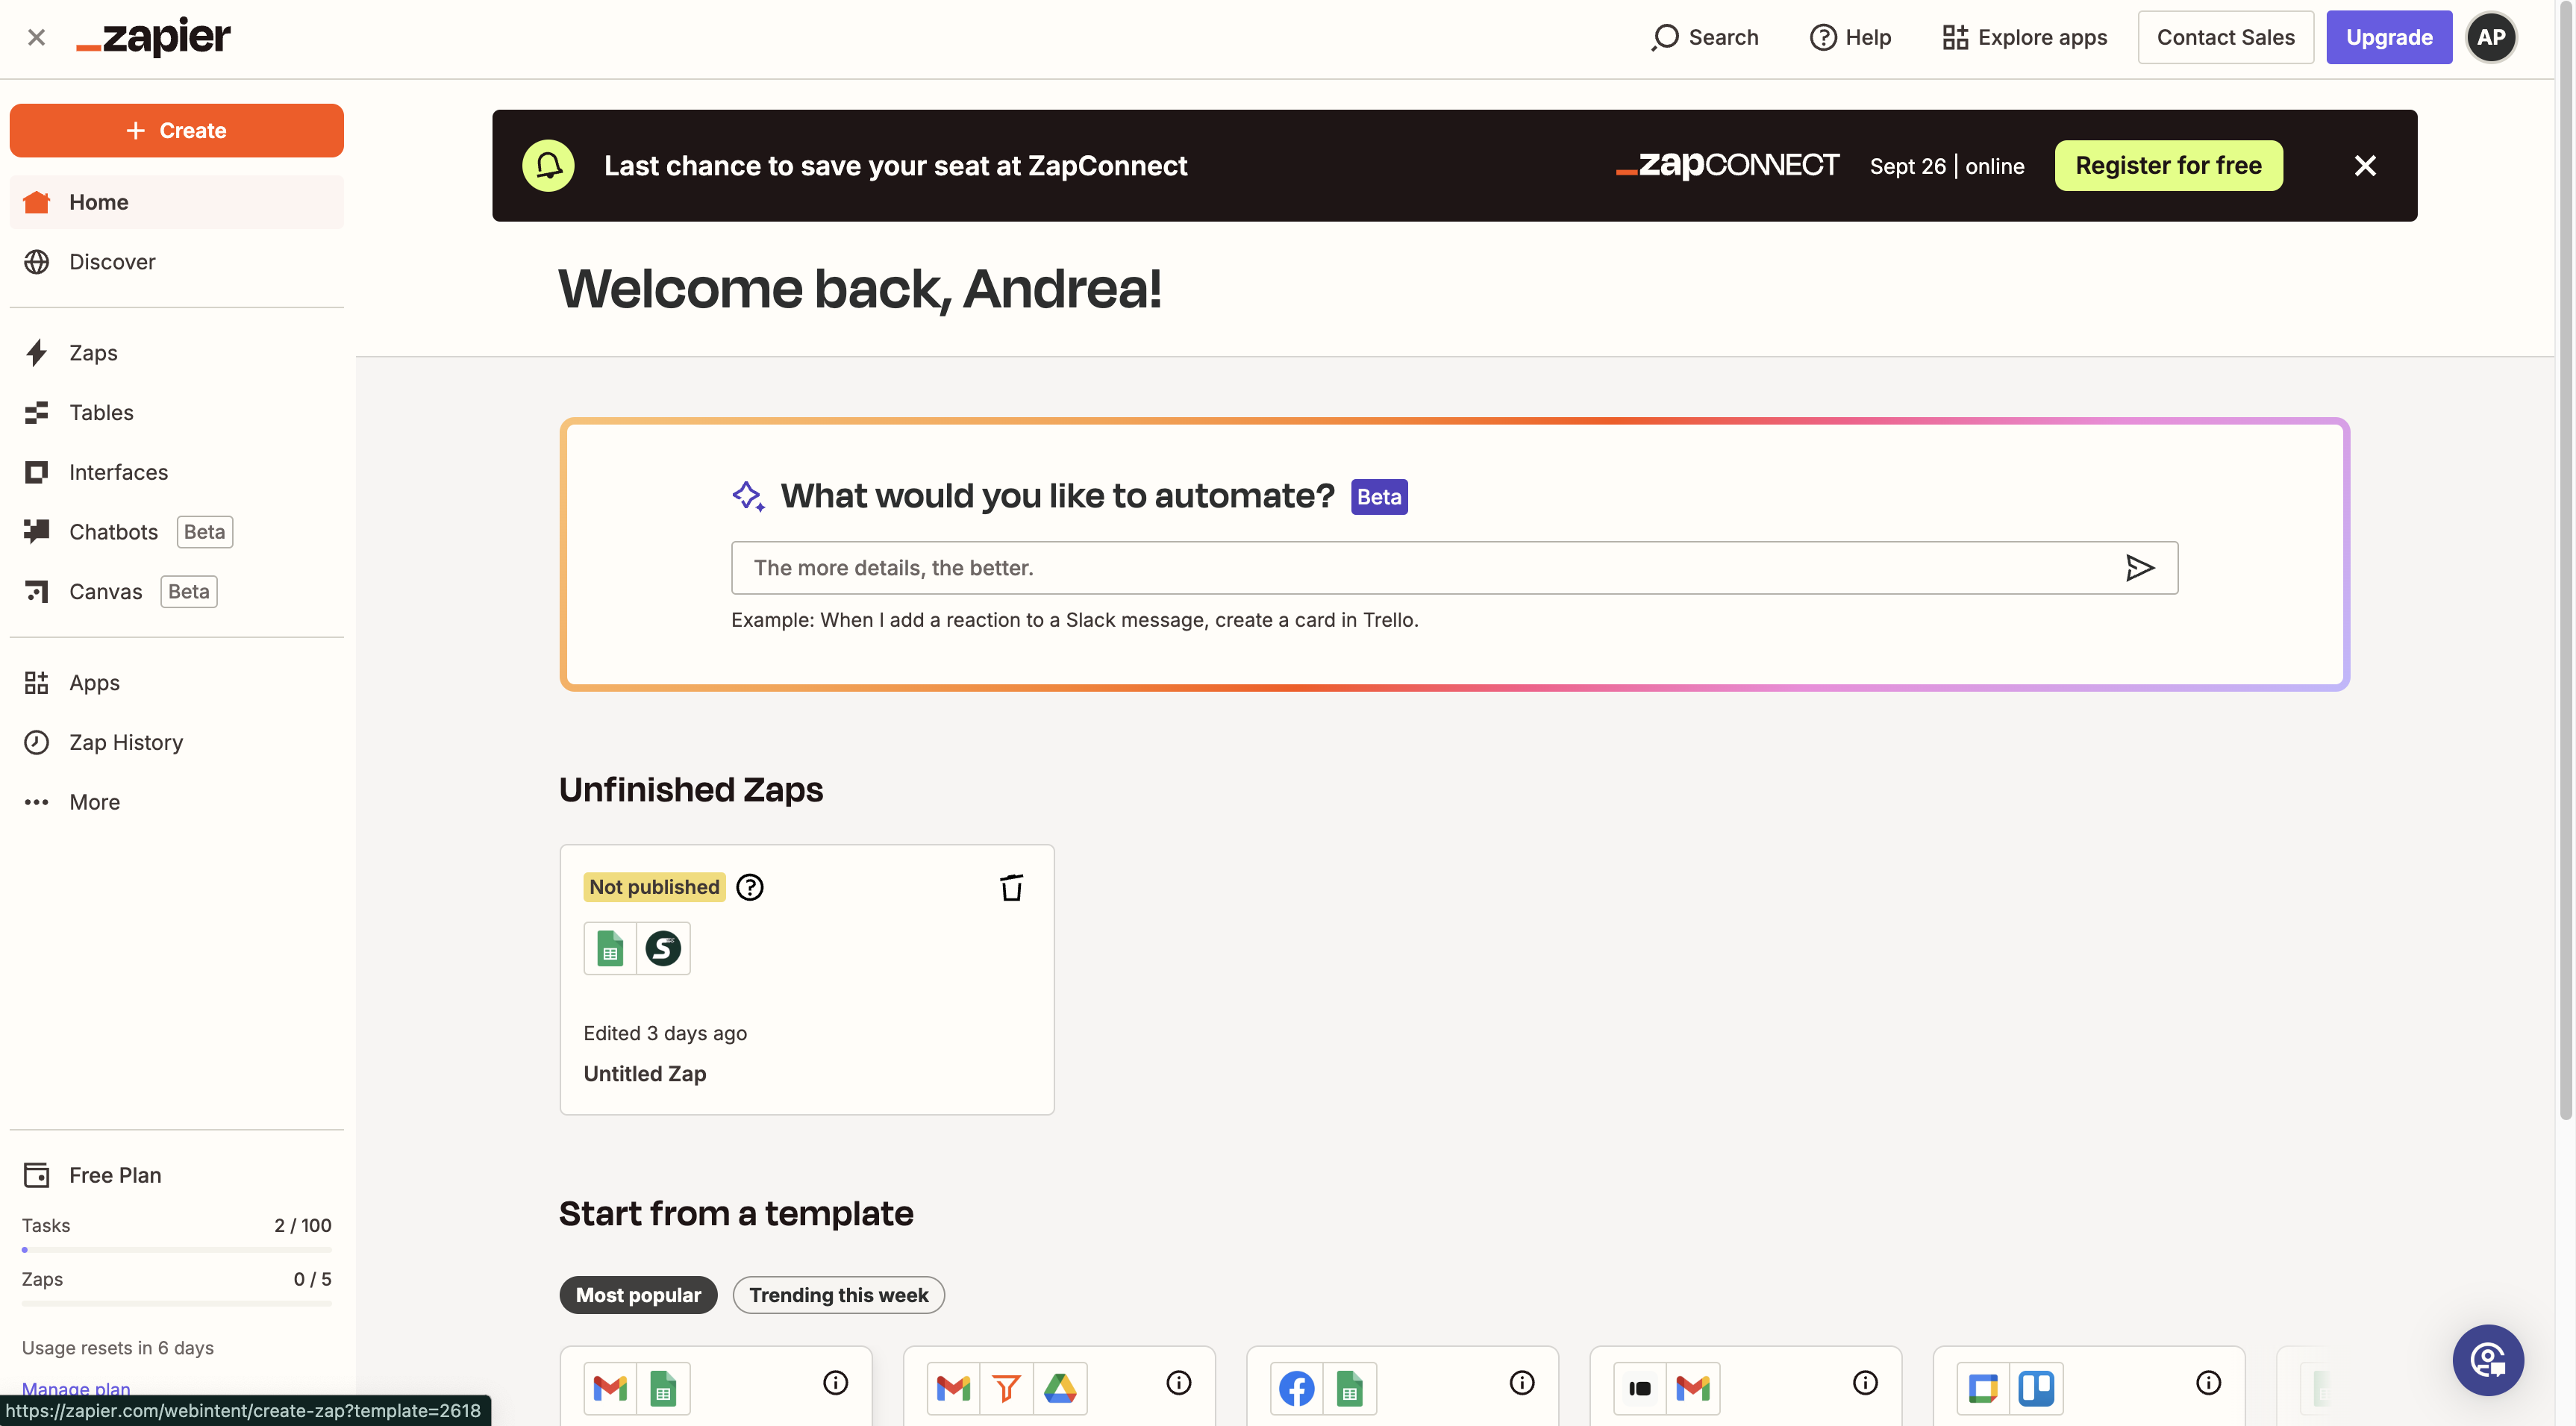
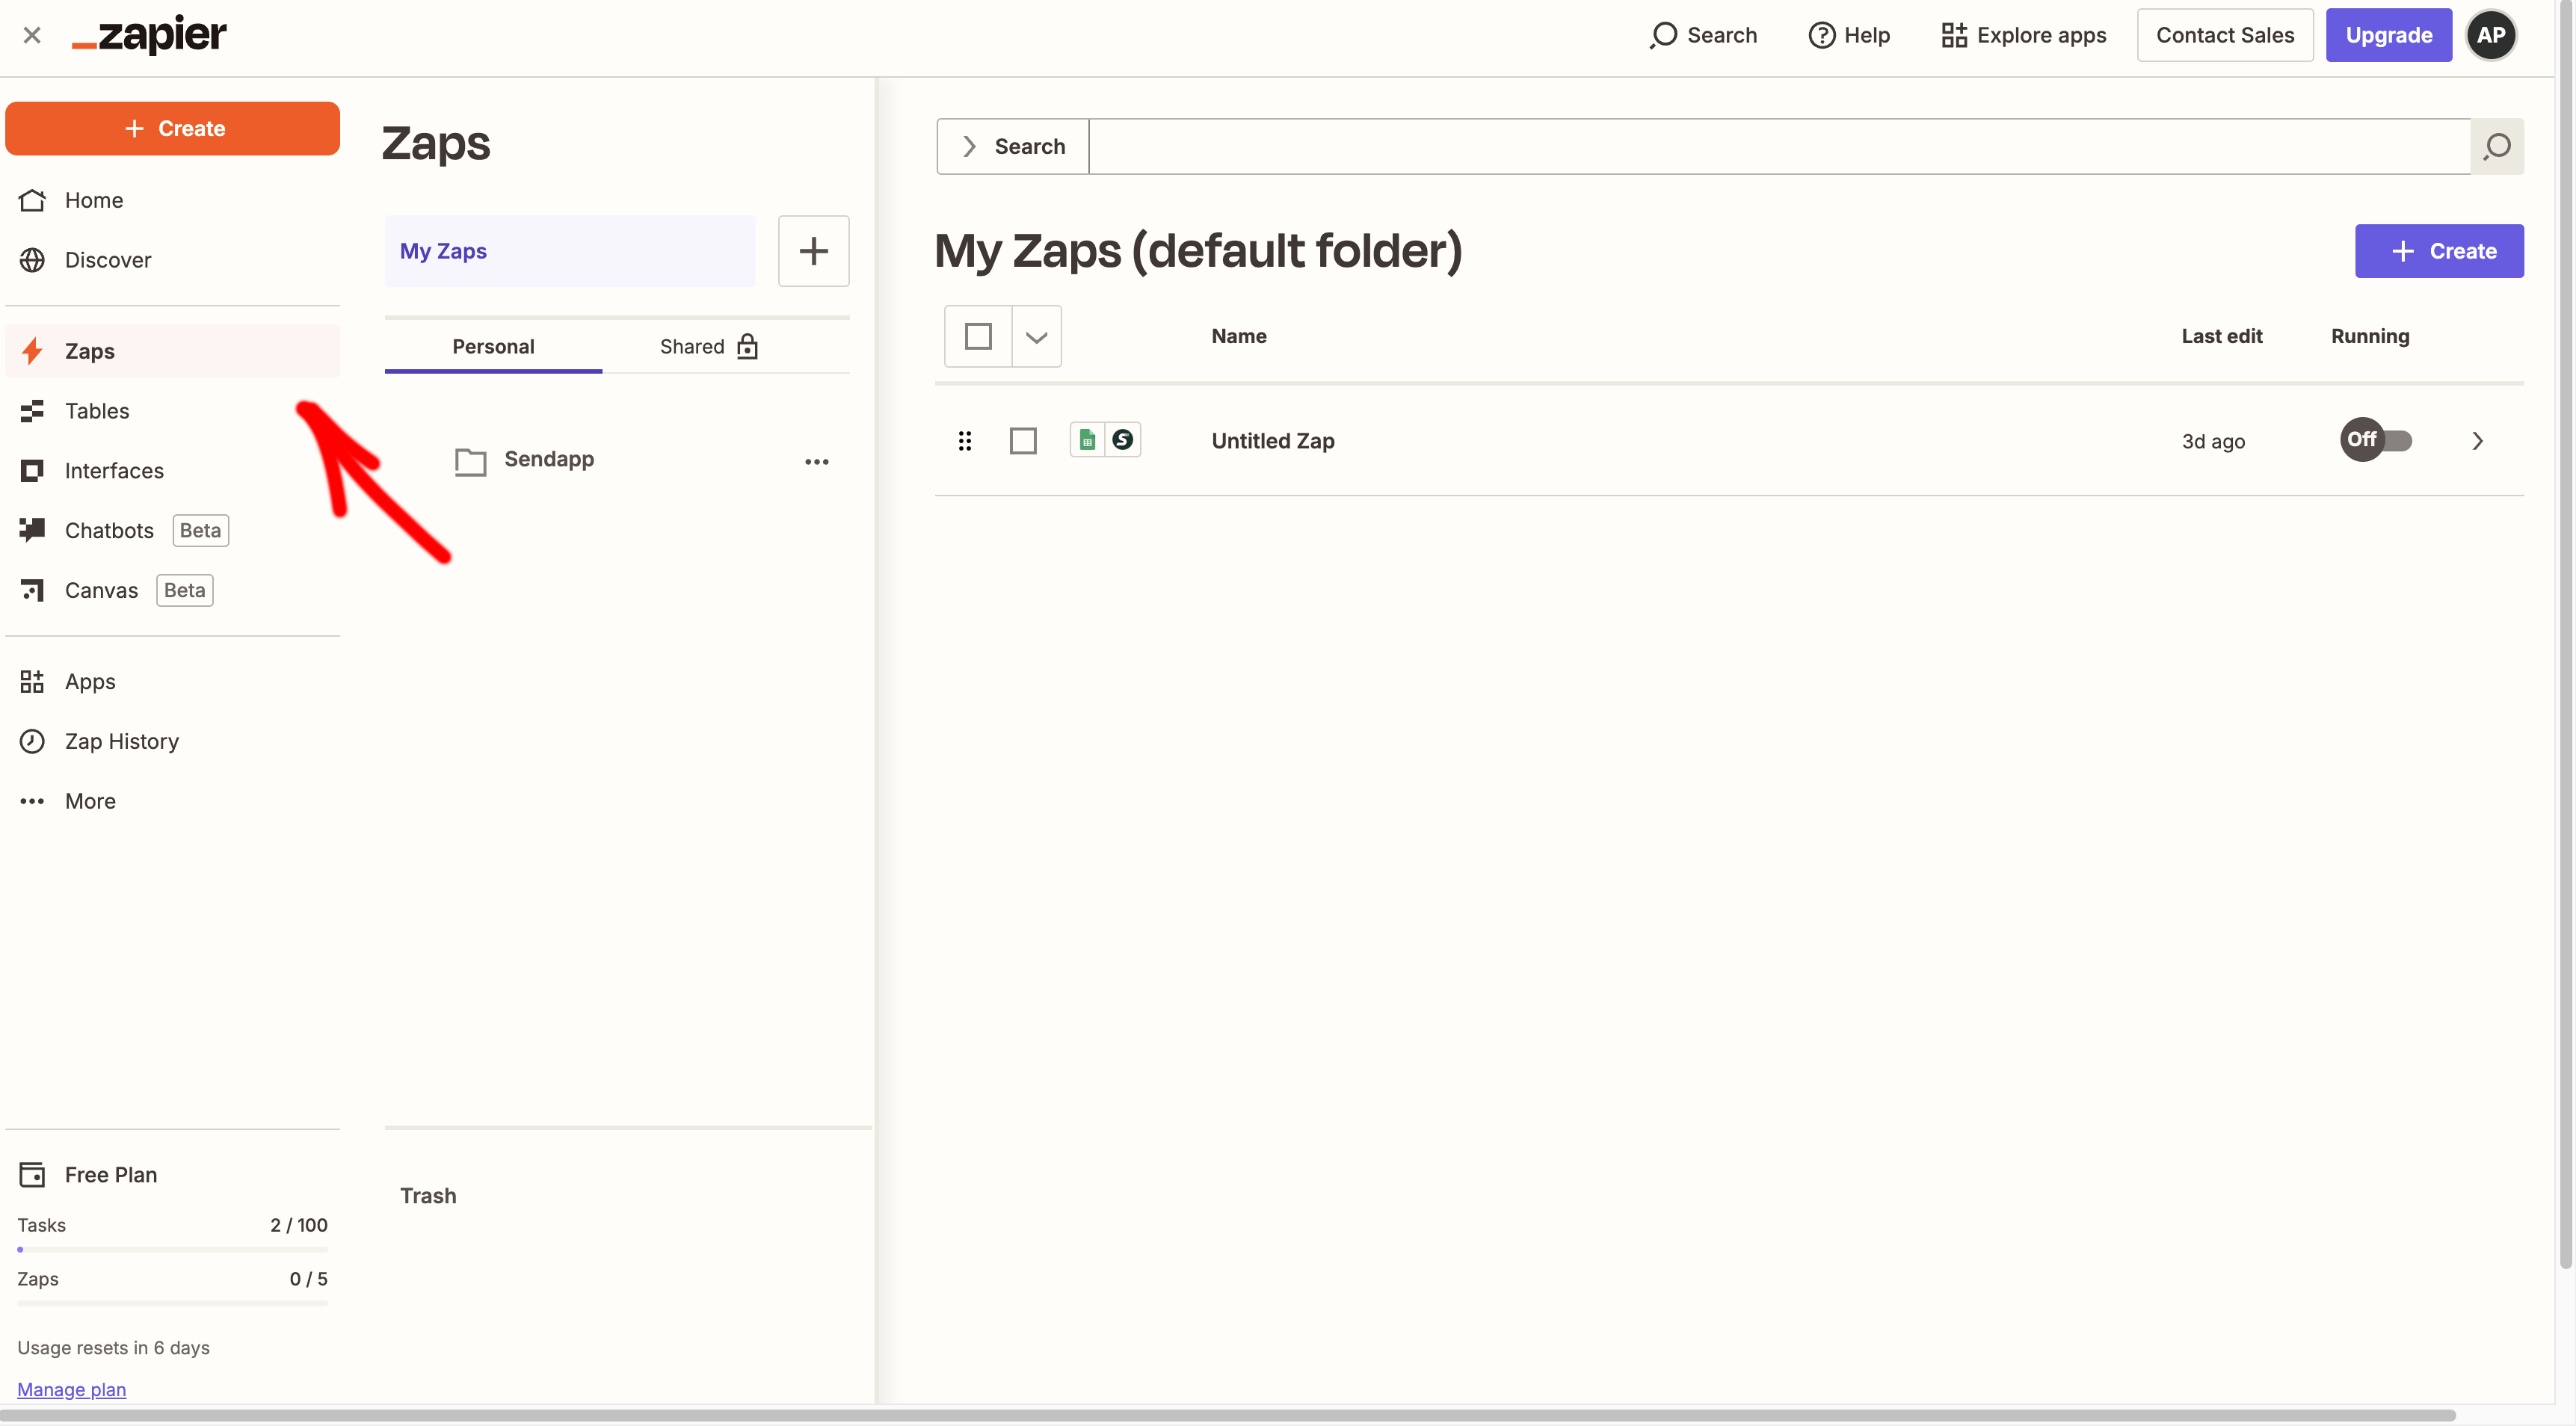
- Sign in to your account Zapier.
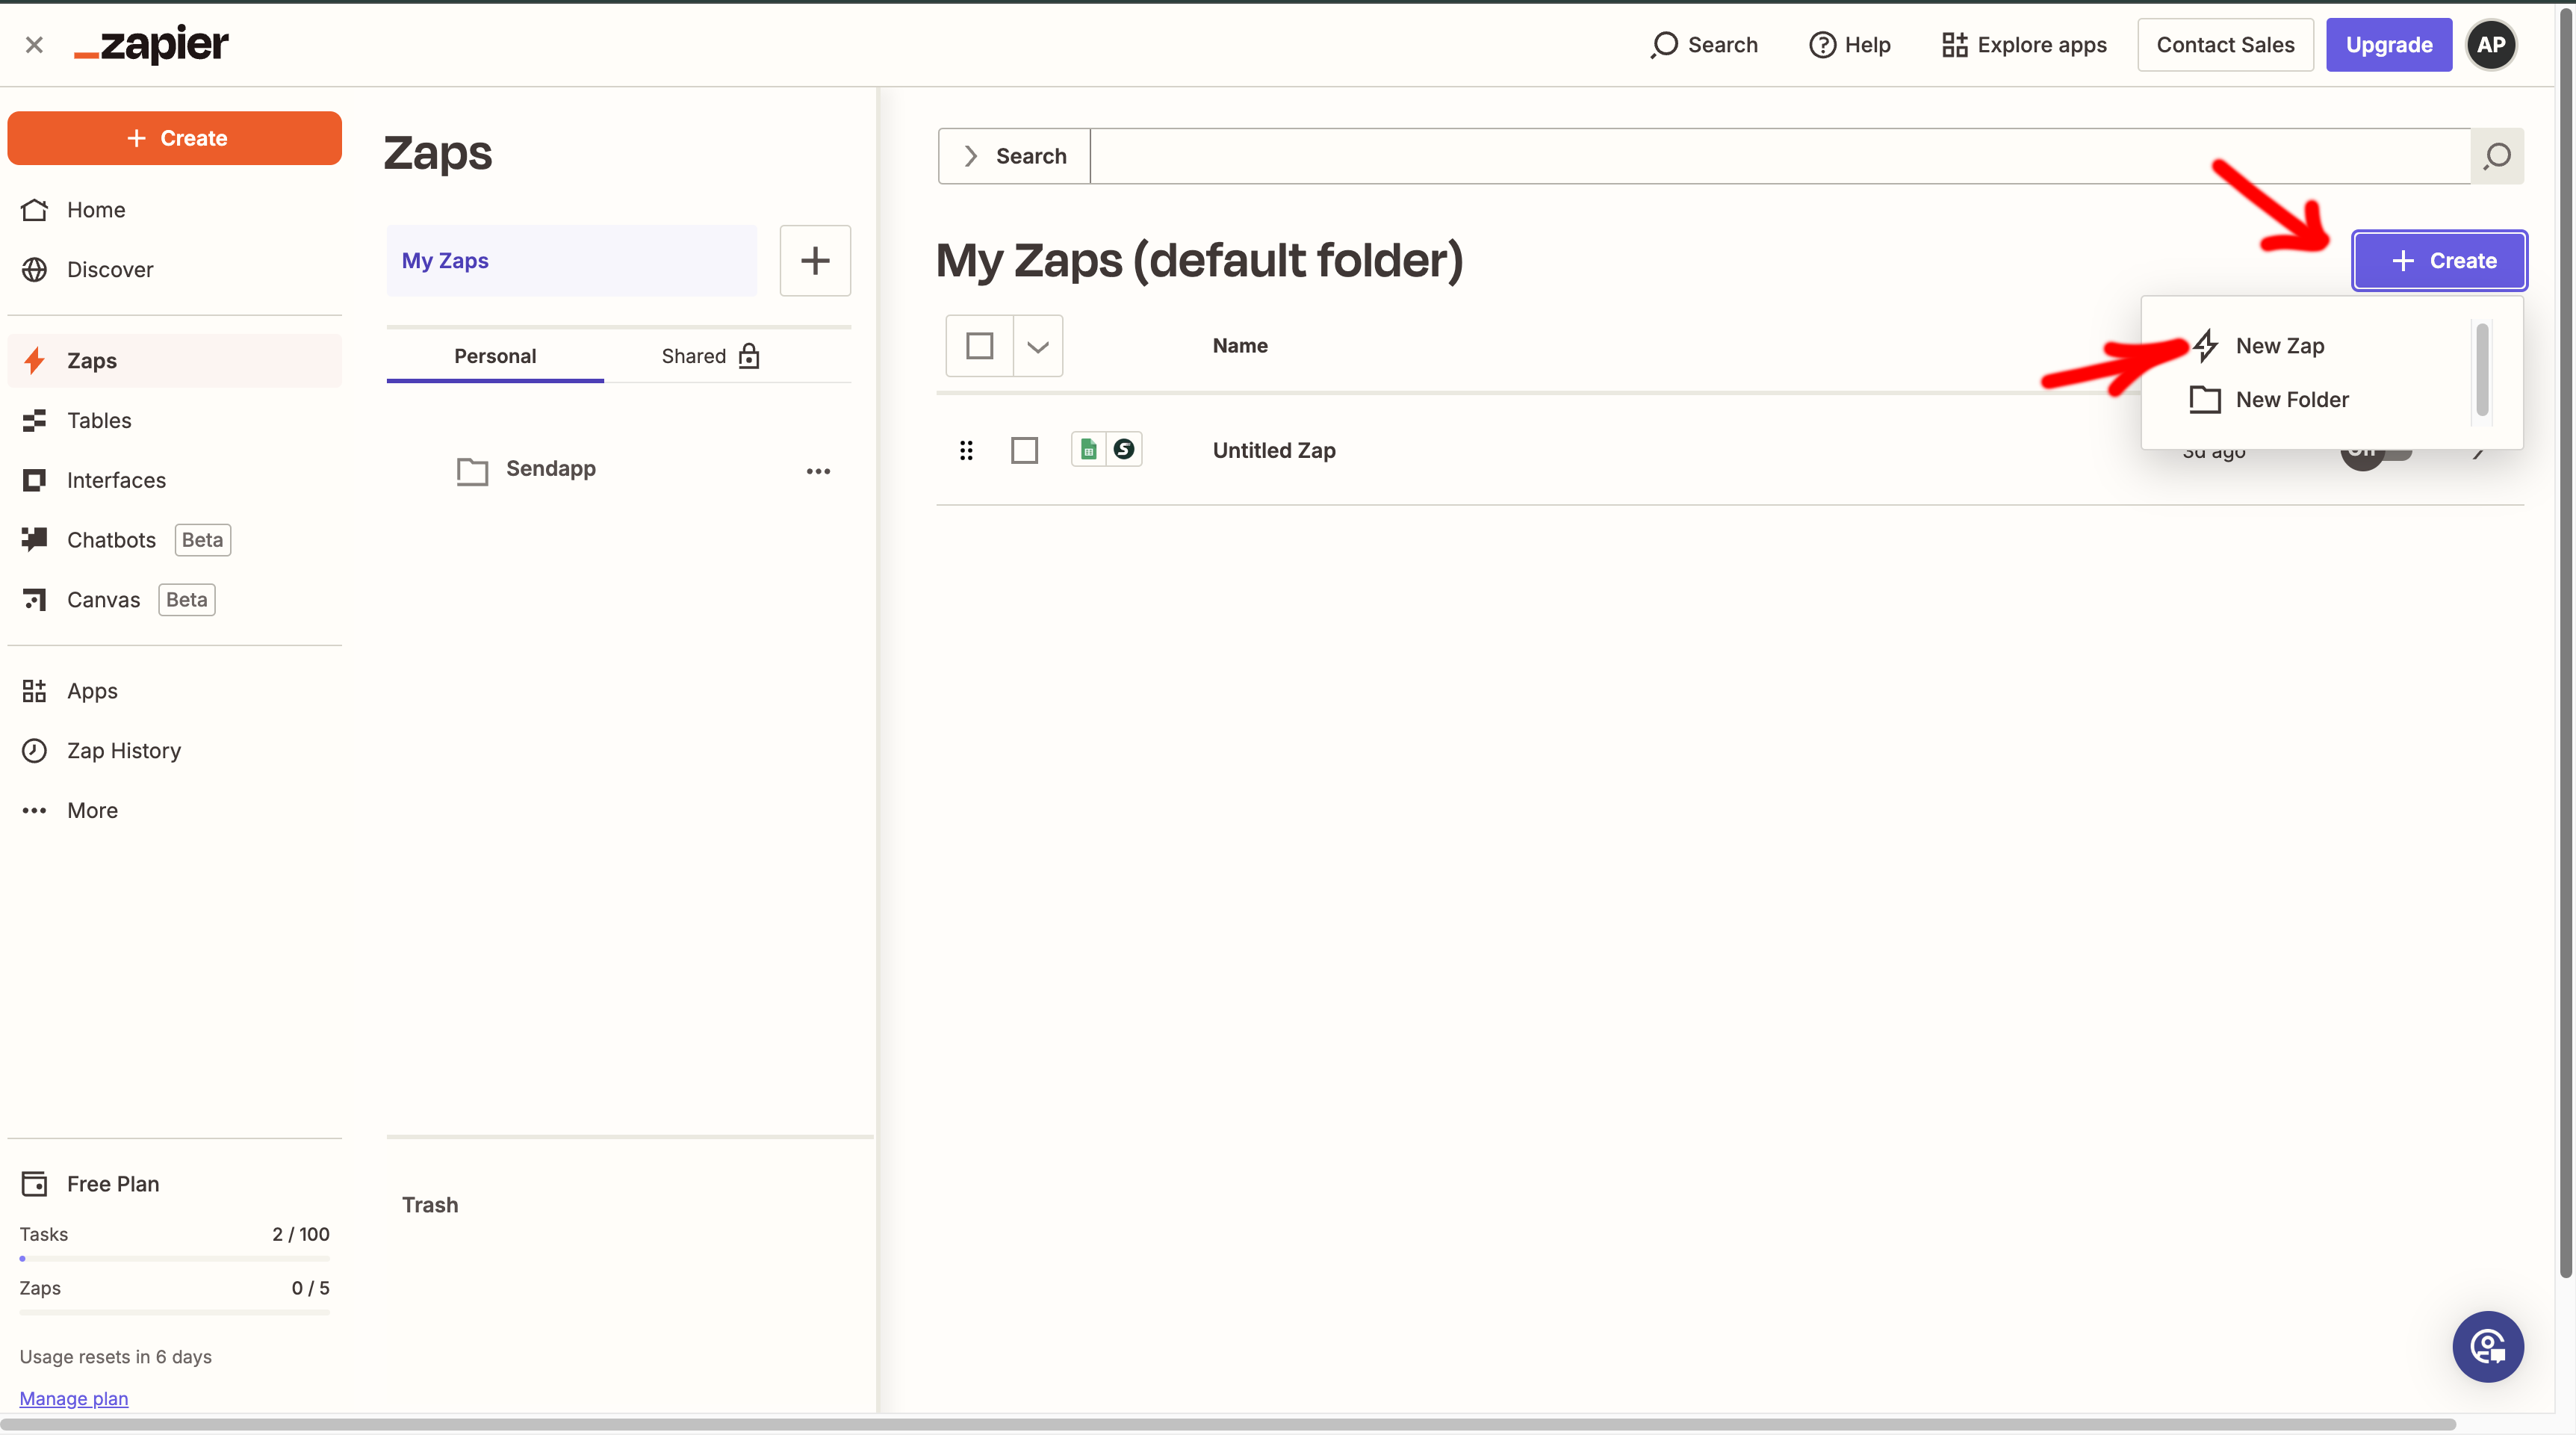
- Click on "Make a Zap".
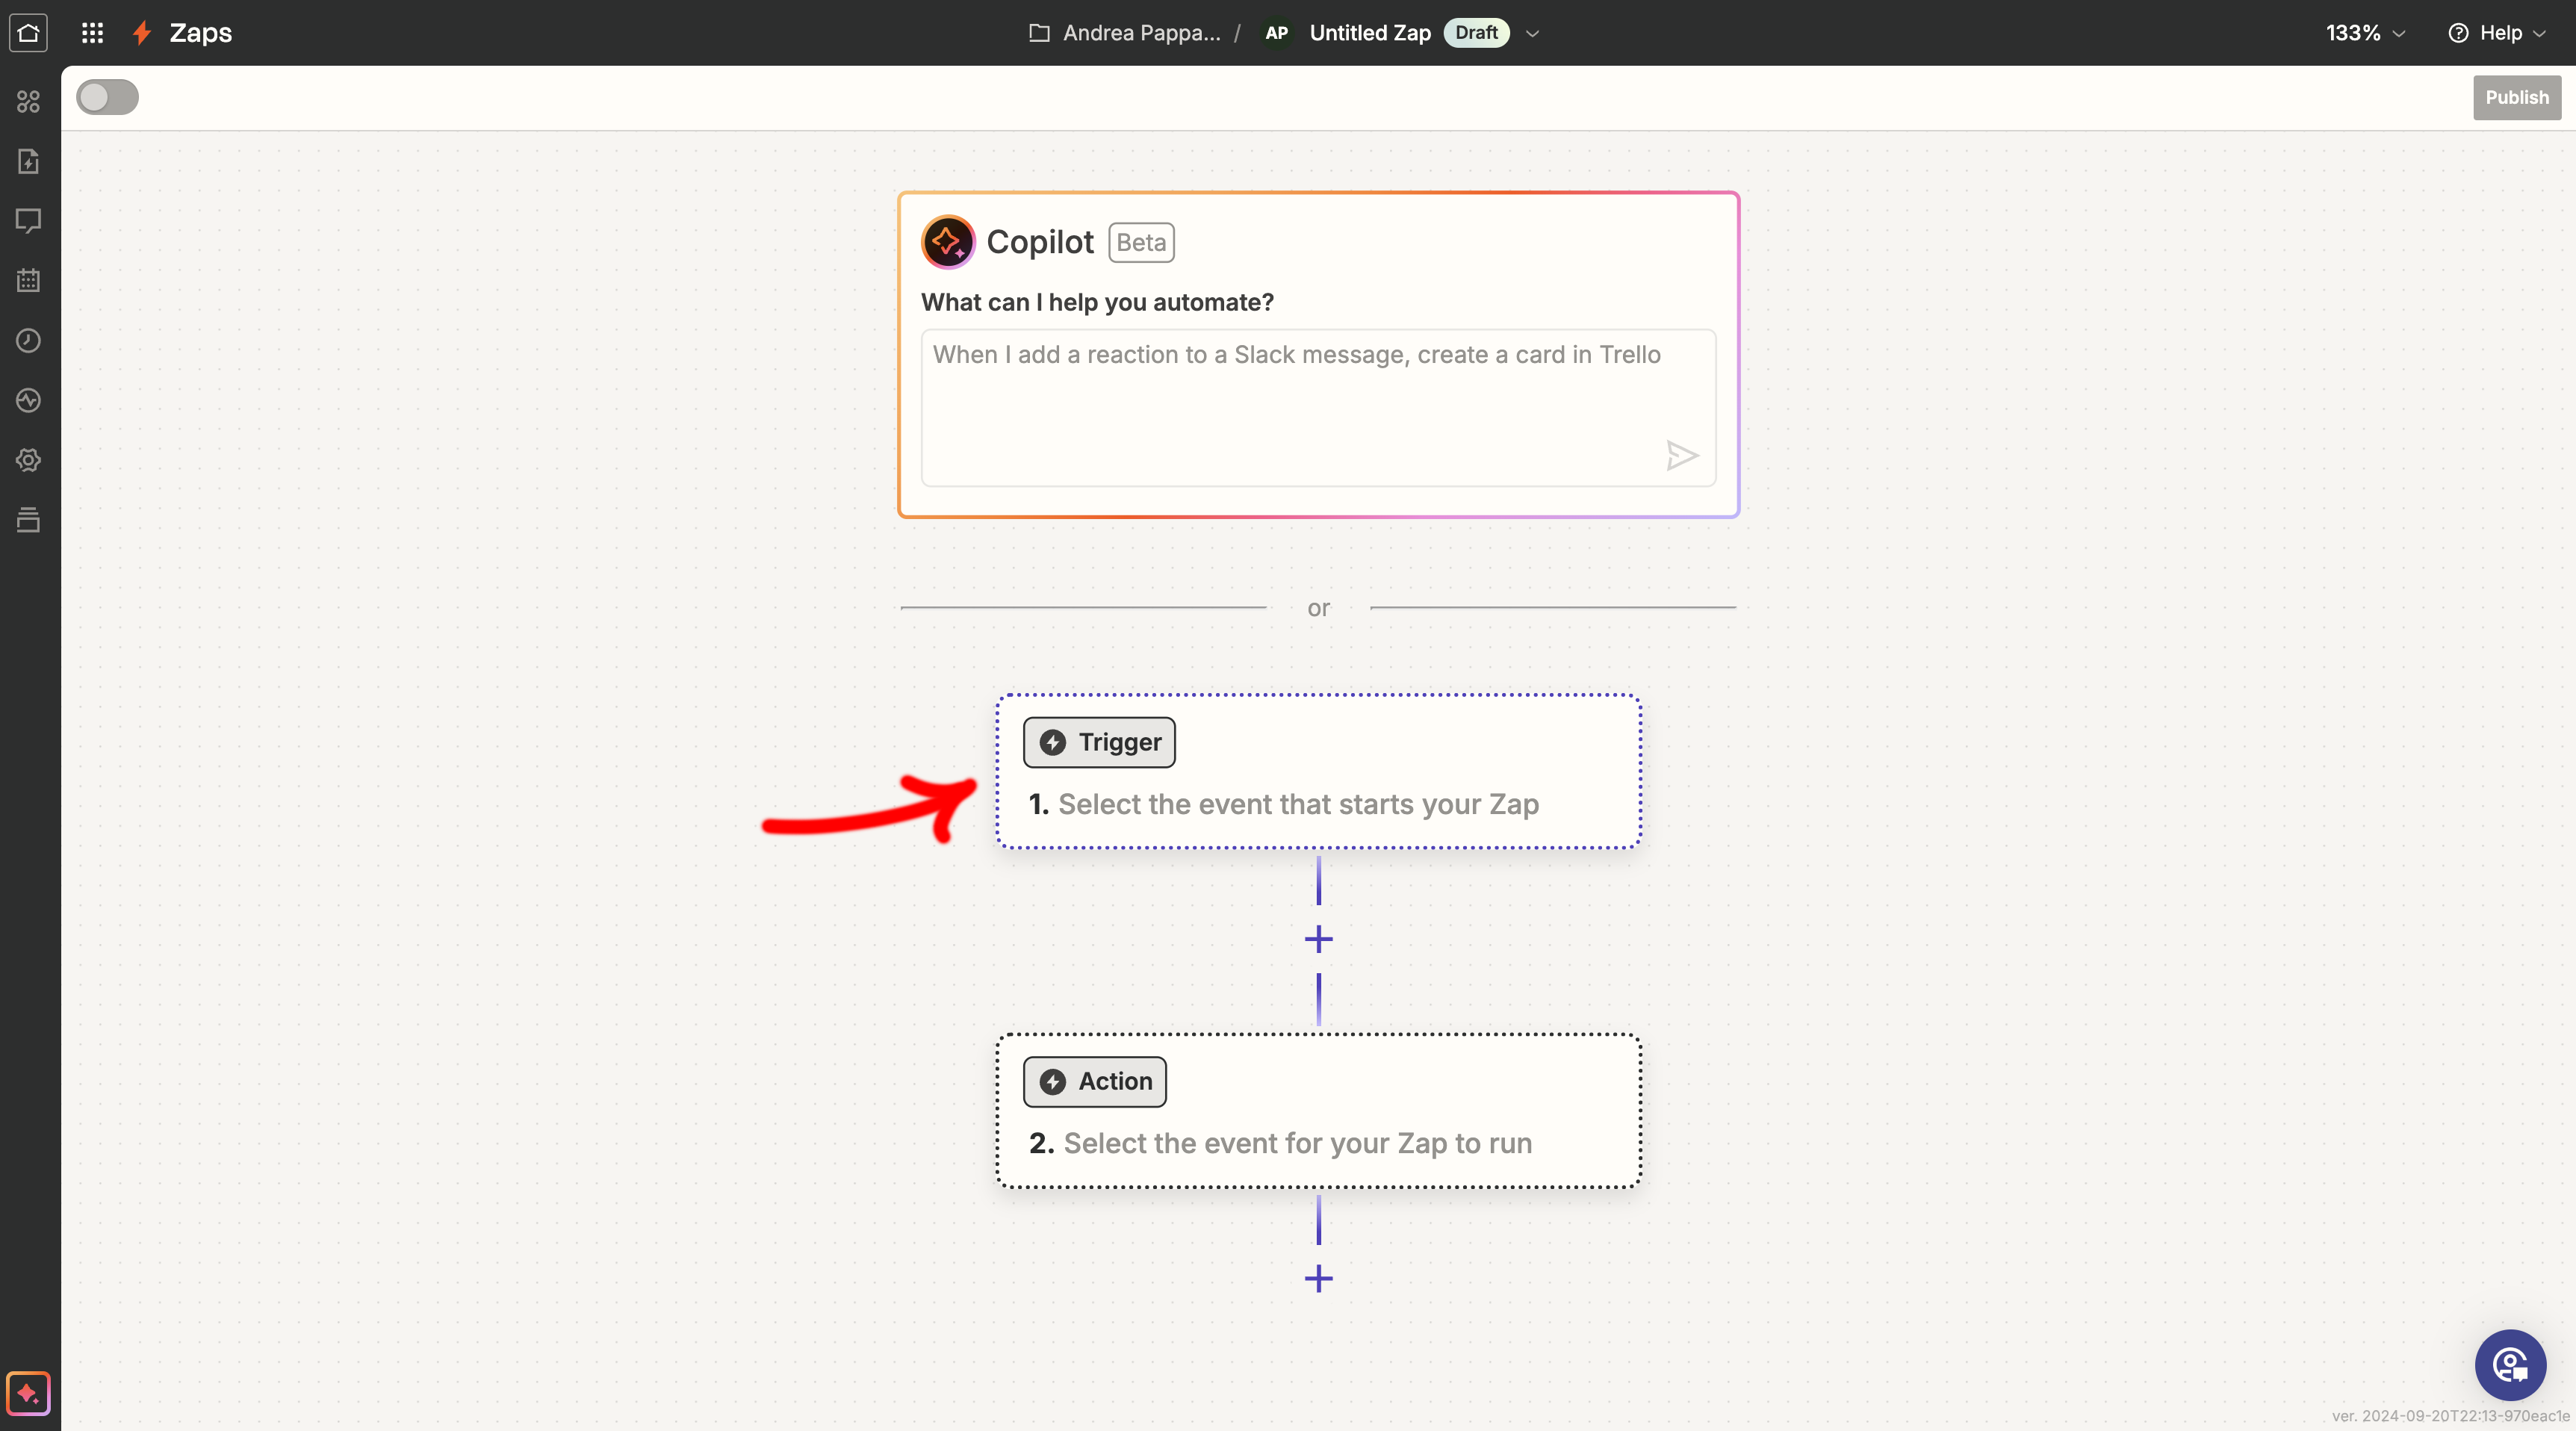
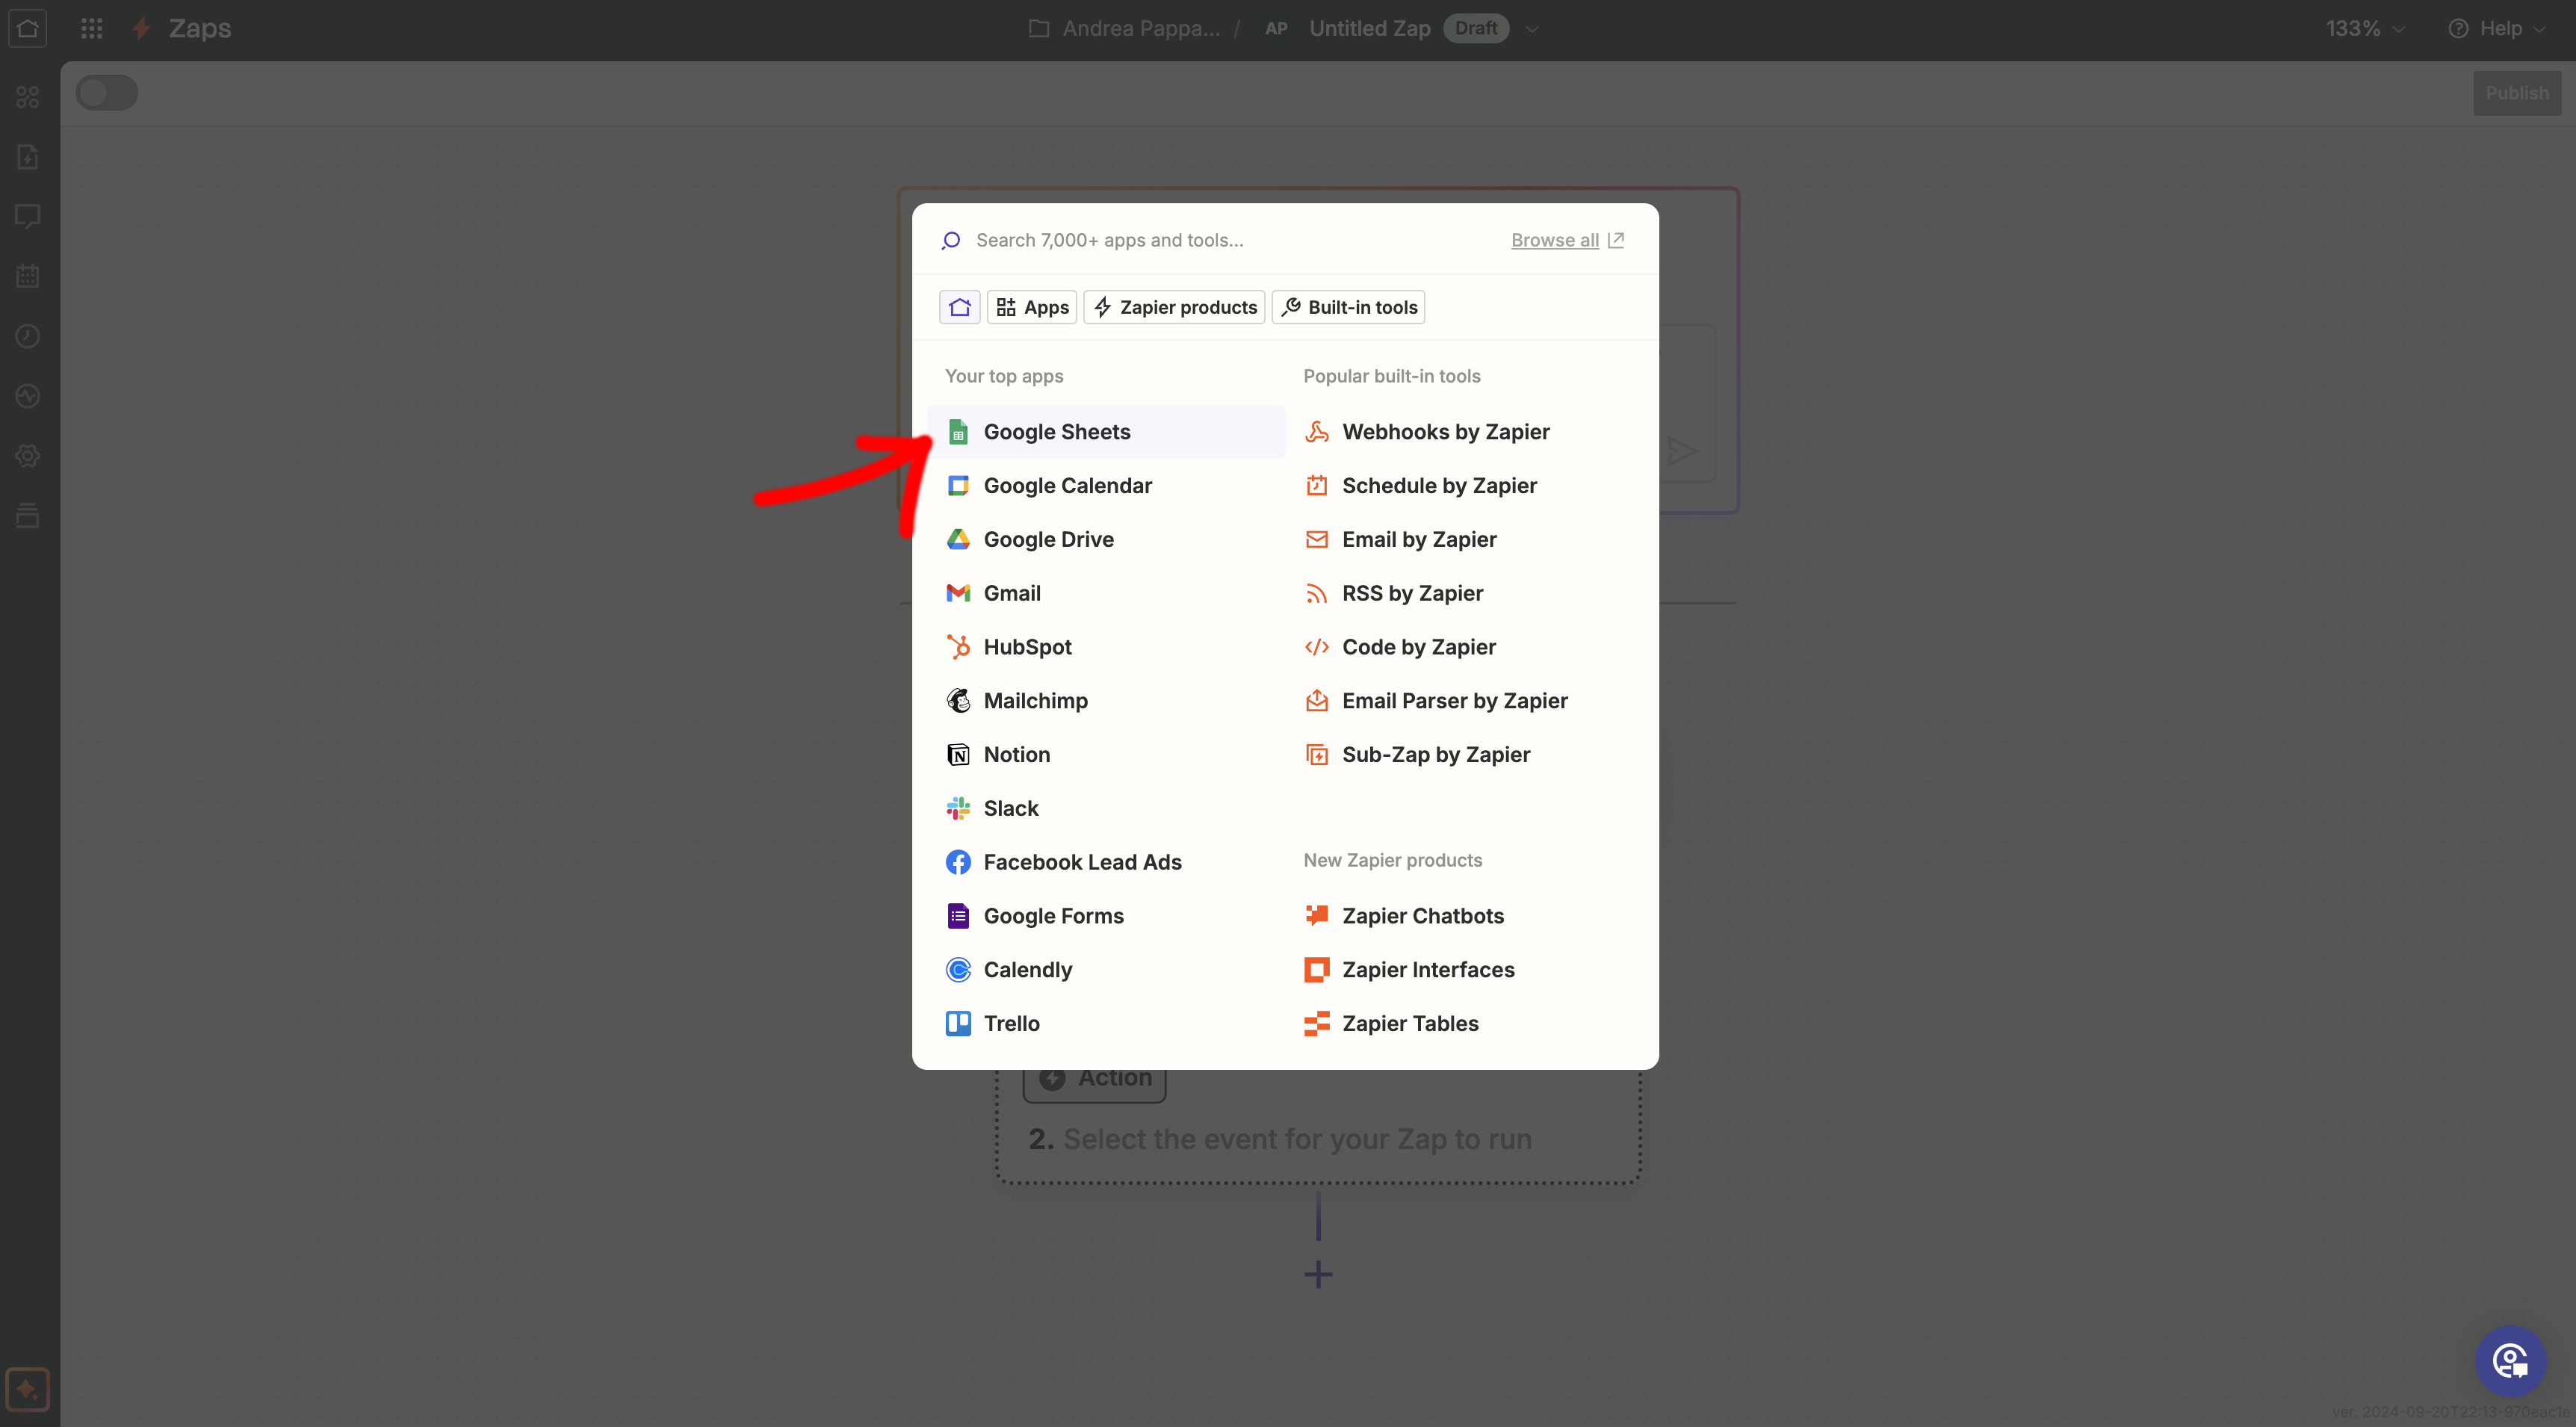
- In the search bar, search Google Sheets and select it as "Trigger App."
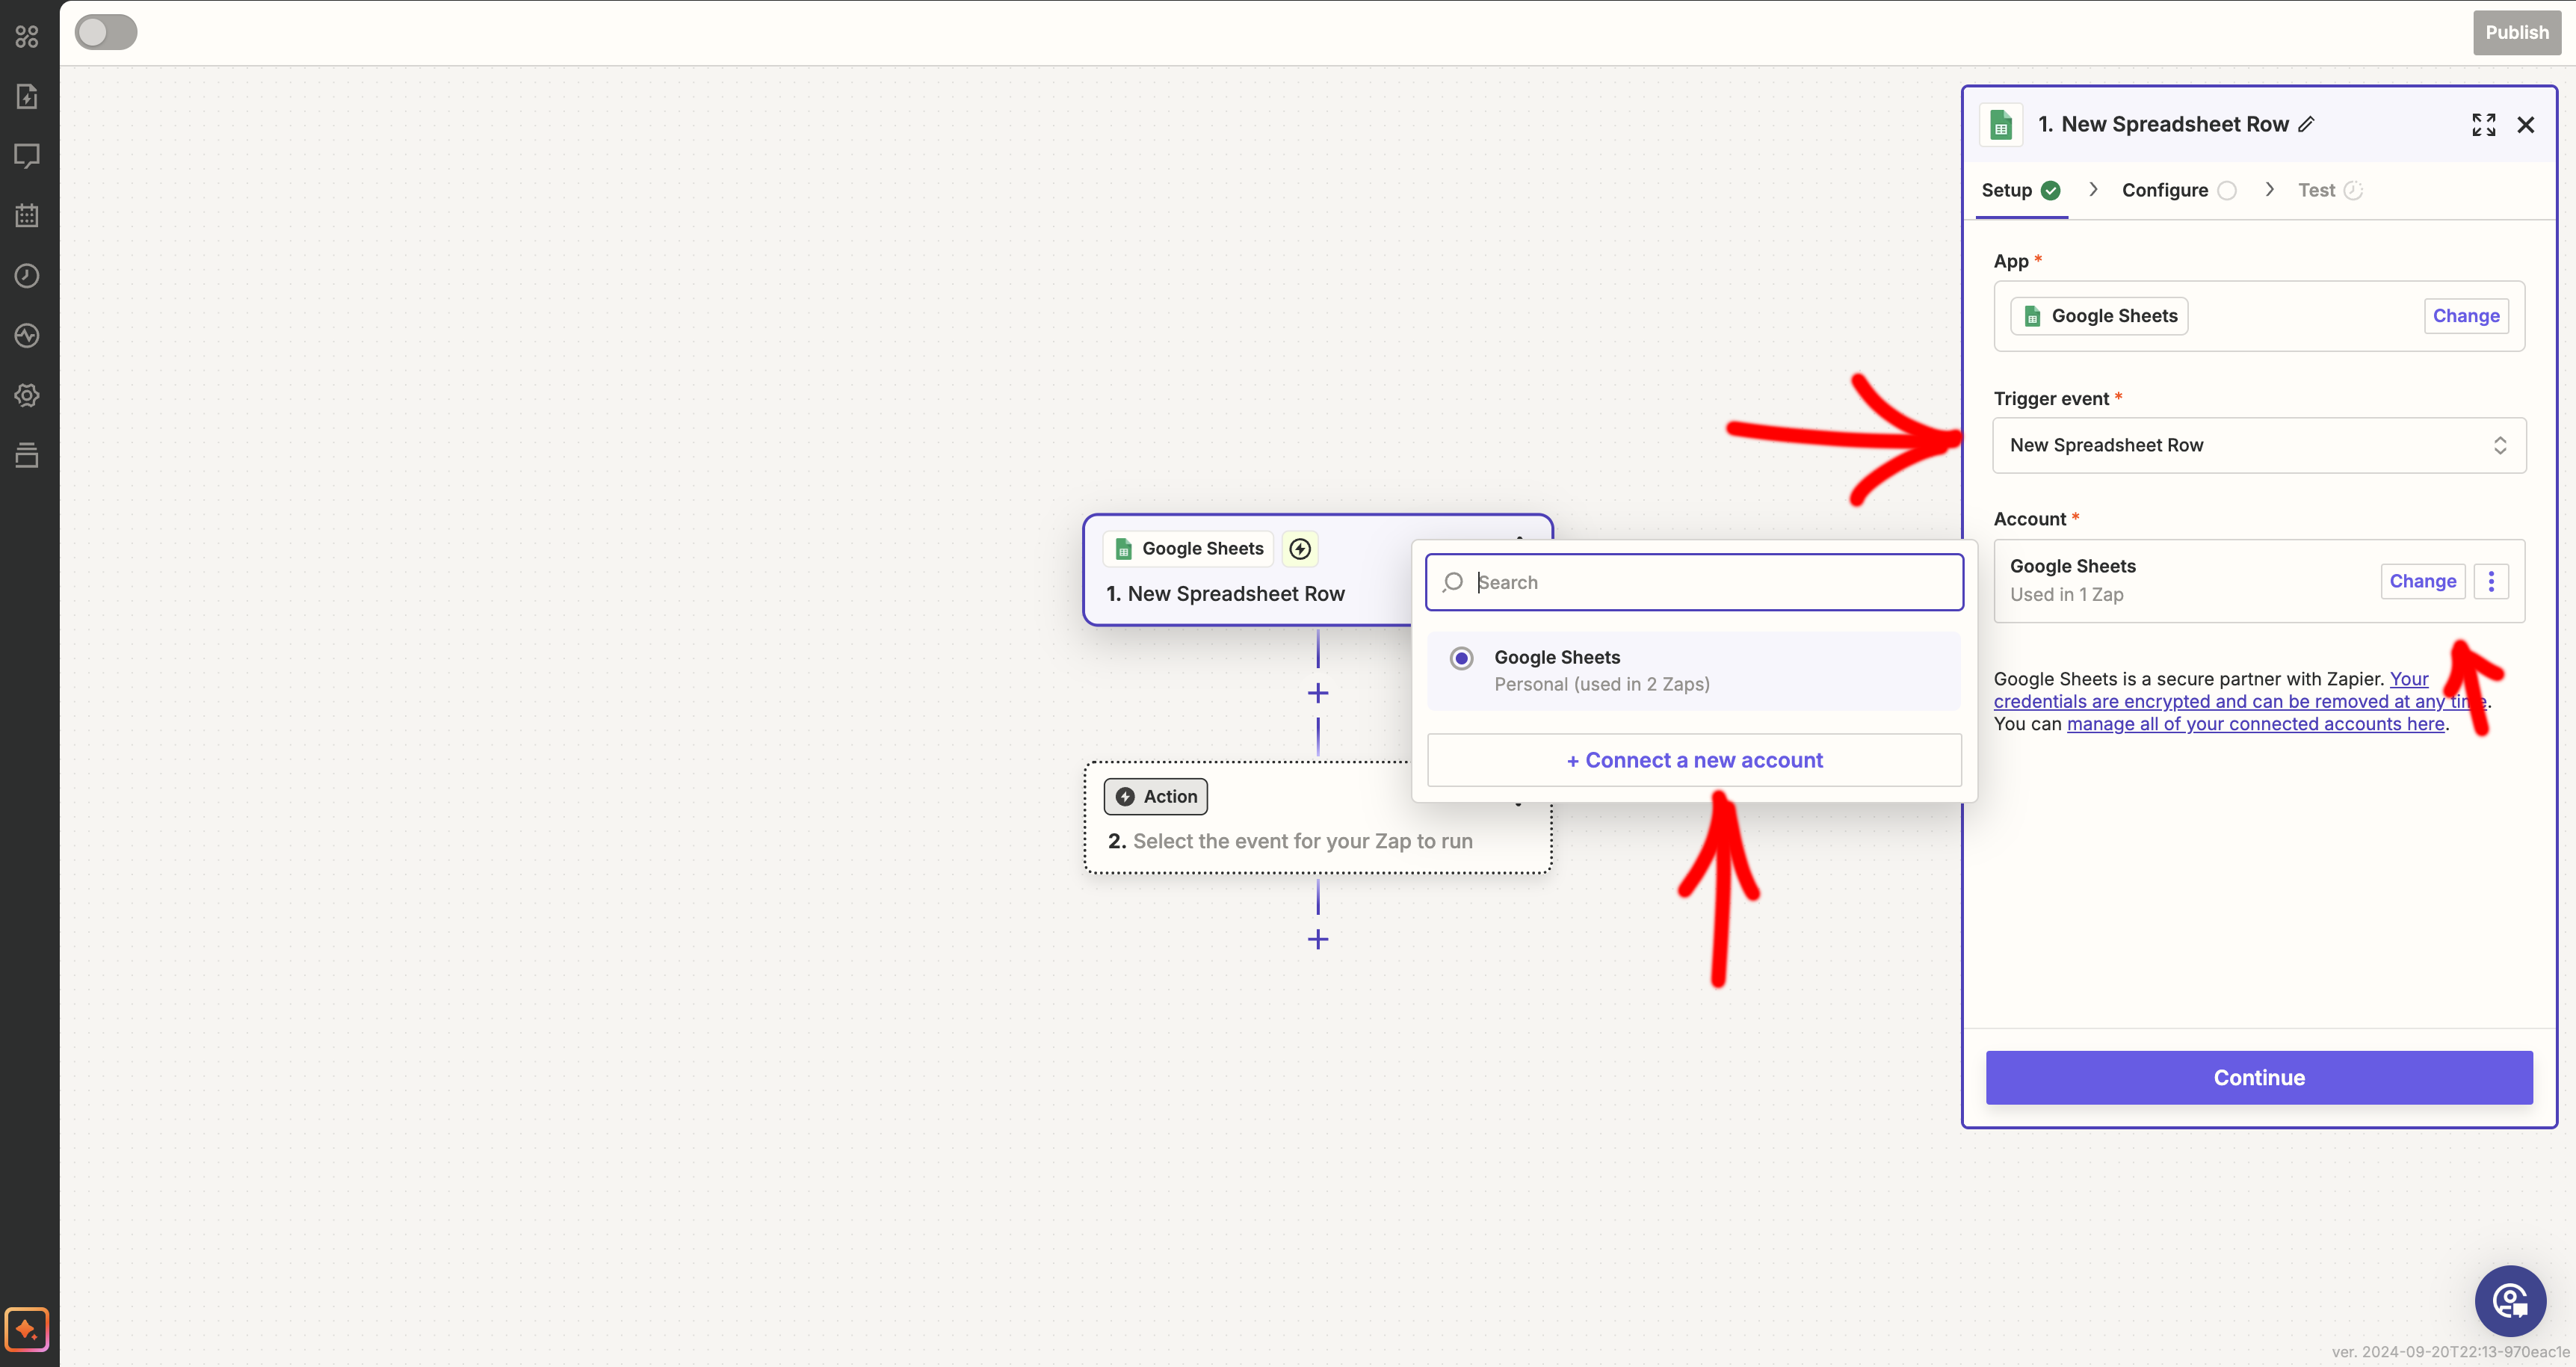
- Choose the trigger "New Spreadsheet Row", which will be activated every time you add a new row to the sheet.
 Step 5: Configure the Google Sheet
- Select the account Google To which you want to link Zapier.
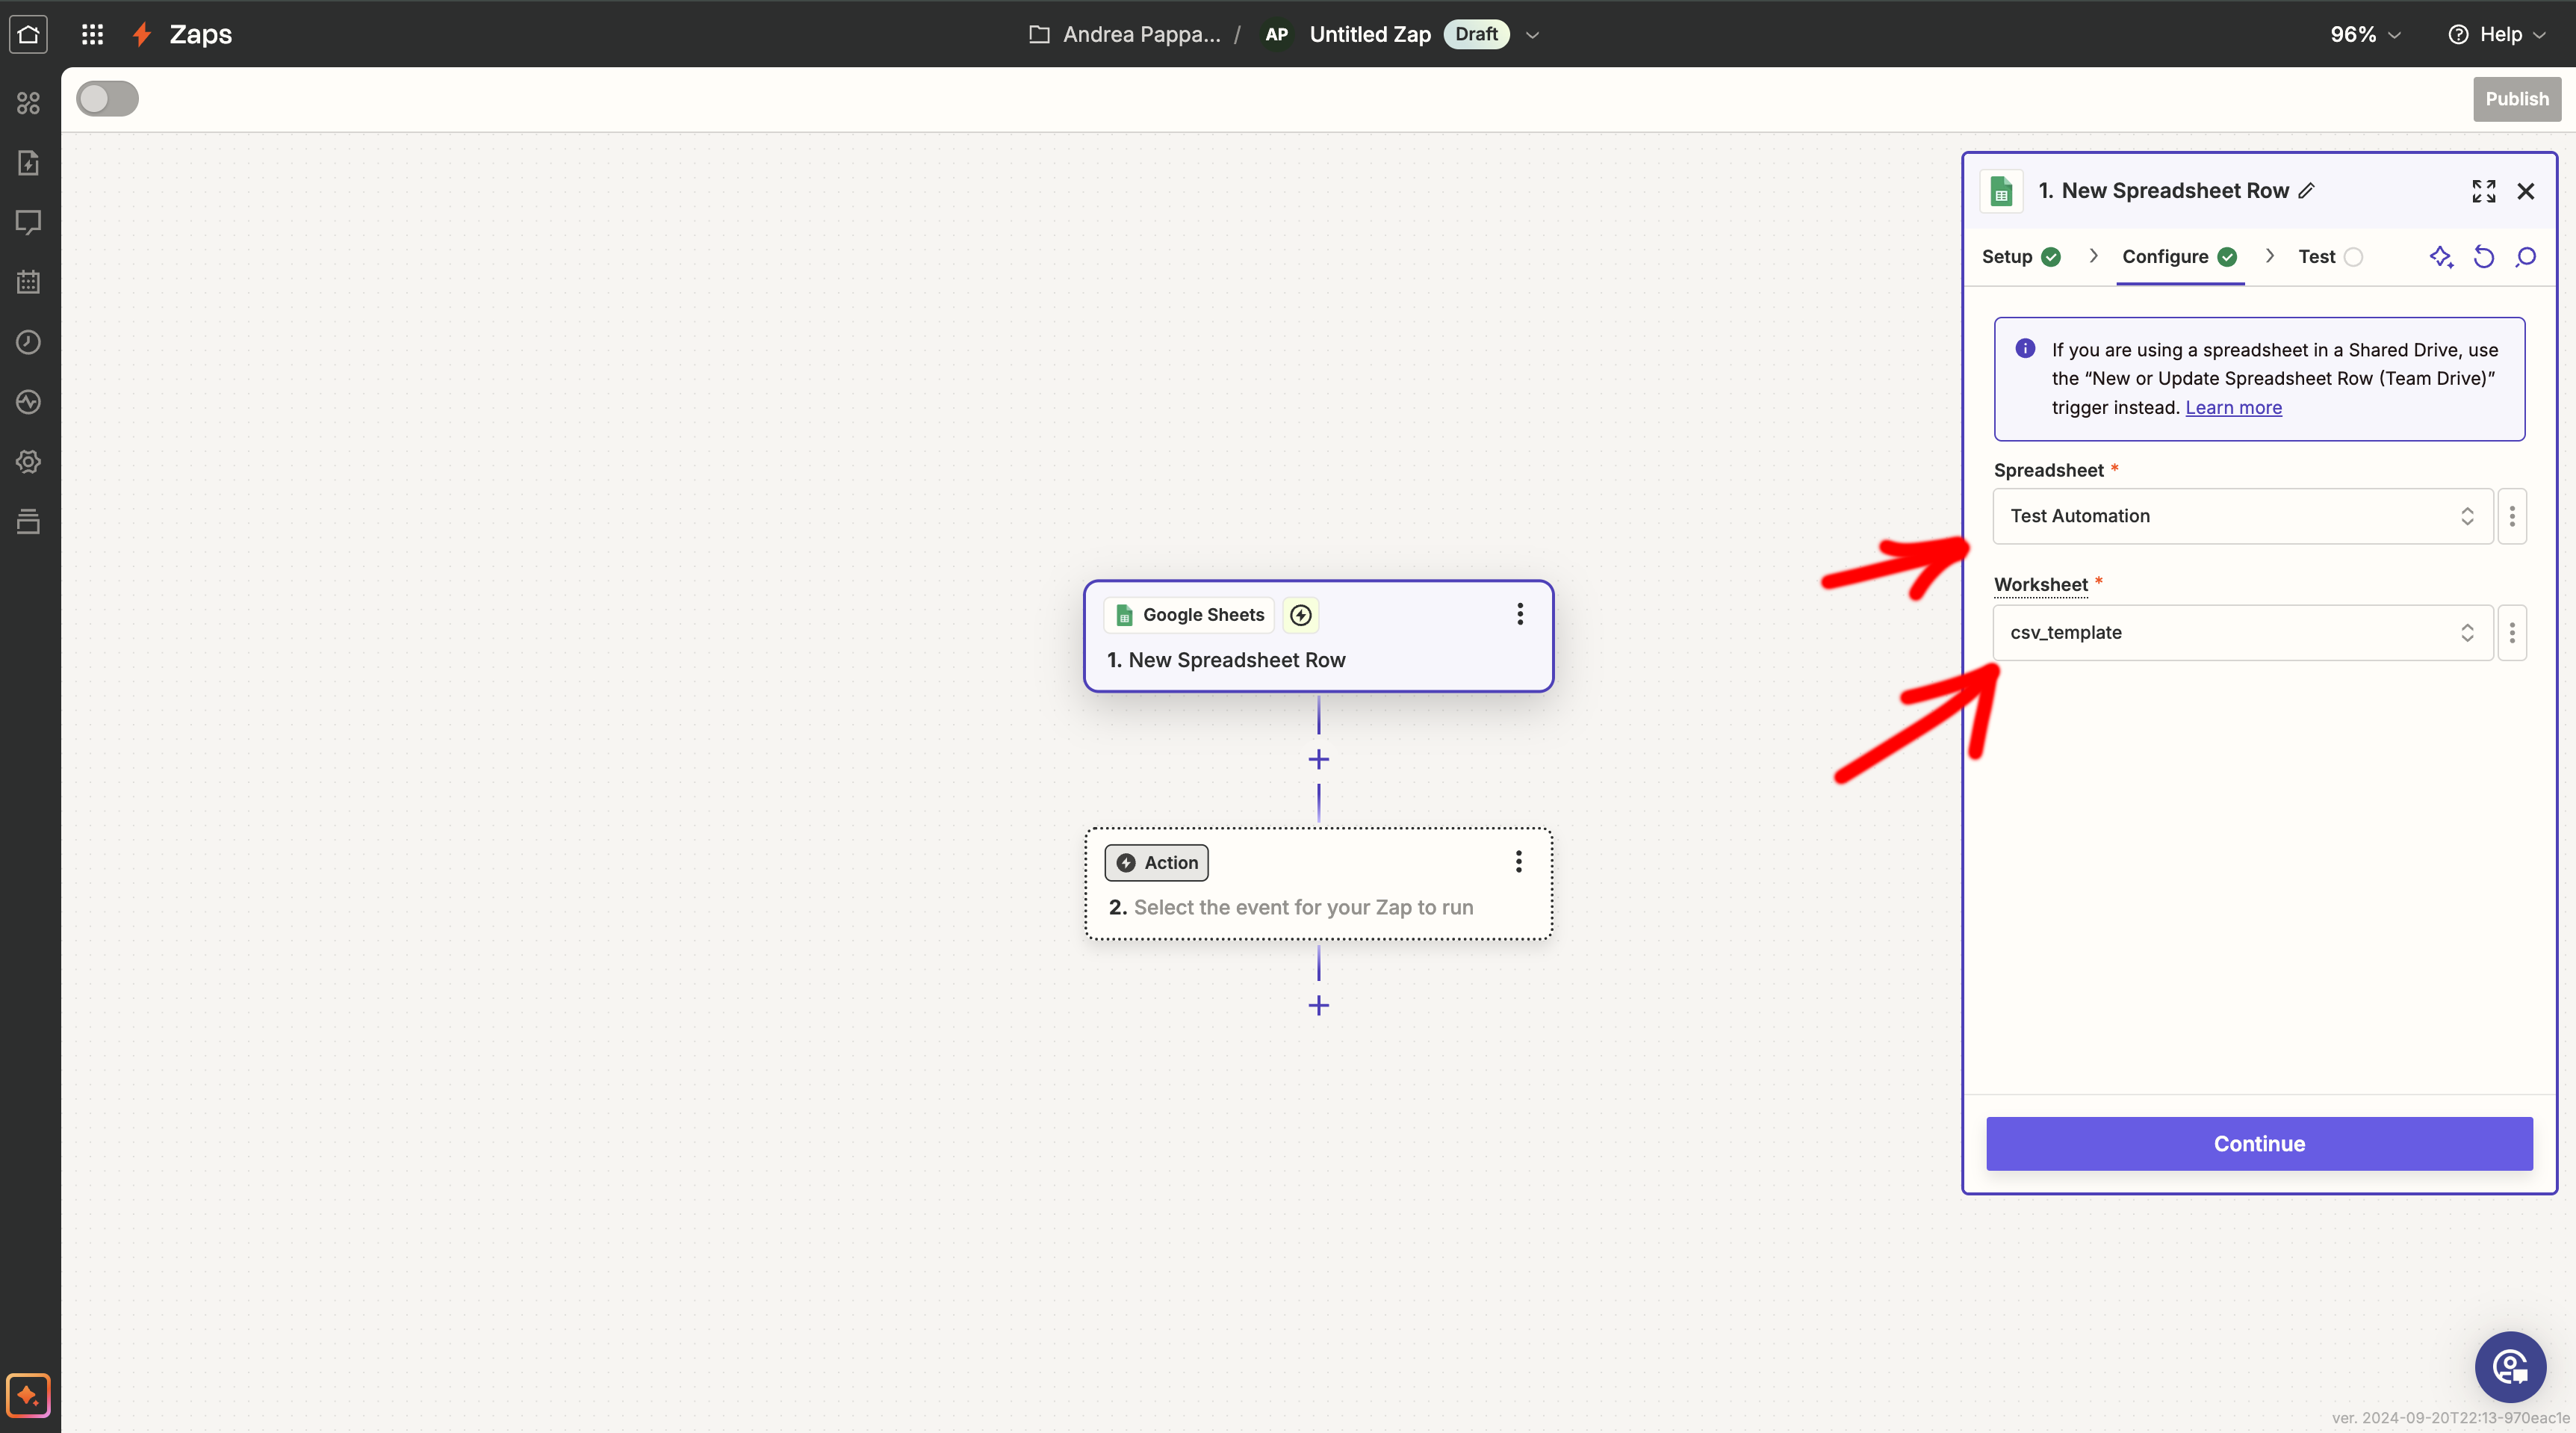
- On the next screen, choose the spreadsheet and the CSV template you have prepared.
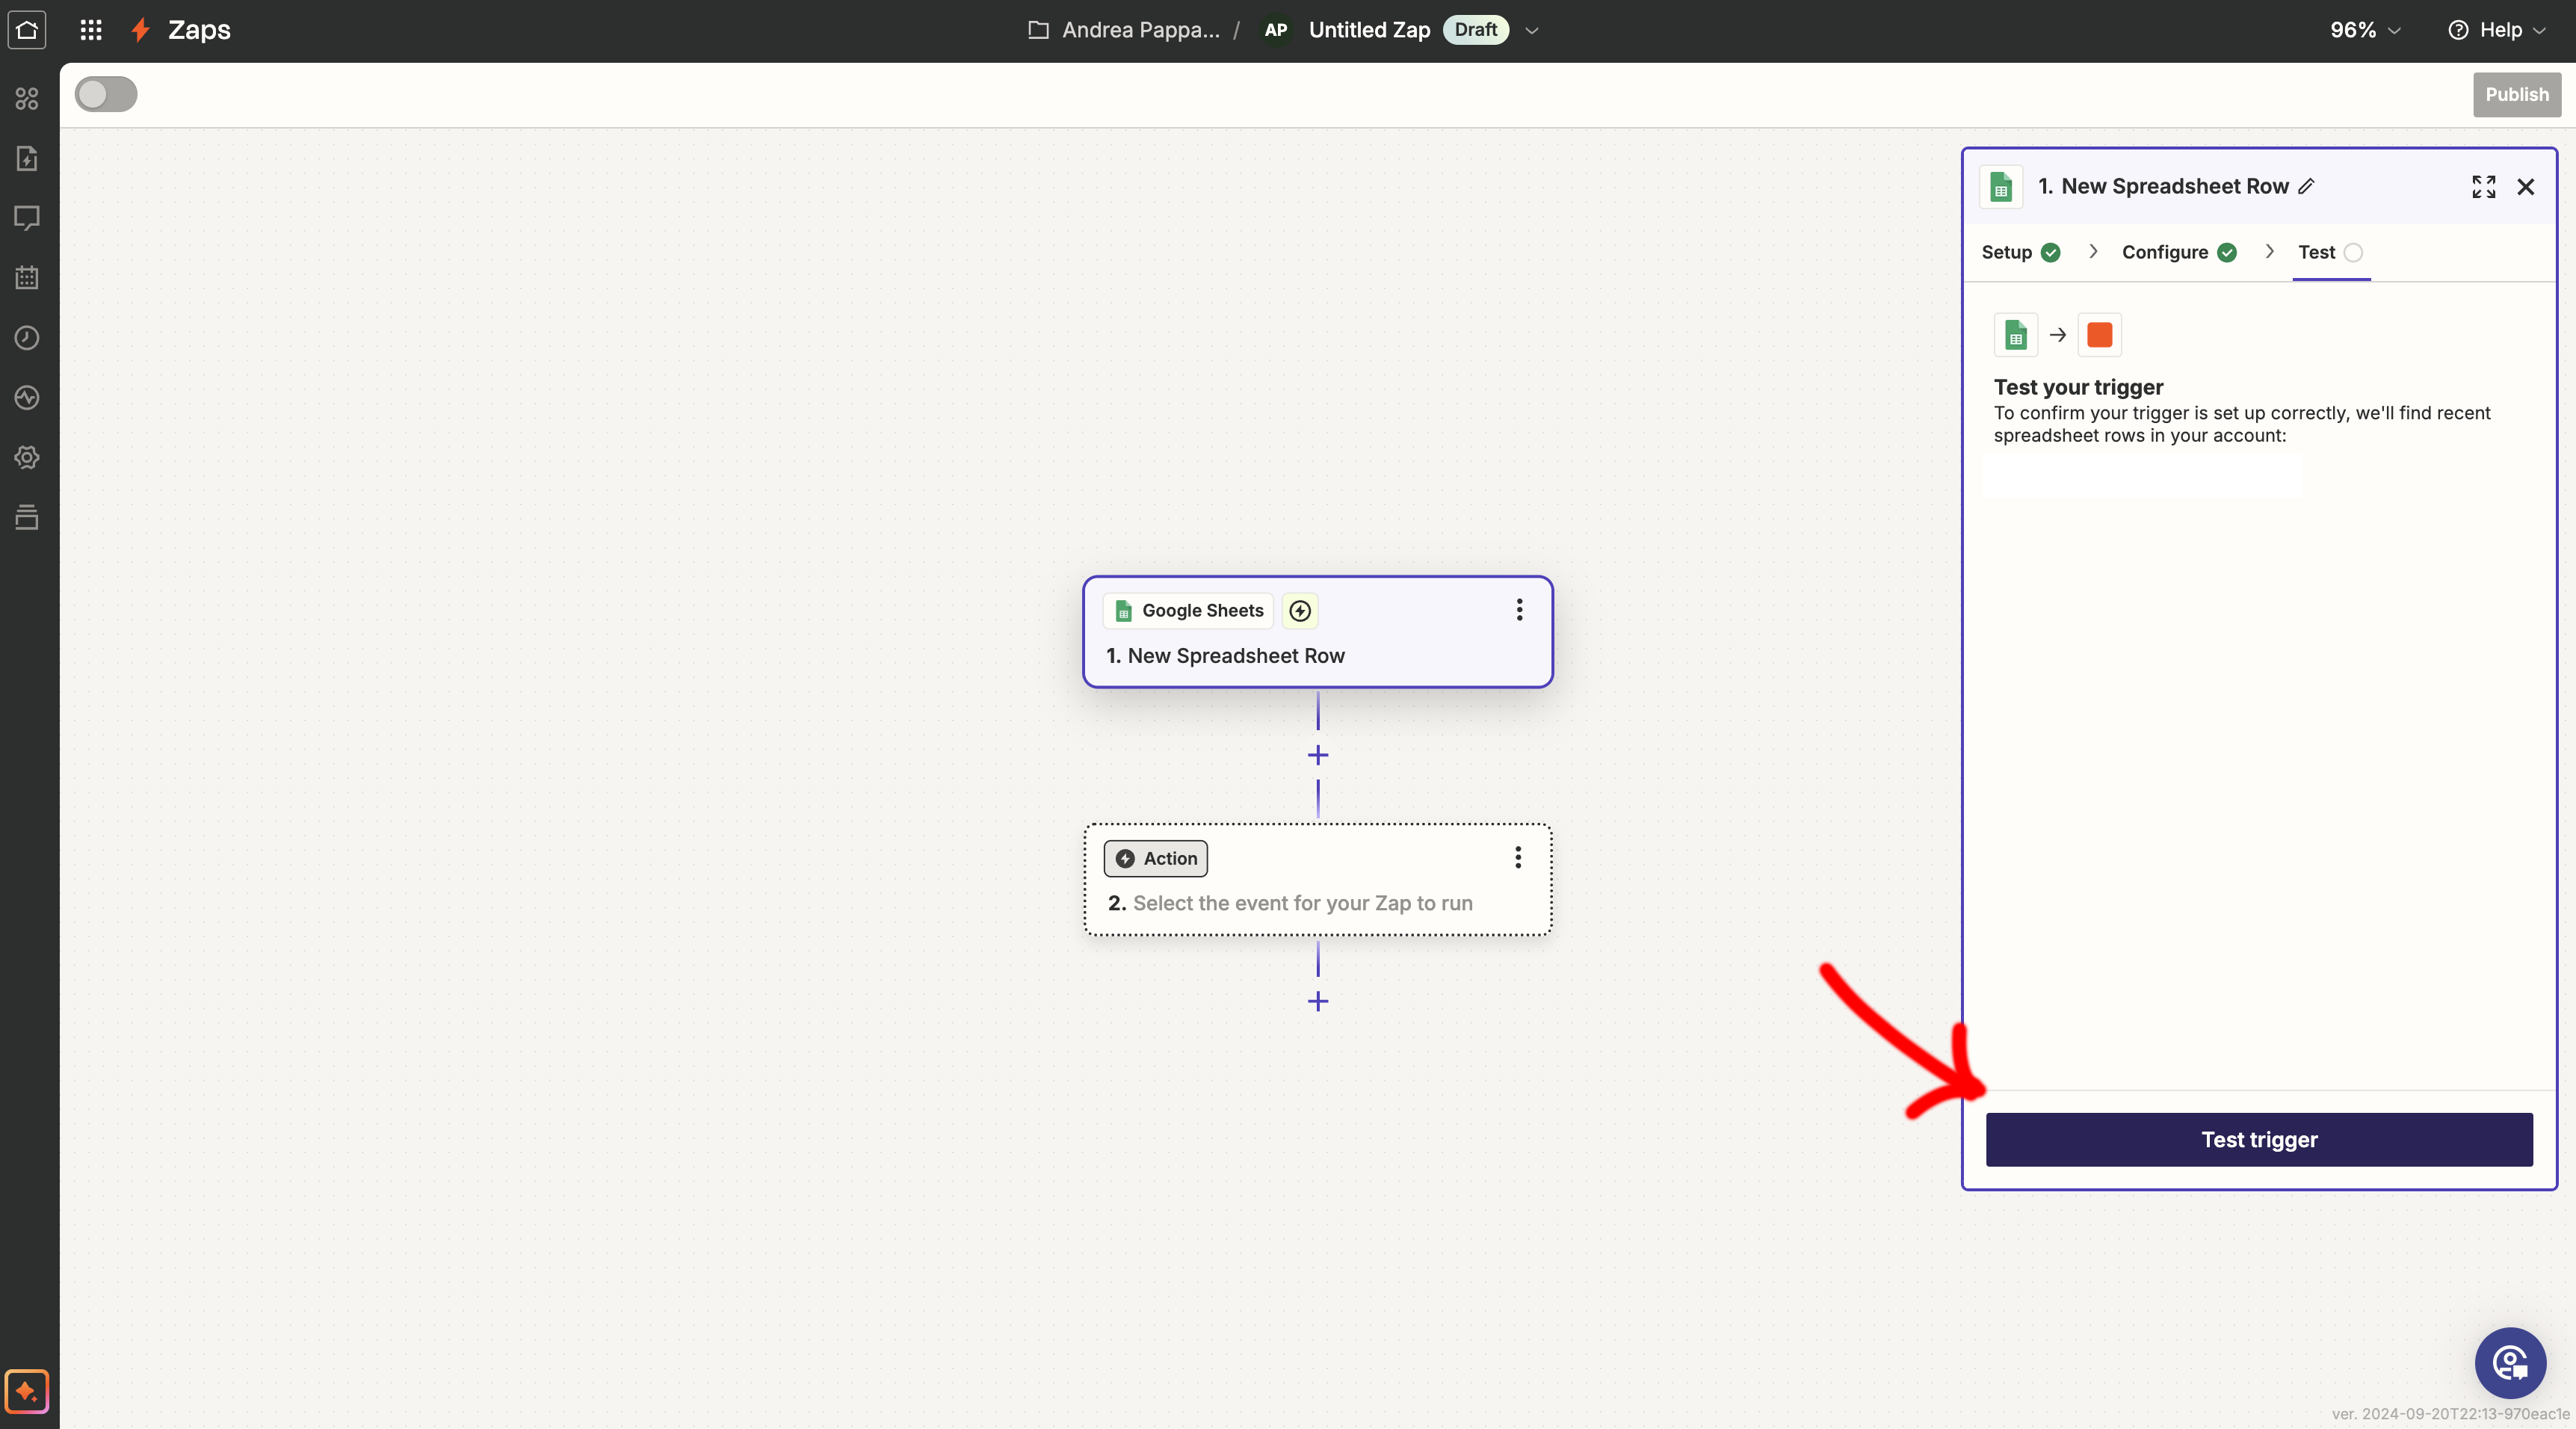
- Test the connection to make sure Zapier can access your data correctly.
Step 6: Add Sendapp as an Action App
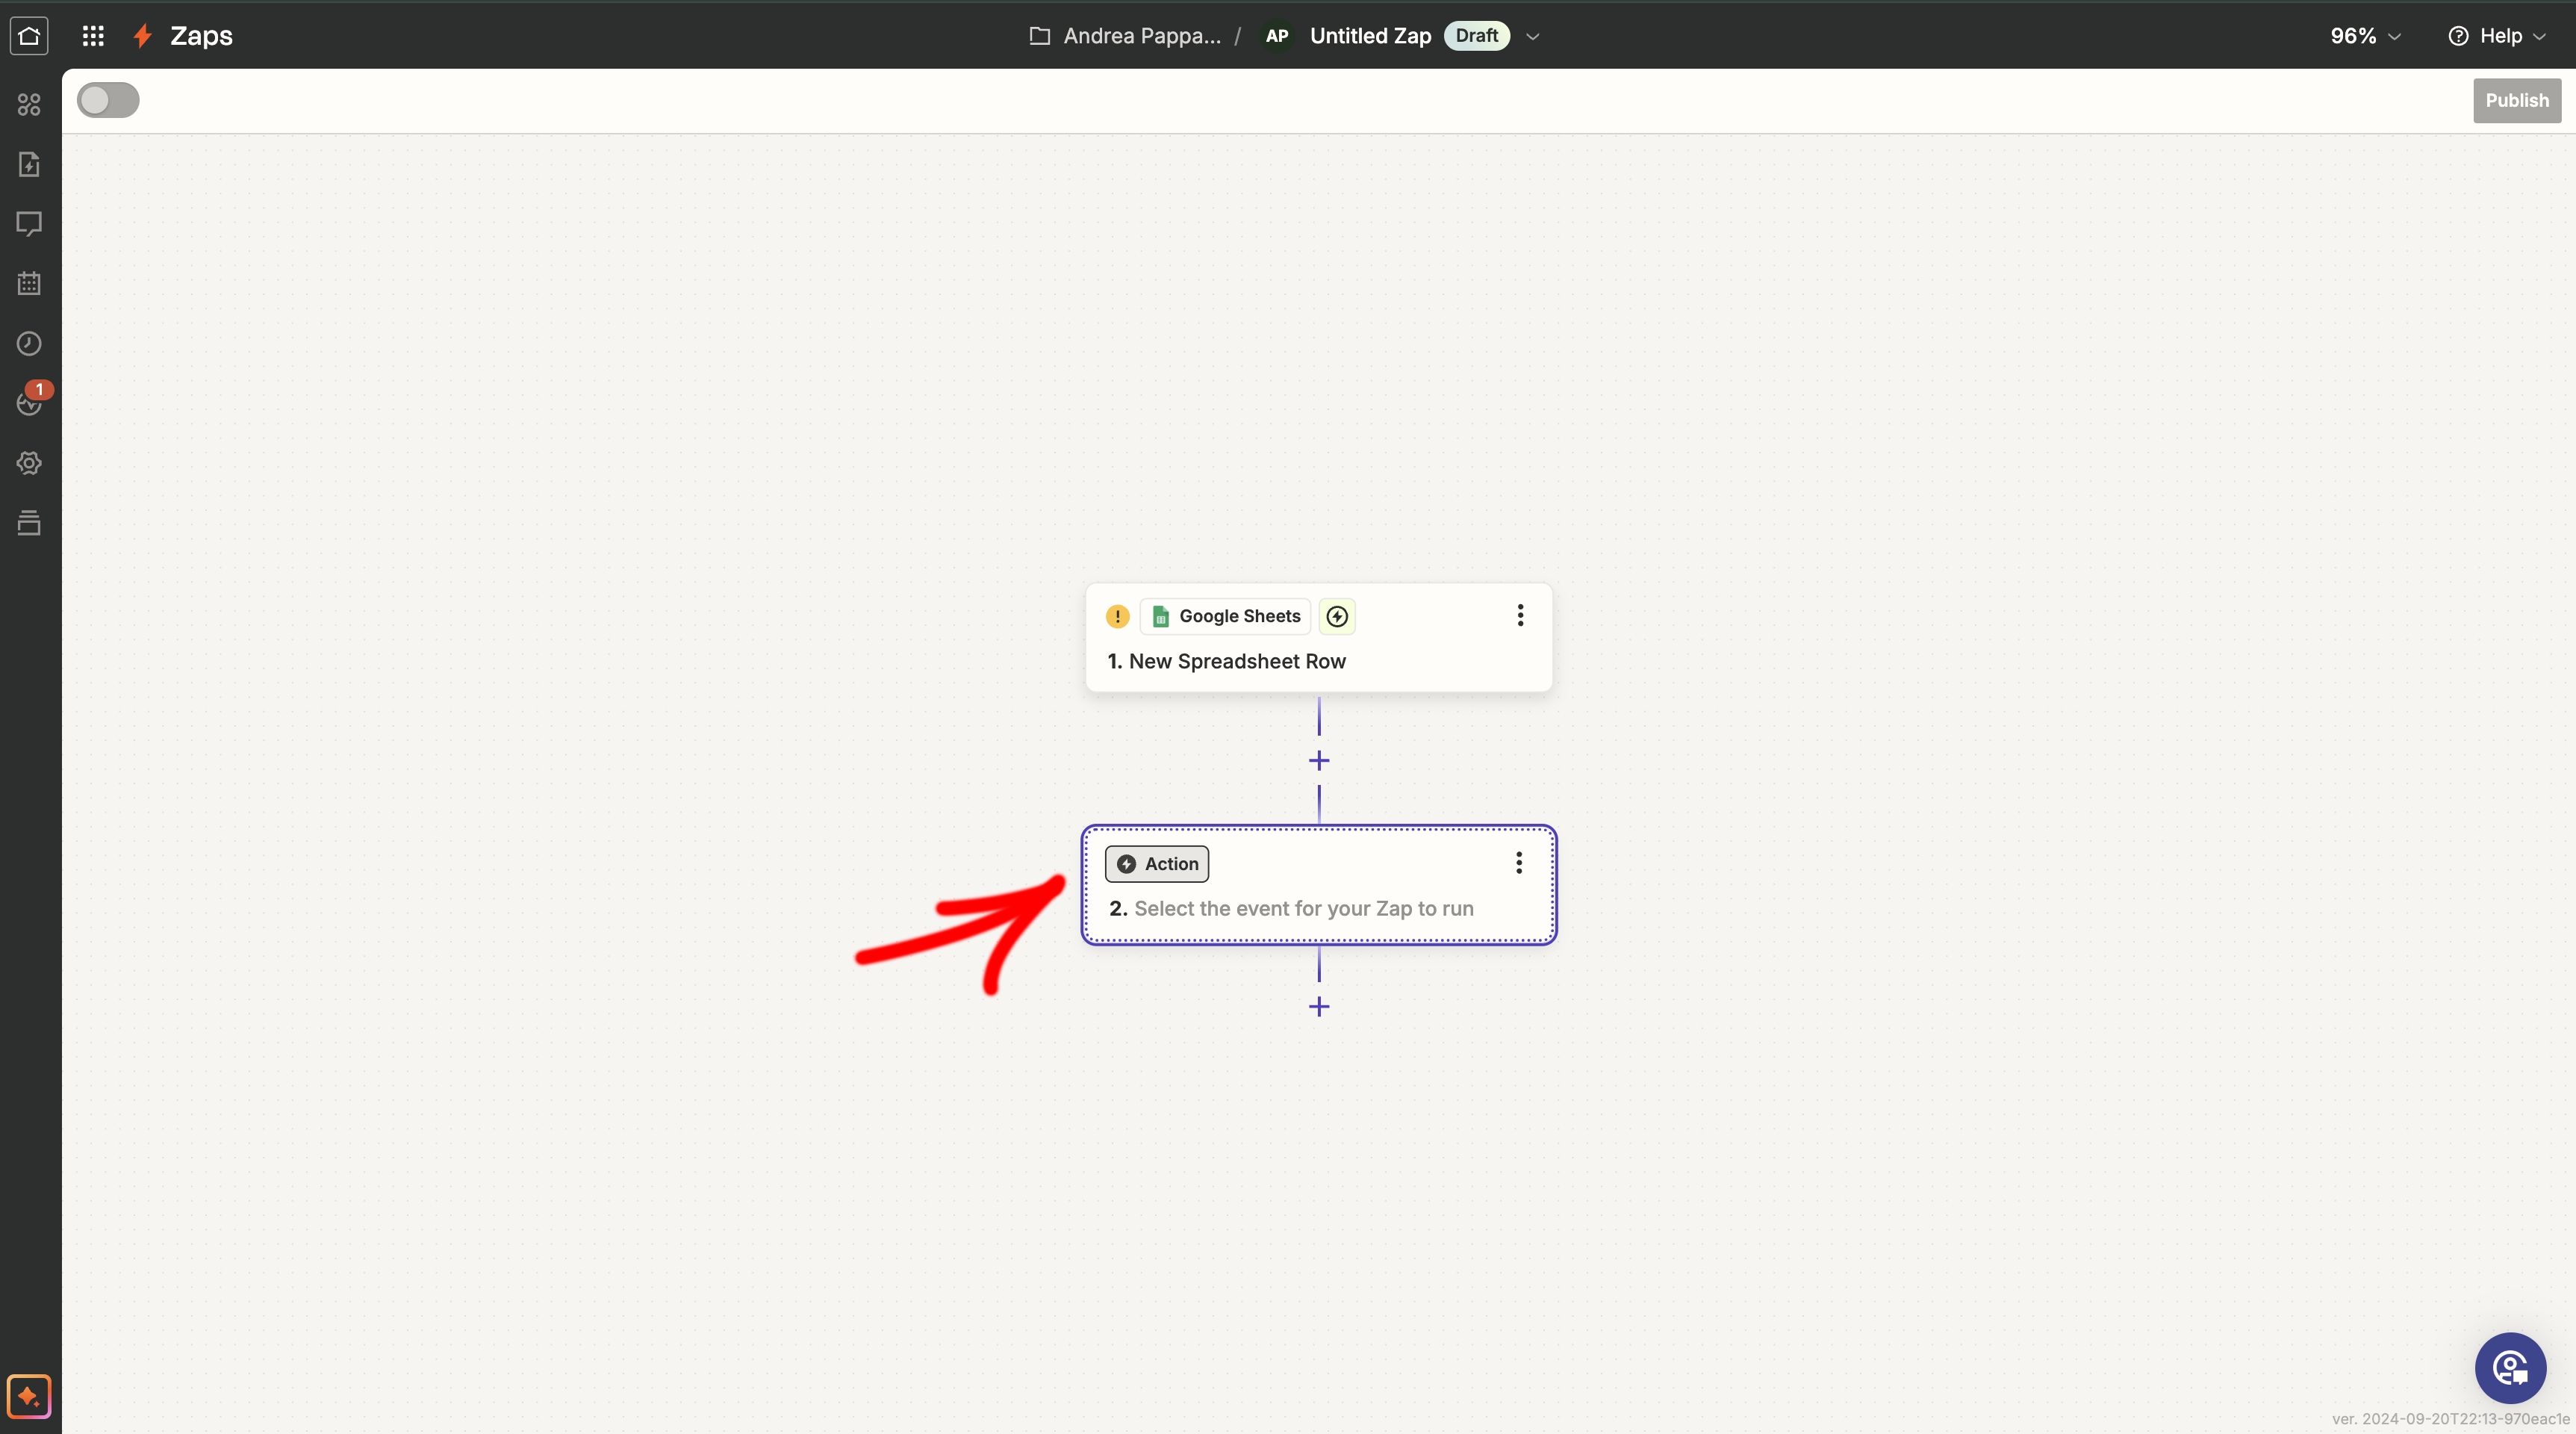
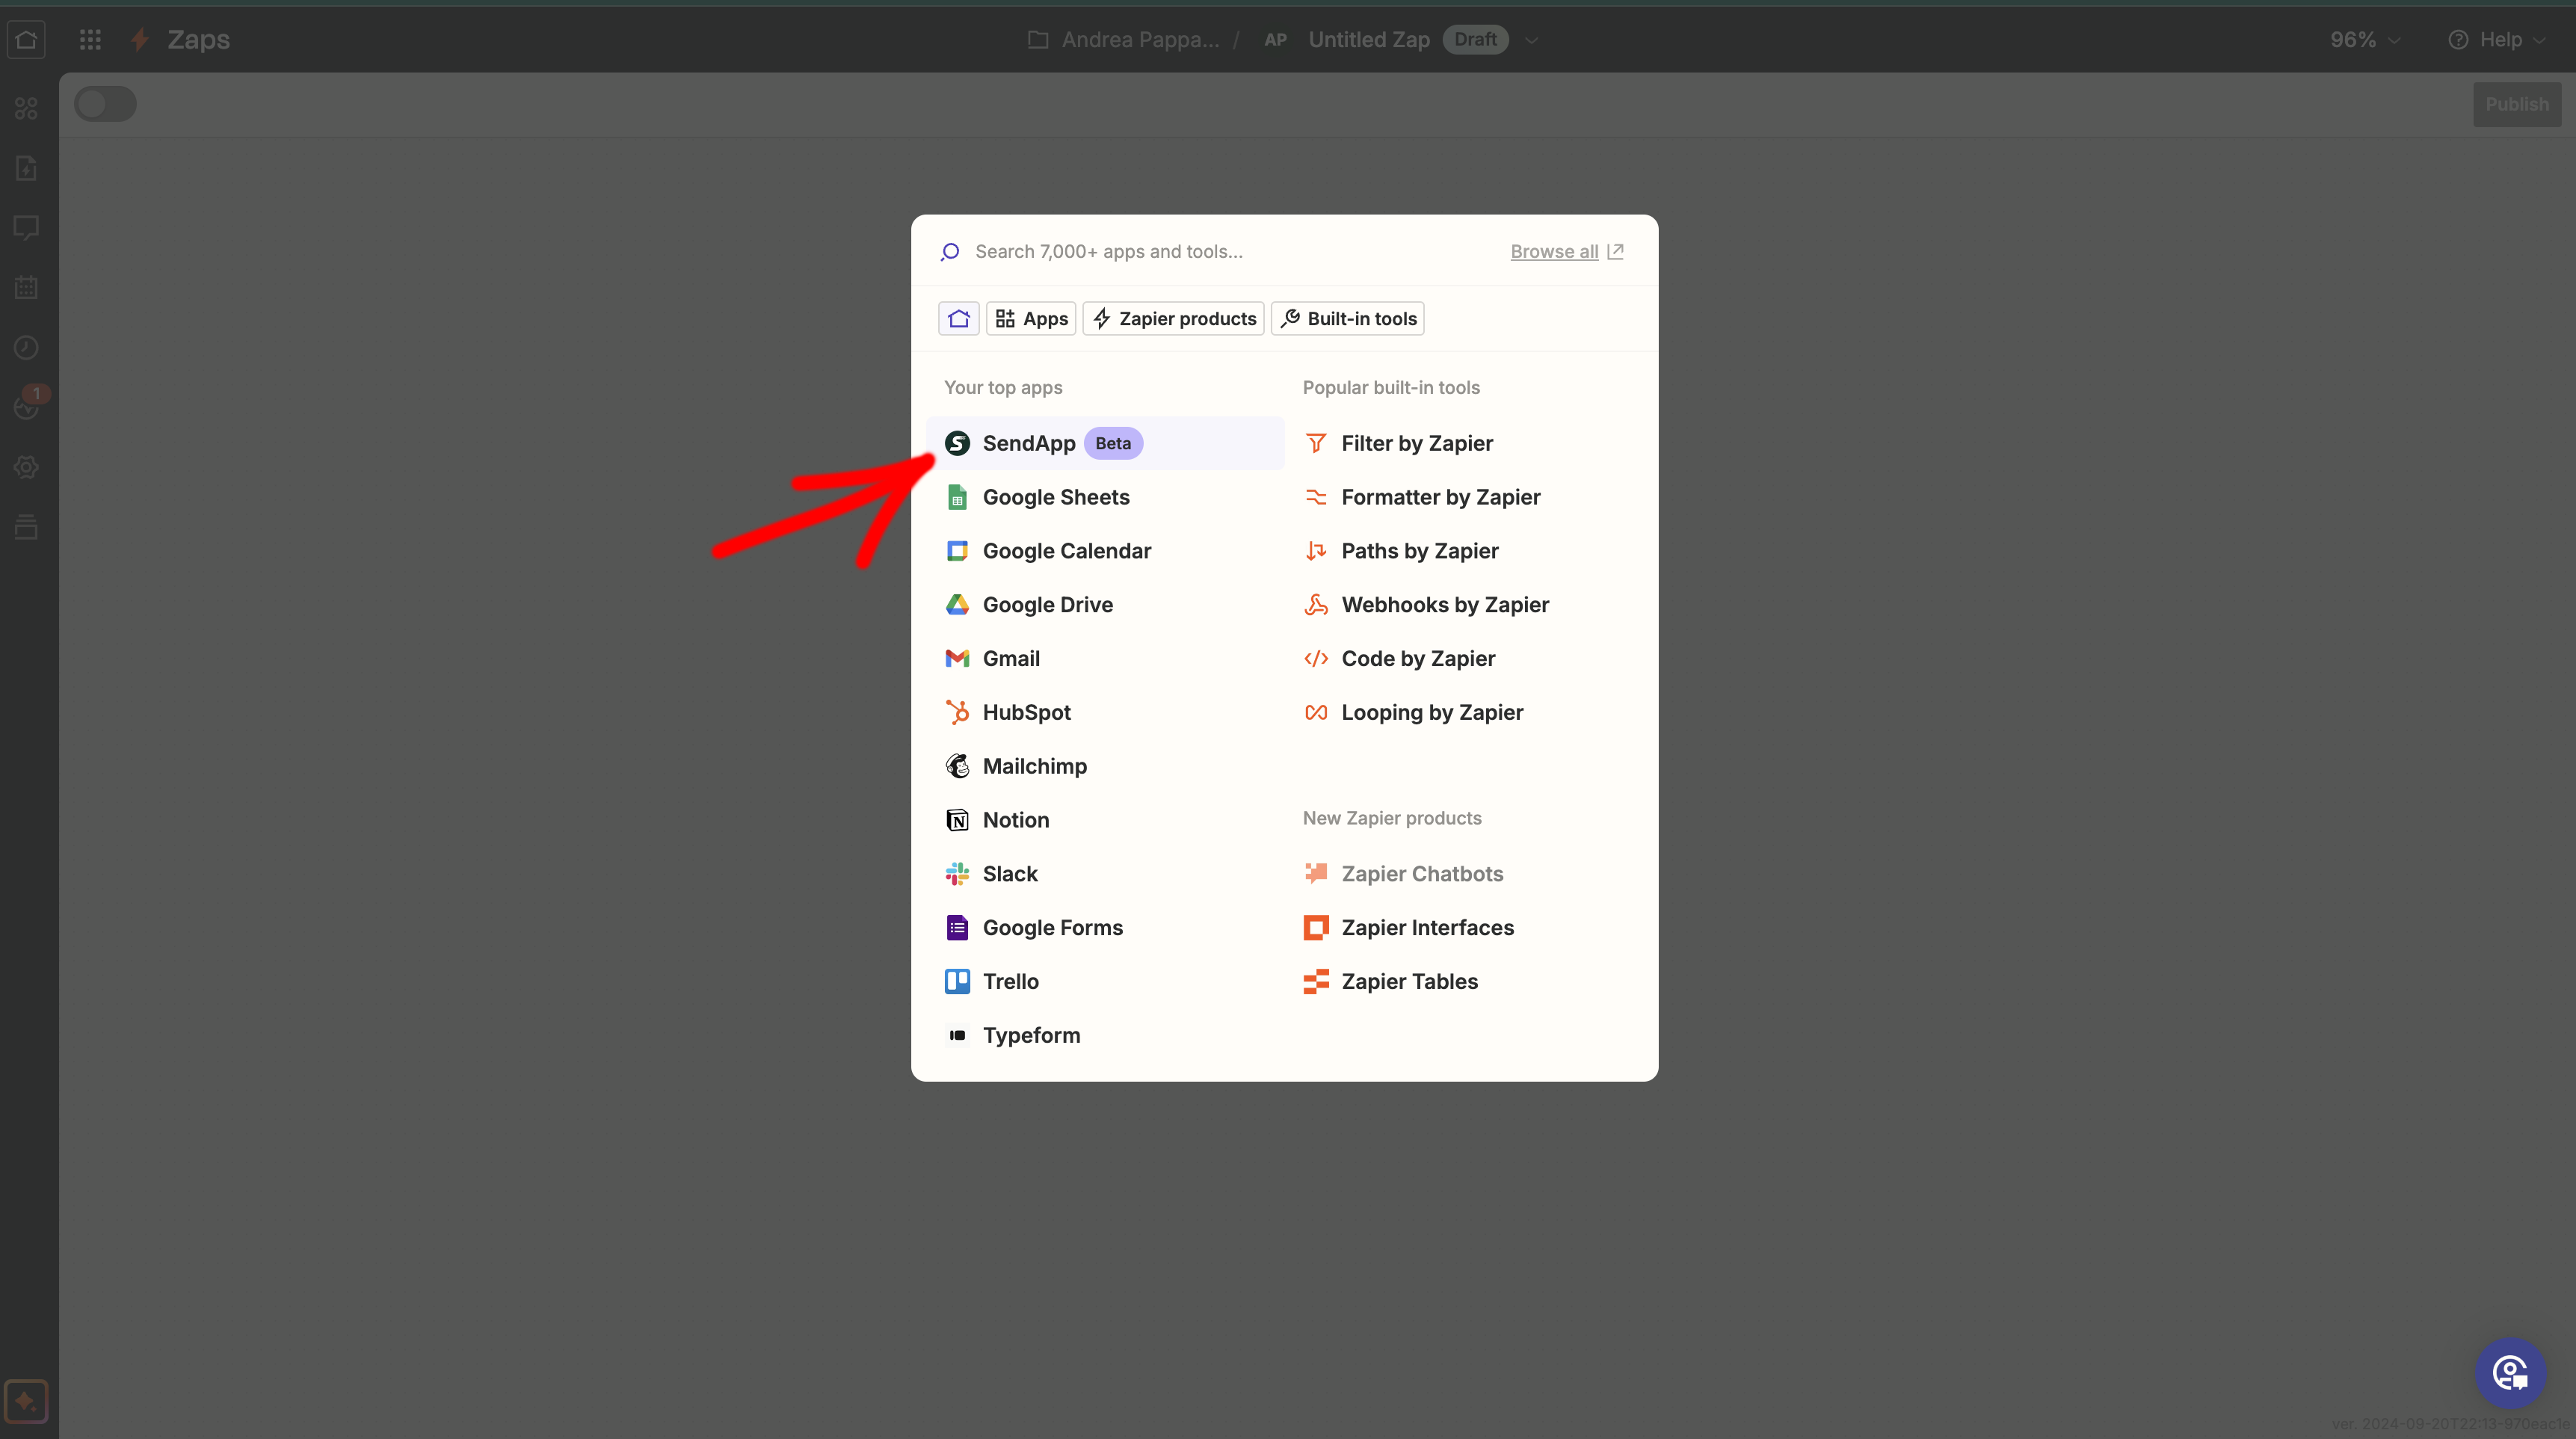
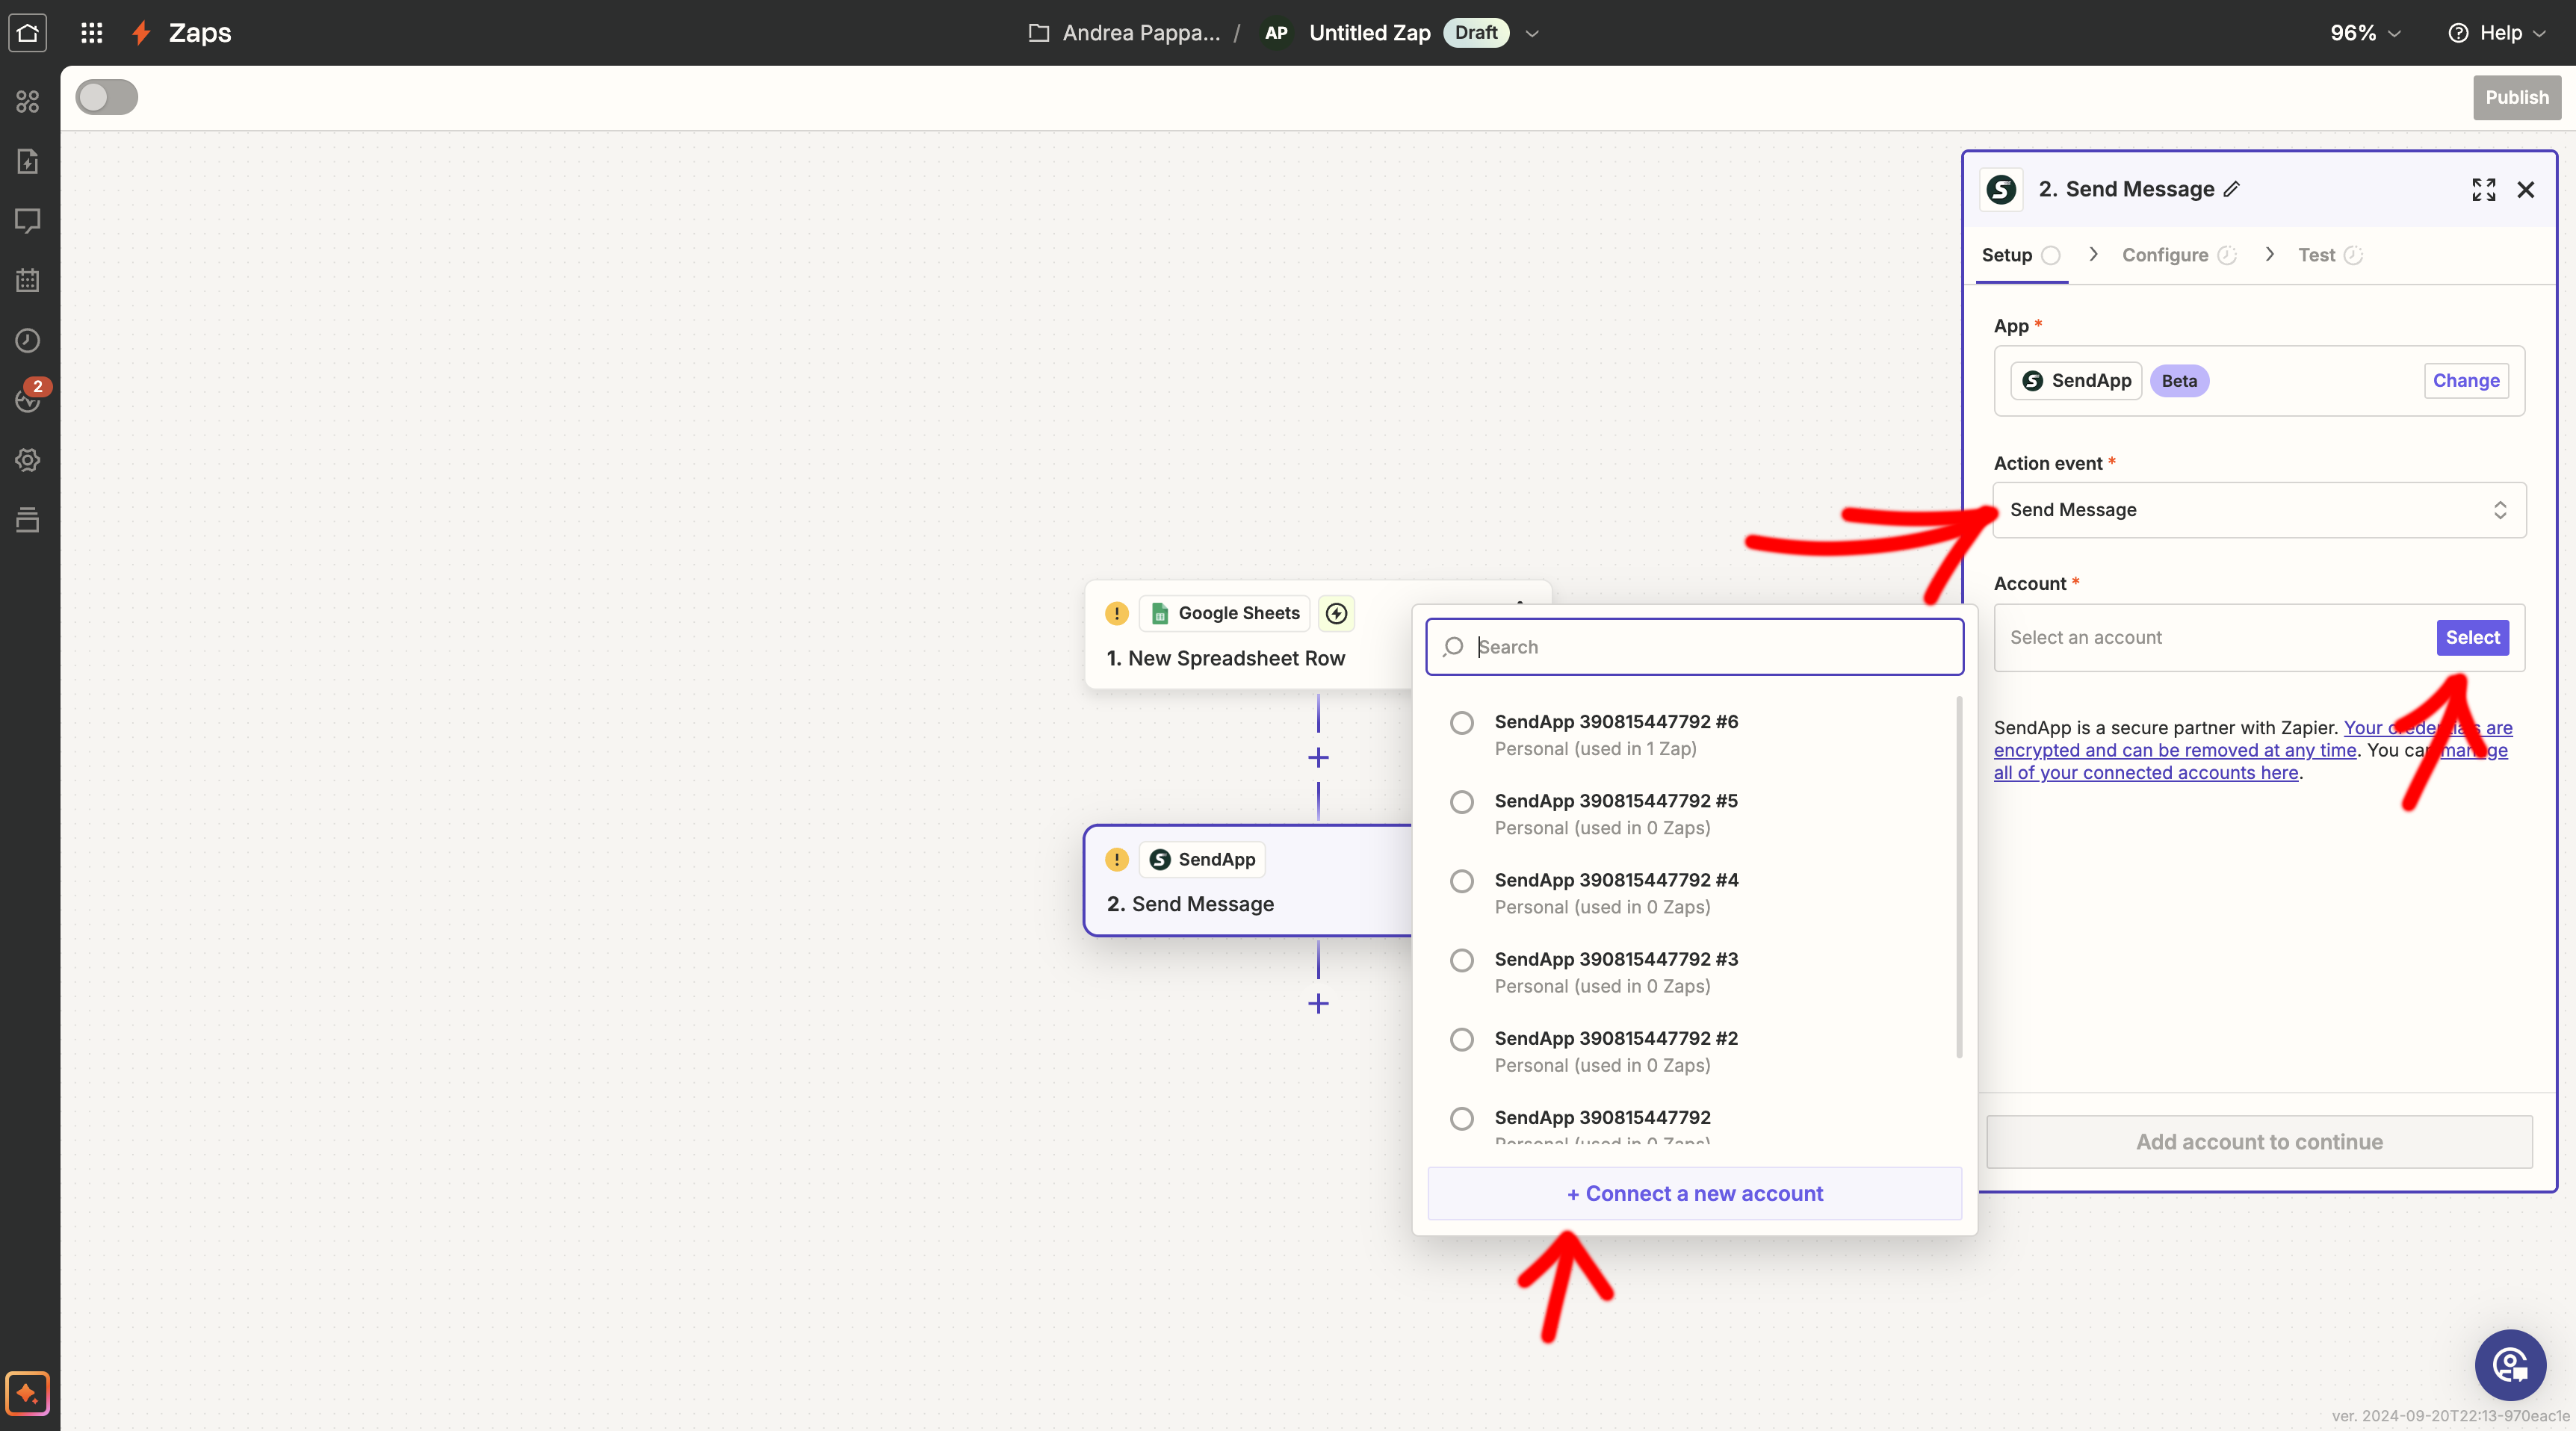
- After configuring the Trigger, click on "Add Action" and look for SendApp.
- Select action "Send a WhatsApp message.".
- Authenticate the request with your SendApp API key (X-API-Key header). If the recipient hasn’t written to you in the last 24 hours, the send must use a Meta-approved template.
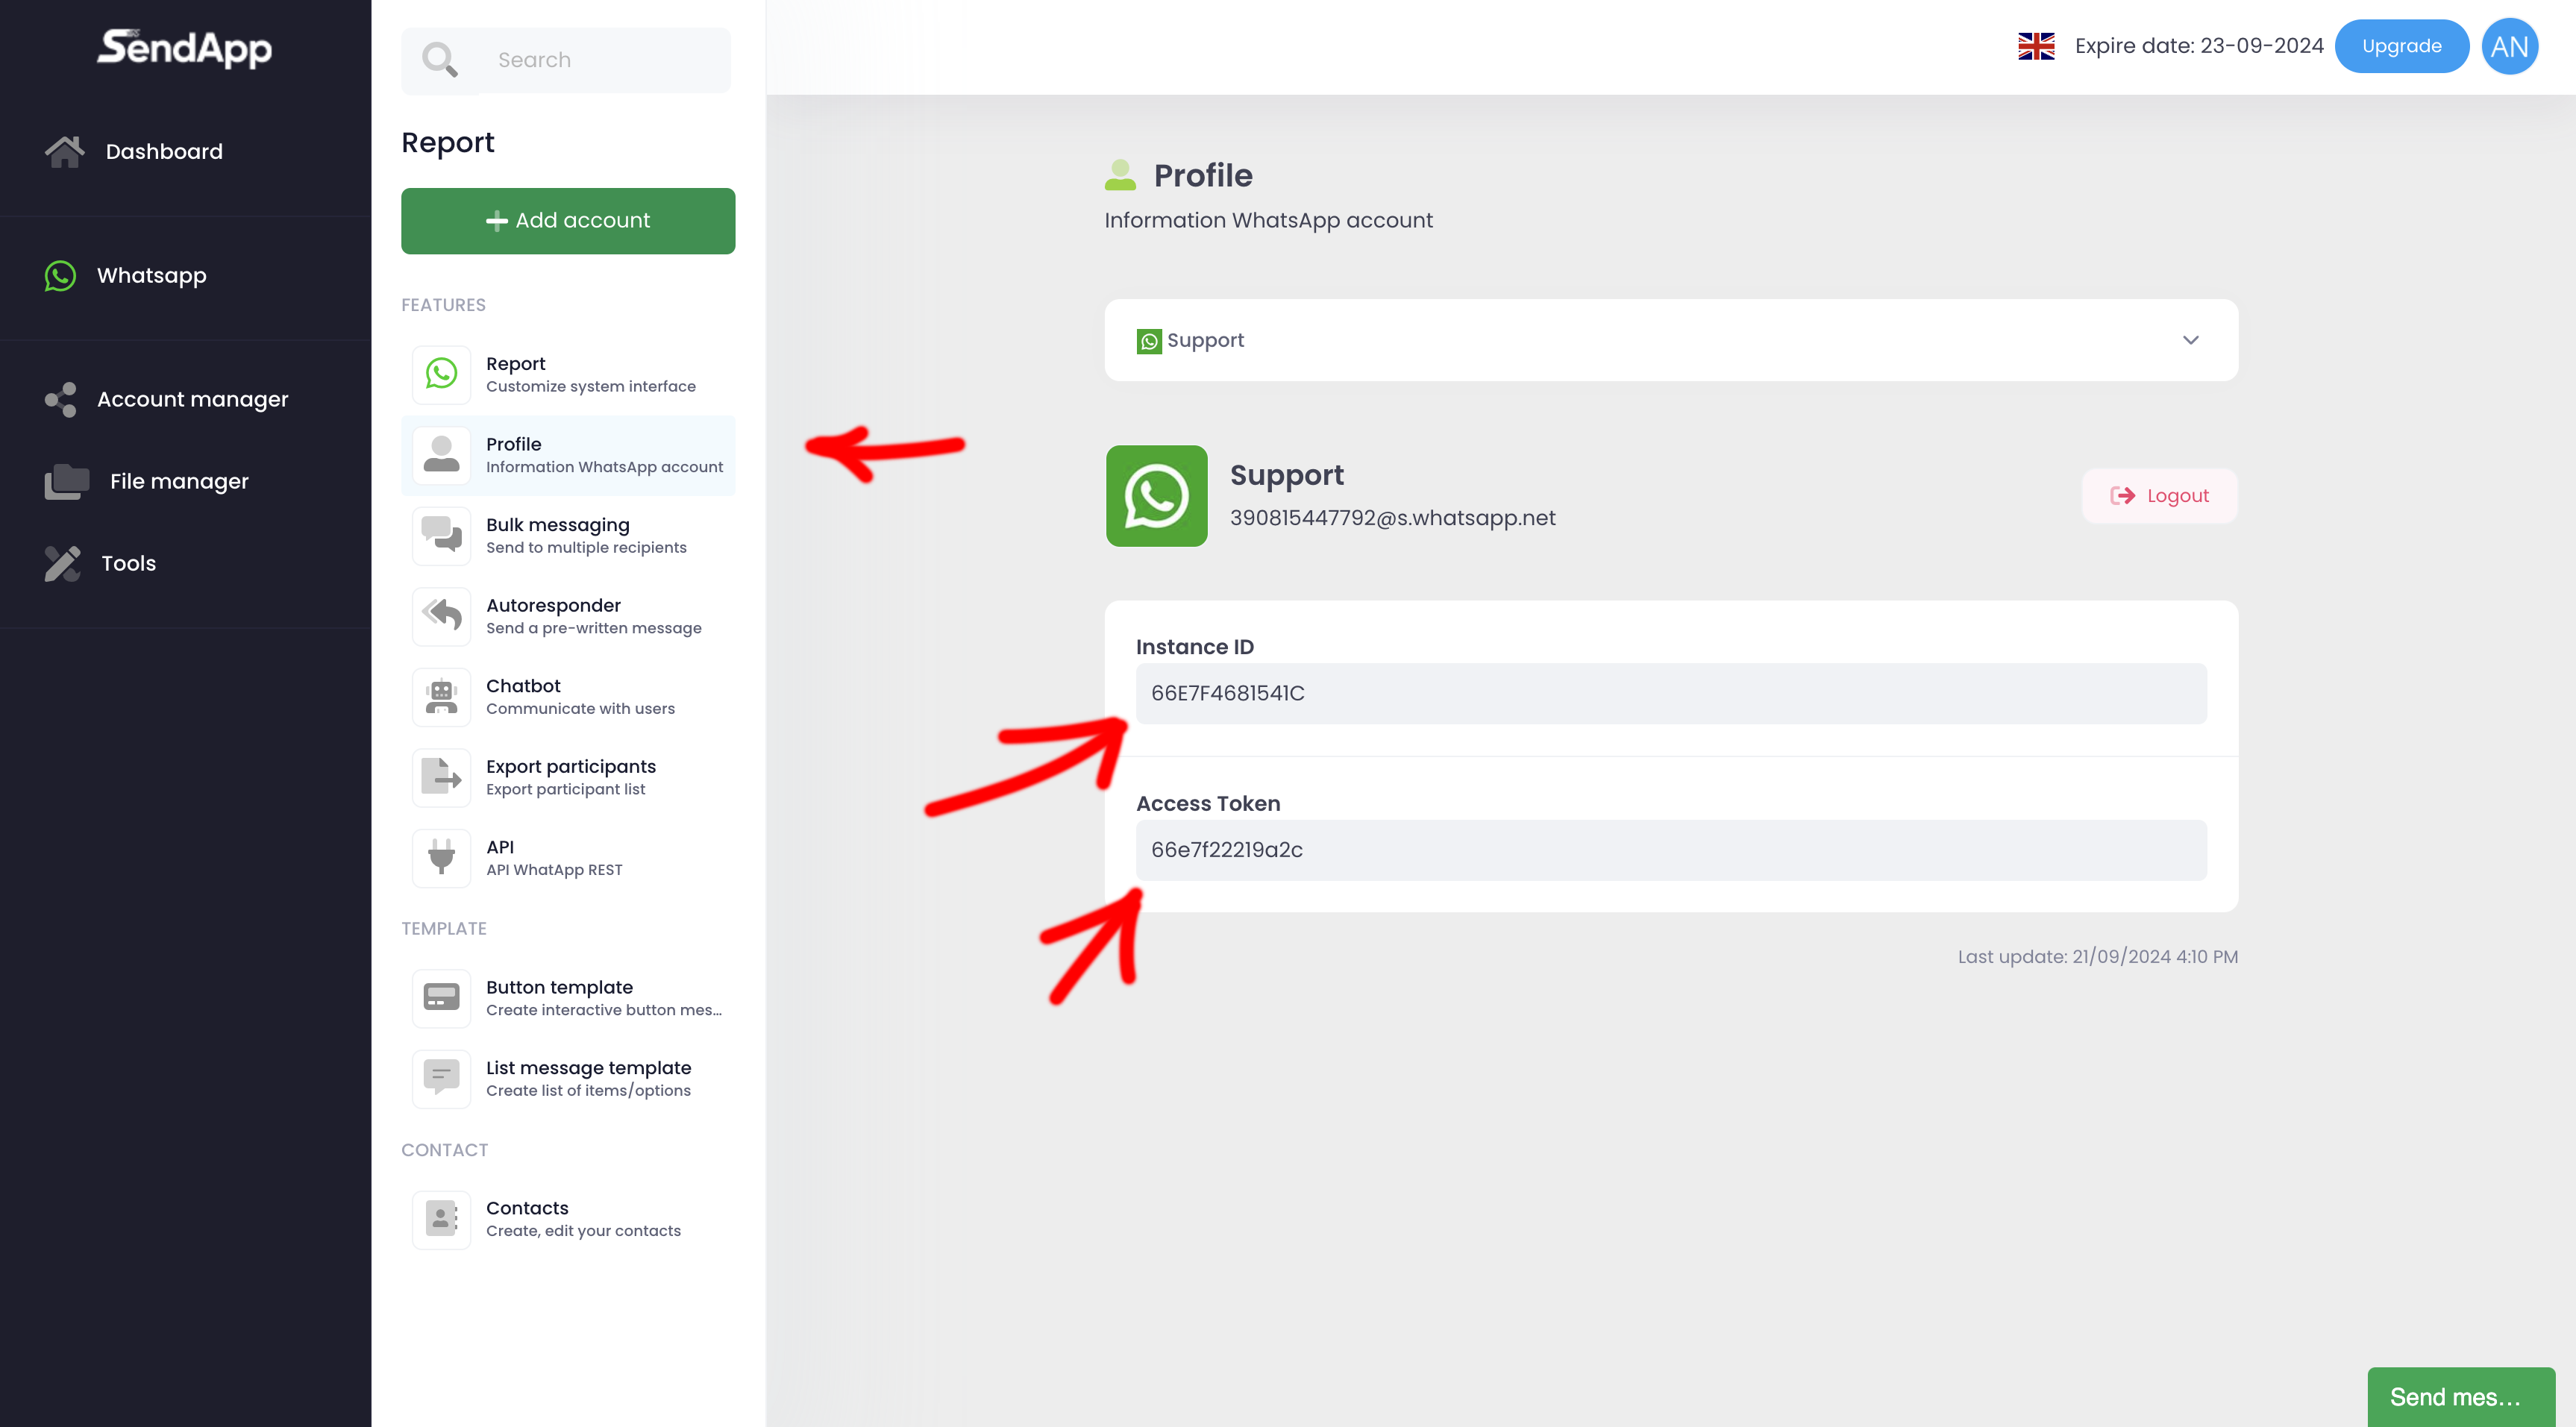
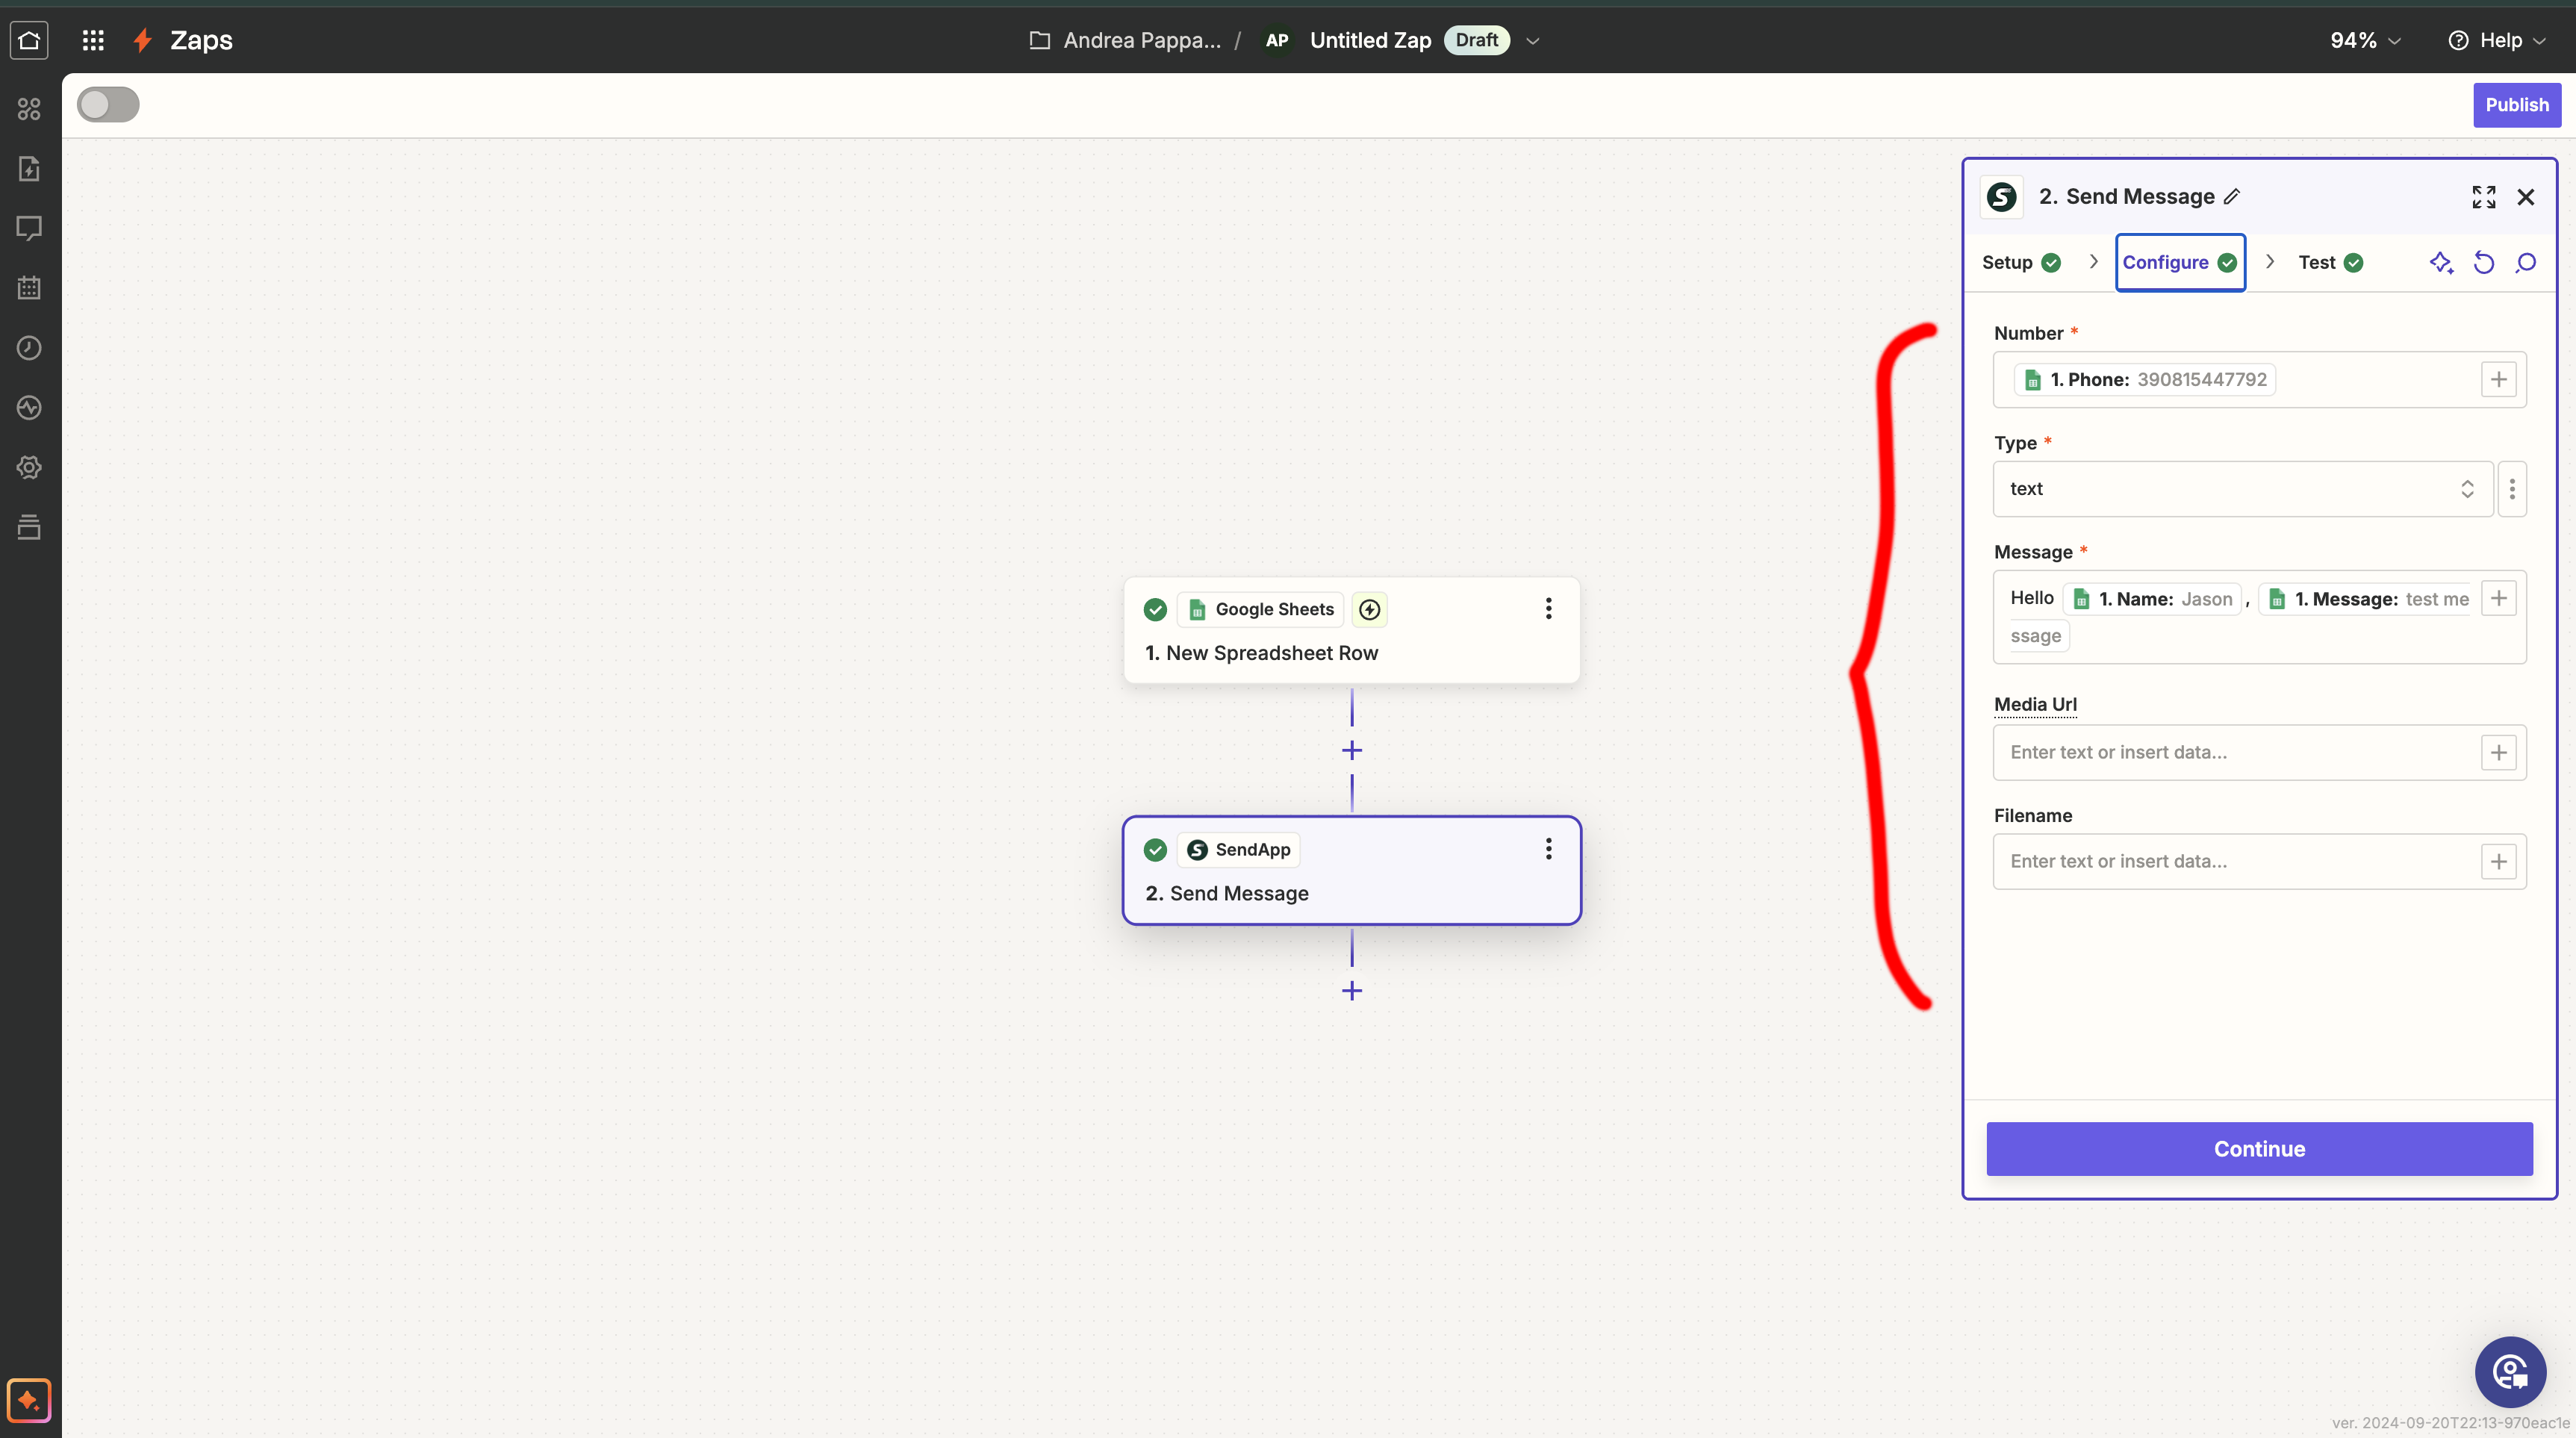
Step 7: Configure Sendapp Action.
- In the field telephone number, select the option corresponding to the "Phone Number" column of the CSV template.
- Choose Type: text To send a text message.
- Create a custom message using data from the Google sheet. You can use the names and messages preset in the columns of the sheet.
- Click on Continued.
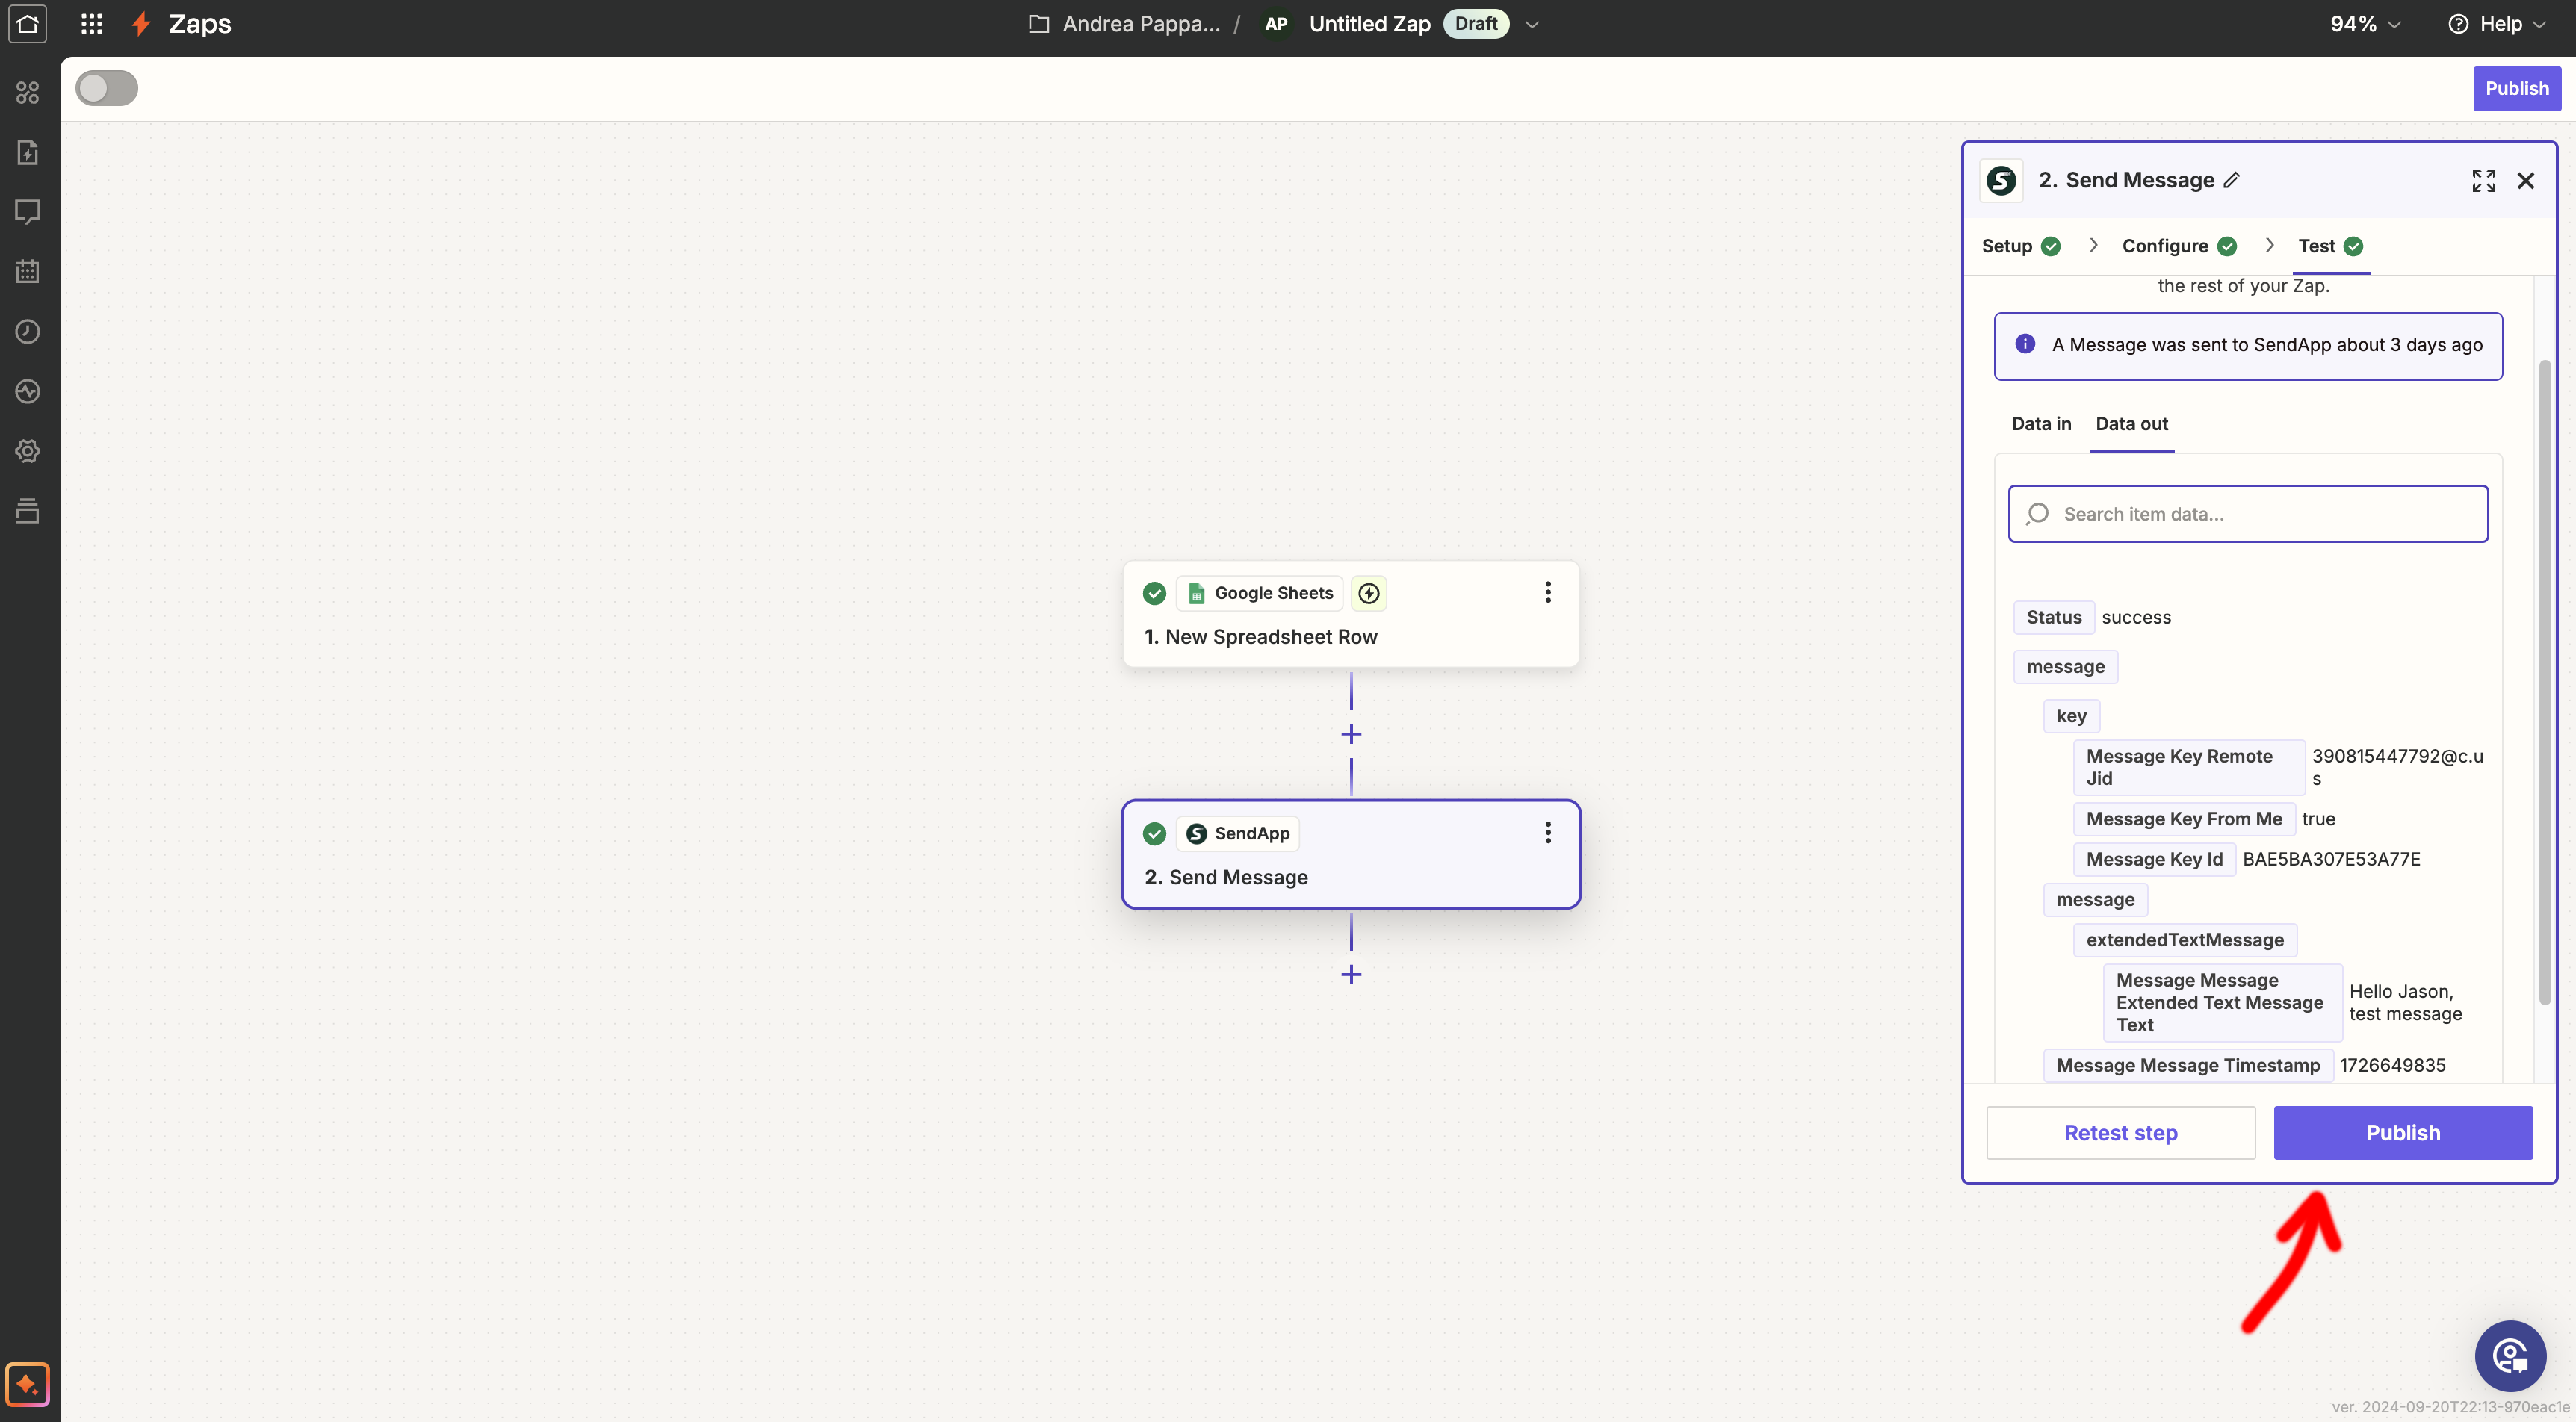
Step 8: Conduct the Test
Before activating Zap, run a test to make sure the WhatsApp message is sent correctly via Sendapp. Add a new row in the Google sheet and observe if the message is sent with the right data.
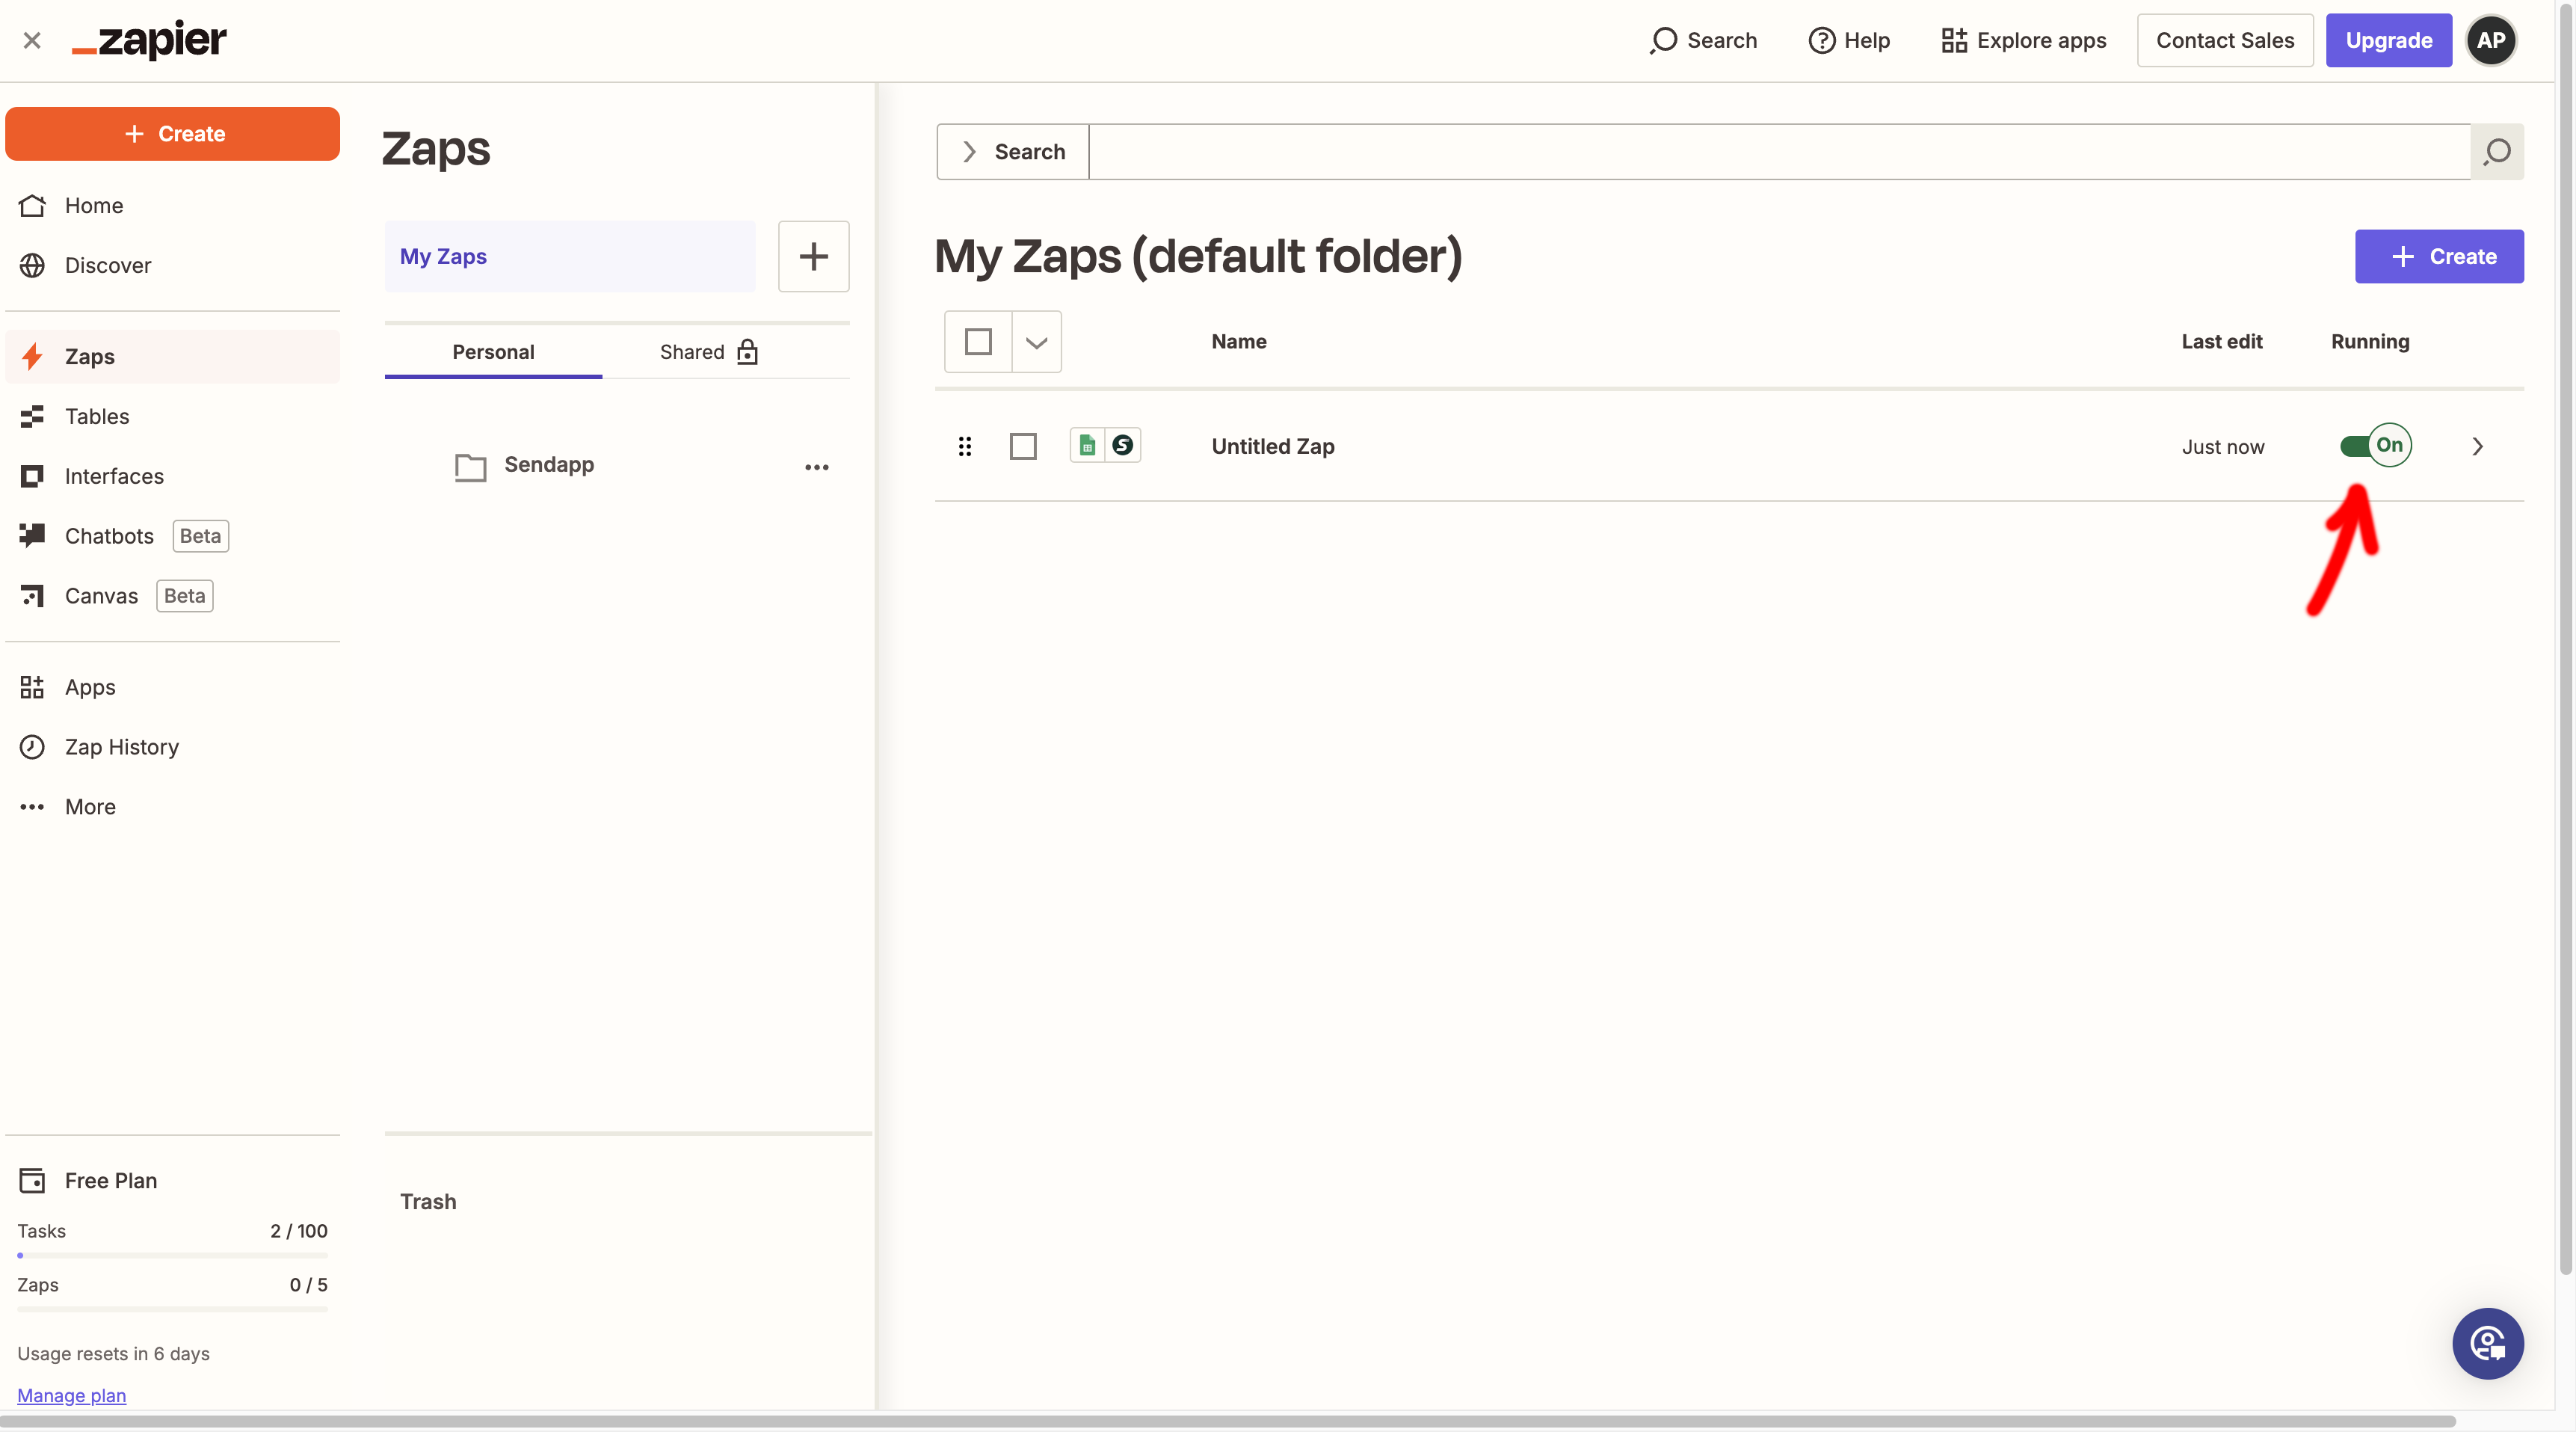
Step 9: Activate your Zap
If everything works as expected, click on "Turn on Zap". Now, whenever you add a new row to your Google Sheet, Sendapp will automatically send a personalized WhatsApp message to the recipient.
 Conclusion
Connect SendApp to Google Sheets via Zapier is a simple and powerful way to automate your marketing on WhatsApp. This allows you to send messages to your customers without any manual effort, improving efficiency and communication. Try it today to create your first Zap and find out how this automation can simplify your workflow!