COMPLETE GUIDE
SendApp Agent
Instructions for Use
Integrate advanced artificial intelligence into your WhatsApp interactions. Configure, train, and automate your virtual assistant in minutes.
OVERVIEW
Set up your AI assistant step-by-step
From account creation to AI training, from WhatsApp integration to a chat widget for your website. Everything explained step-by-step with screenshots.
Account Setup
Basic account creation and setup
AI Training
Training and testing artificial intelligence
Integrations
WhatsApp, Chat Widgets and Apps
Usage
AI Chat, Operator Escalation and Management
Account Setup and Configuration
1
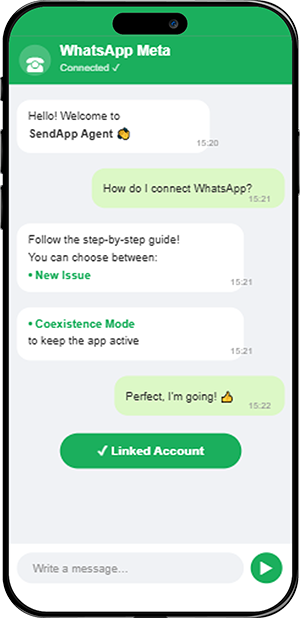
Home Screen (Chat)
Once logged in, the SendApp Agent Dashboard. From the left side menu you can access all sections: Chat, Account, Contacts, Campaigns, Applications, Appointments, Reports, API, Profile, Security, Billing & Plans, Vouchers, AI Settings. In the center, you'll see the Chat section. At the top, you can select a WhatsApp account to connect, start a broadcast, or test it.
2
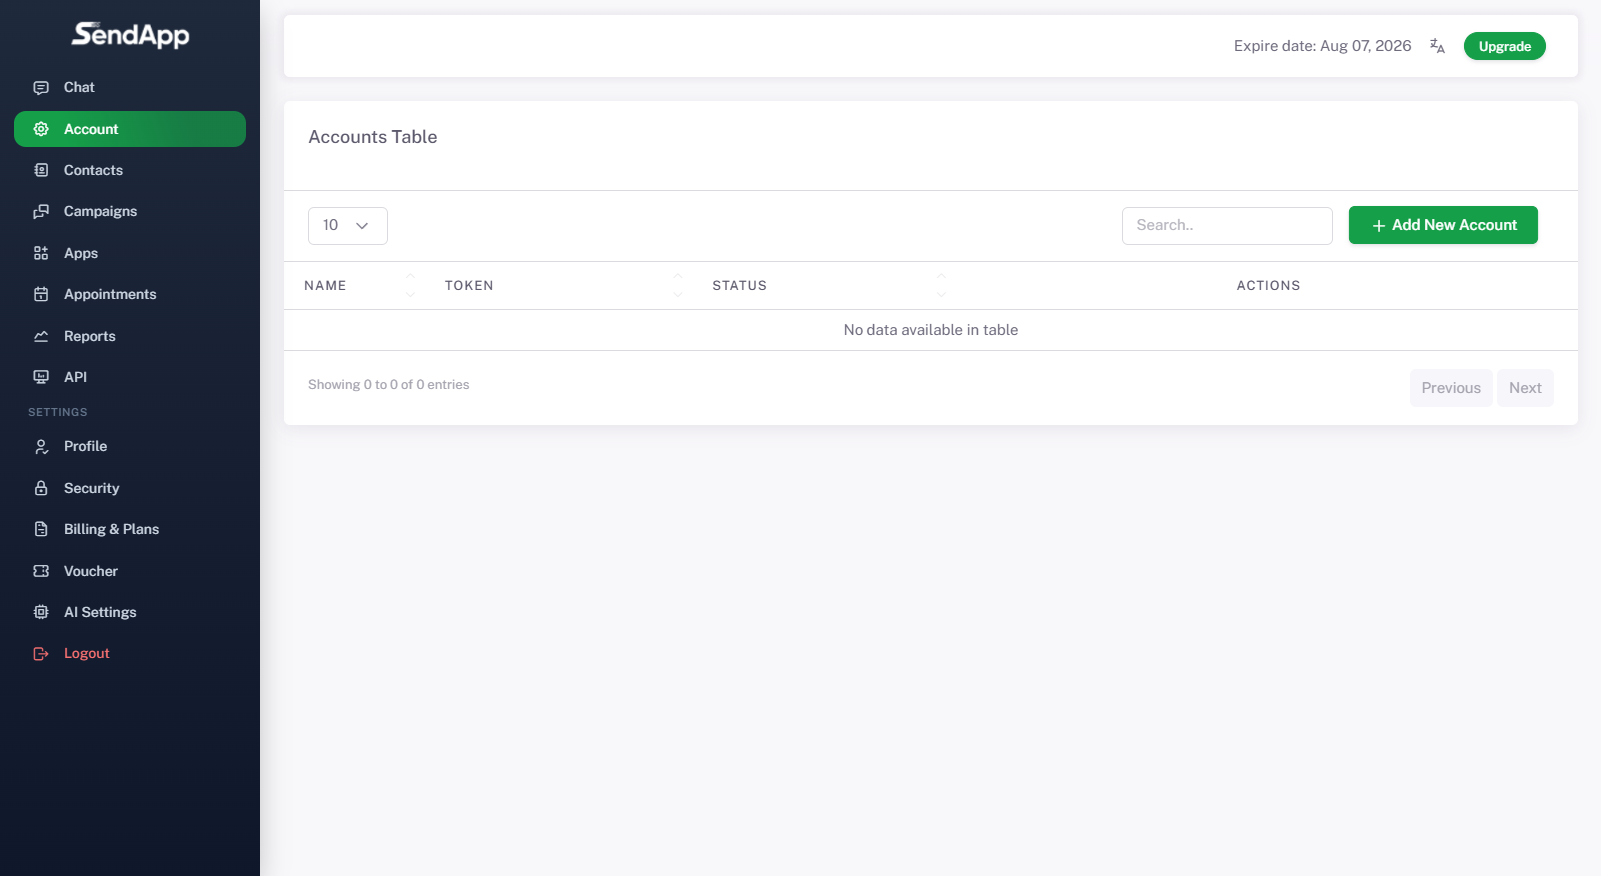
Adding a new account
From the side menu, click on Account. Here you find the Account Table, which is initially empty. To add a new account, press the green button “+ Add New Account”.
3
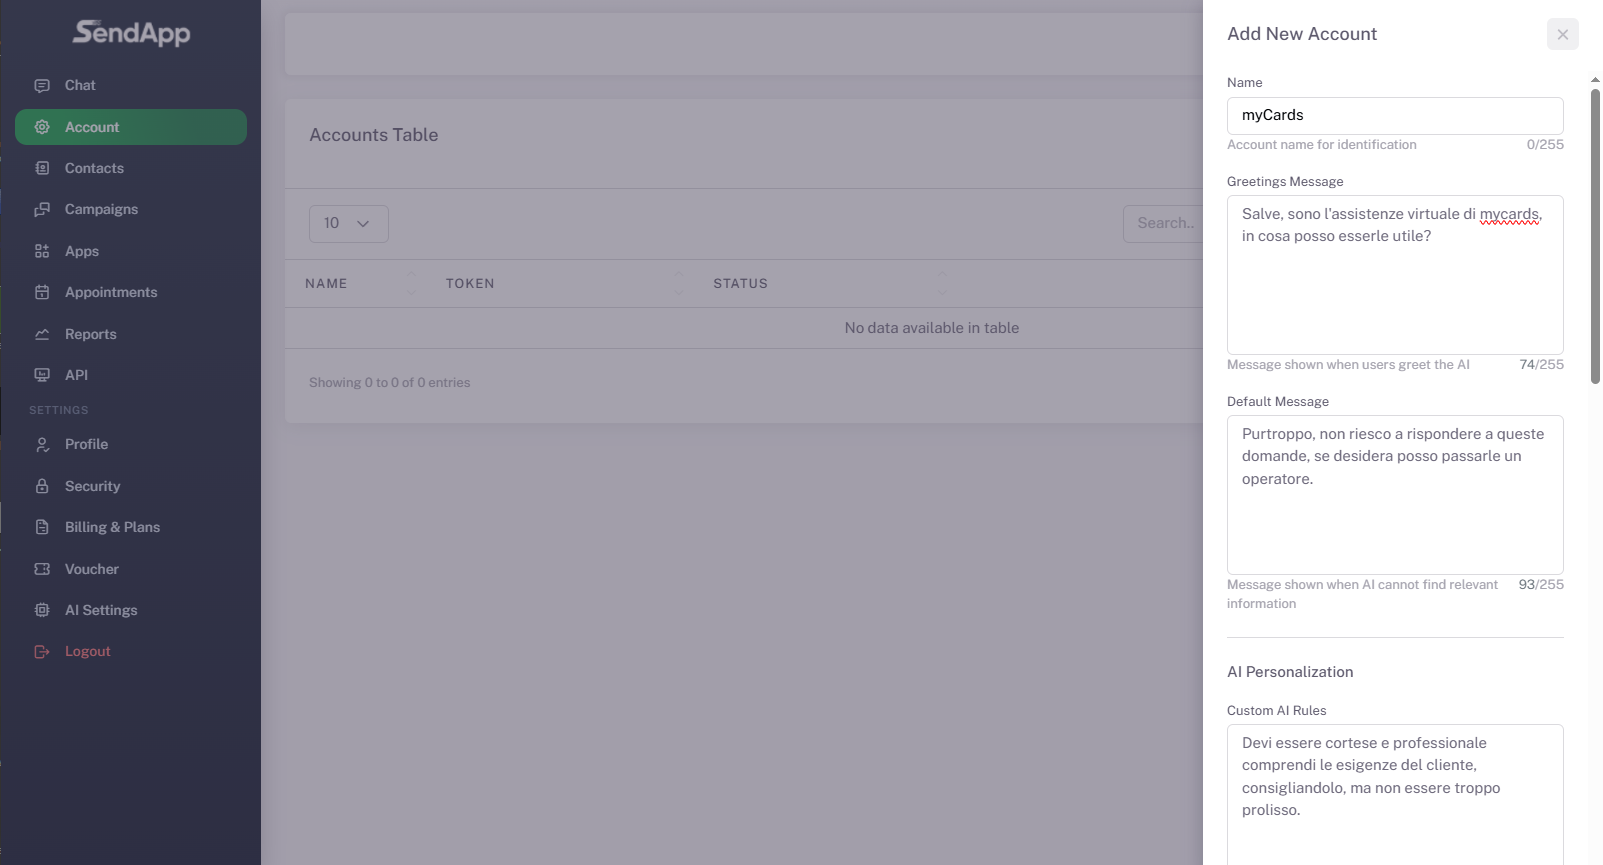
Basic account setup
In the configuration window enter: Account Name (e.g. myCards), Greeting Message (e.g. “Hello, I'm the myCards virtual assistant, how can I help you?”), Default Message for when the AI fails to respond. In the section AI Personalization You can enter custom rules such as “You must be courteous and professional, understand the customer's needs, advise without being too verbose, and give clear answers.” You can also decide whether to allow operator intervention.

4
Setting availability and hours
Activate the function Working hours and set the working days (e.g., Monday-Friday). Define the shifts: Morning 09:00-13:00, Afternoon 3:00 PM - 7:00 PM. Set the jet lag (Europe/Rome). You can enable the vacation mode to mark the activity as closed. When finished, press Save.
5
Creation successful
After configuration, the notification appears at the top right “Success – Account created successfully”. The new account appears in the Accounts Table with: First name, Token automatically generated, State Active working hours. Next to them, you'll find three actions: Manage Training, Edit, Delete.
AI Training and Education
6
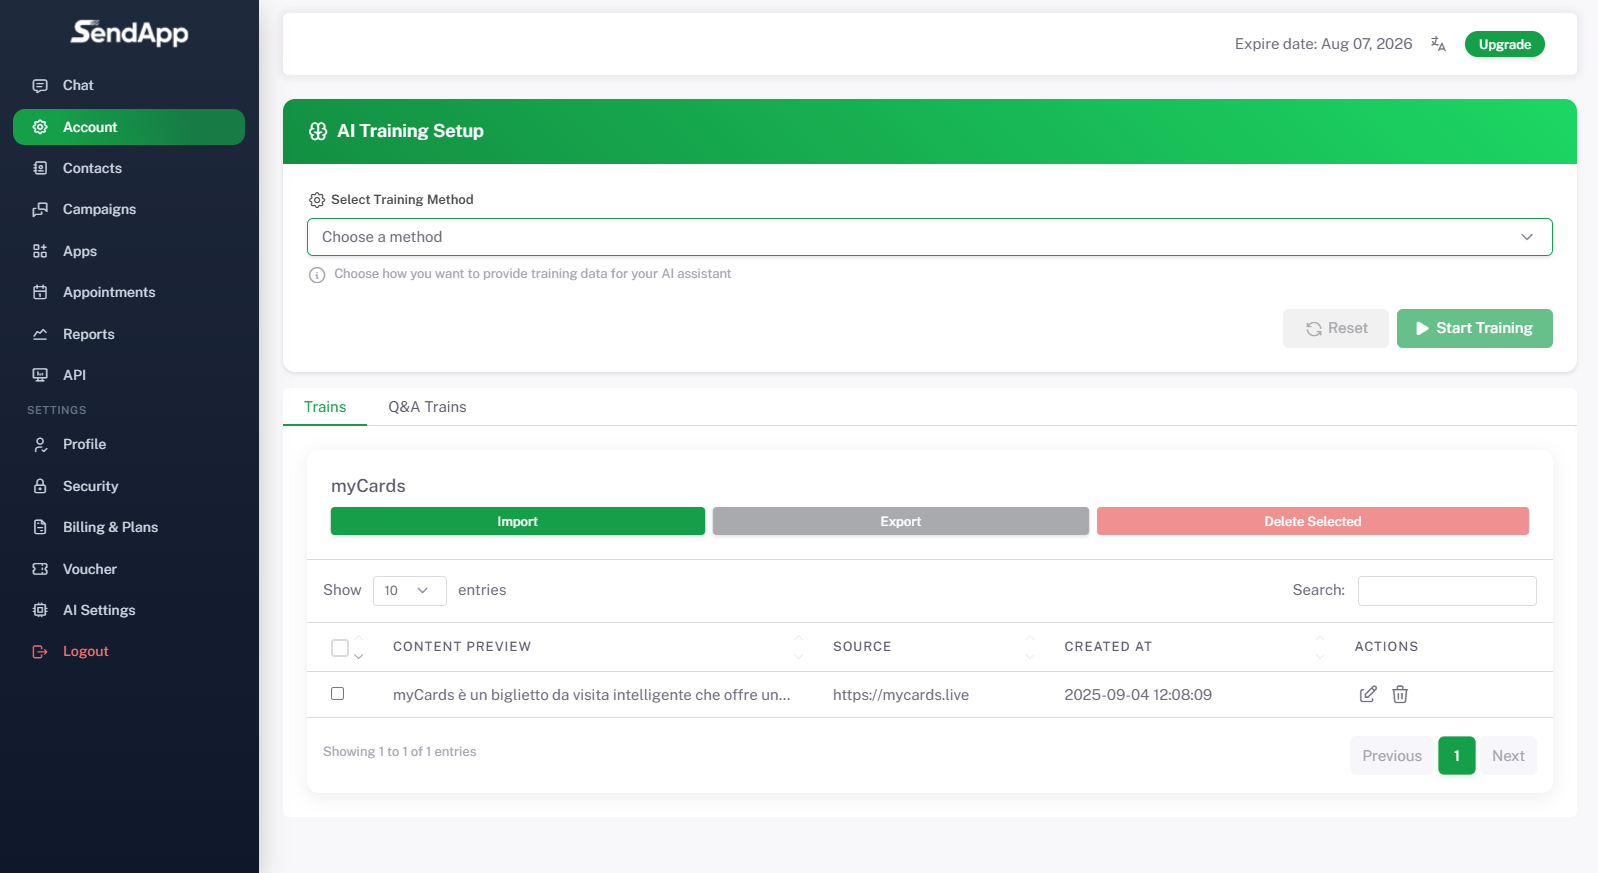
Access to the AI Training section
By clicking on Manage Training enter the page of AI Training Setup. Here you can choose the training method and decide how to feed data to your assistant. There are two tabs: Trainings (to upload or import data) and Automatic replies (to customize the preset responses).
7
Choosing the training method
In the drop-down menu “Select Training Method” you will find several options: Upload File (PDF or TXT), Enter URL, Enter Sitemap URL. In this example, the Insert URL option is chosen.
8
Entering the URL
After selecting "Enter URL," the dedicated field for the website appears. Enter your website address (e.g., https://mycards.live). This allows the AI to access the site's content and use it as a knowledge base to respond to users. Click on Start Training.
9
AI Activation
After training, the following notification appears on the Chat screen: “Success – AI has been enabled for all applications”. At the top, you can select the account you created and start using it for conversations.
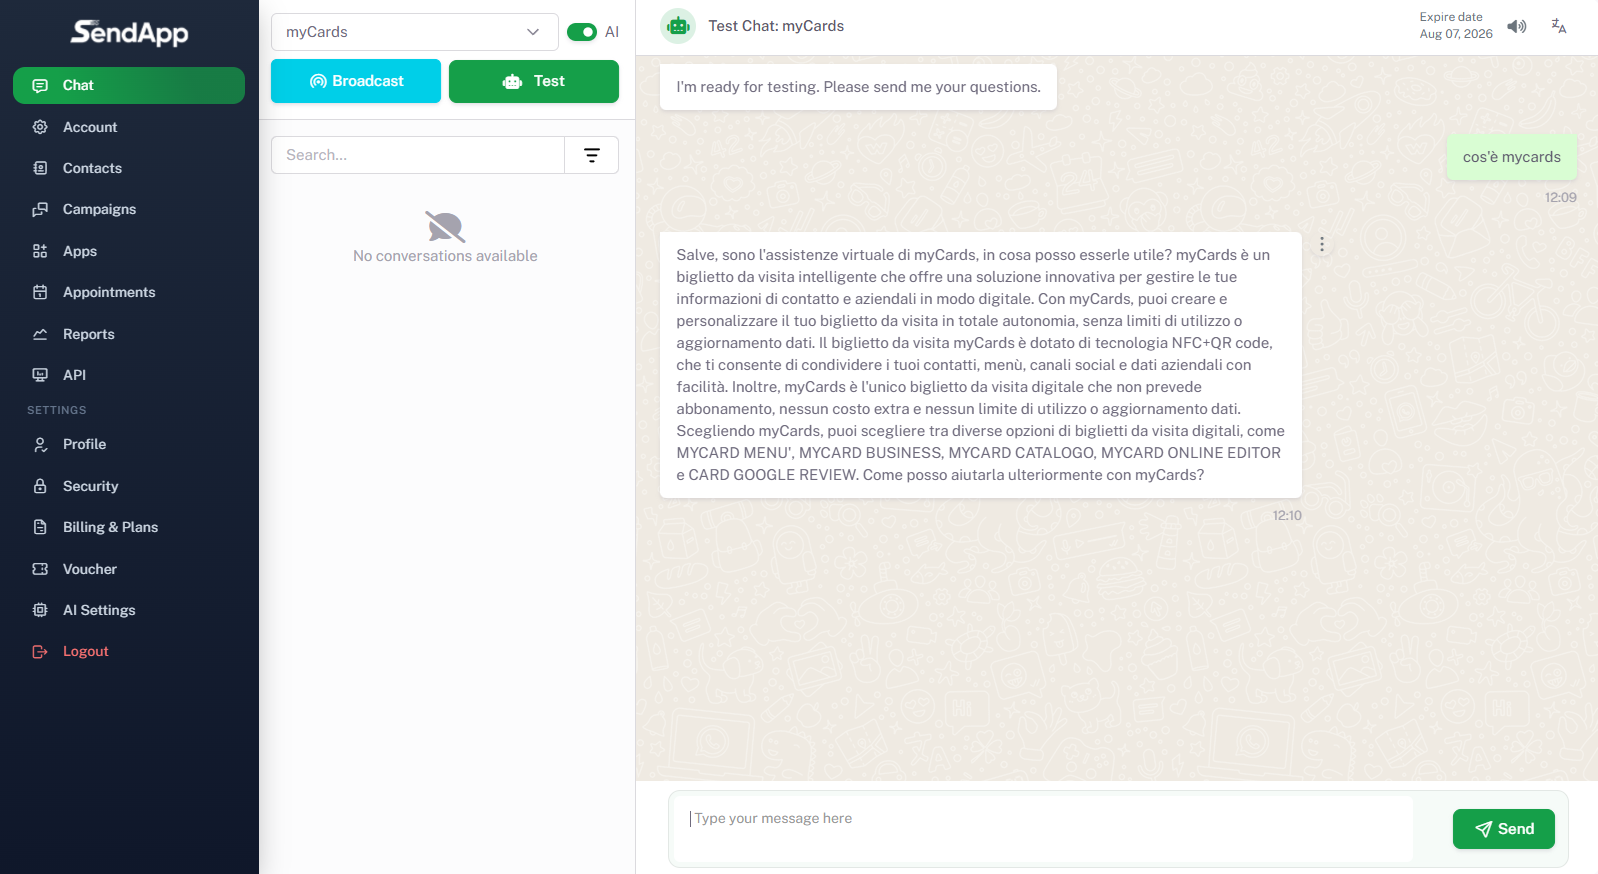
10
AI Test
From the button Trial, you can simulate a test conversation with the assistant. The AI responds with a detailed description of the service, demonstrating that it has learned the information from the website or trained sources. This step is to verify that the AI is working correctly and responding in a helpful and professional manner.
Chat Integrations and Widgets
11
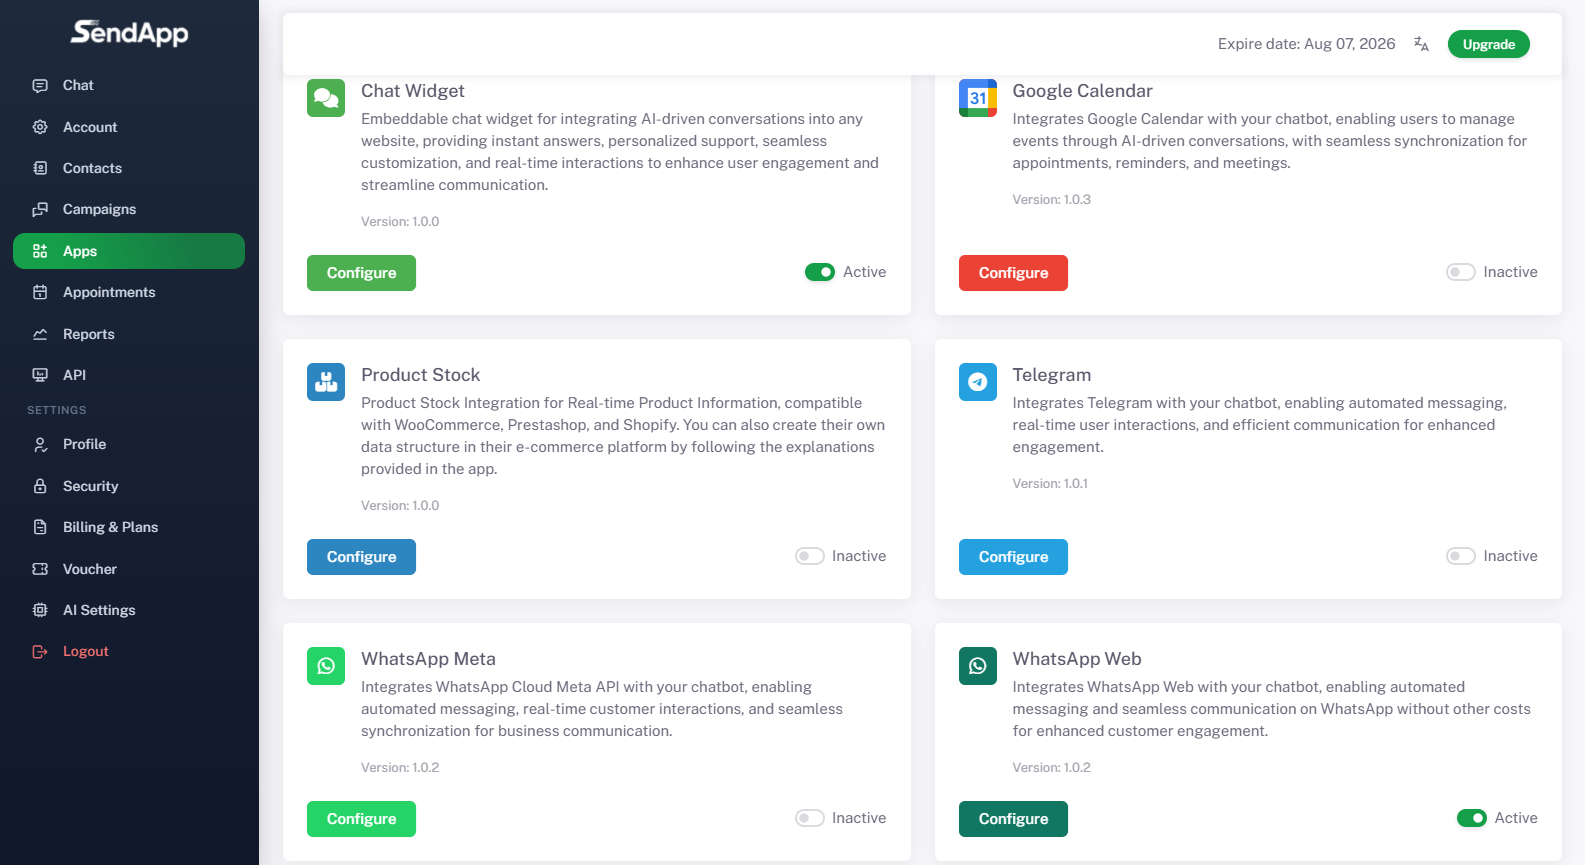
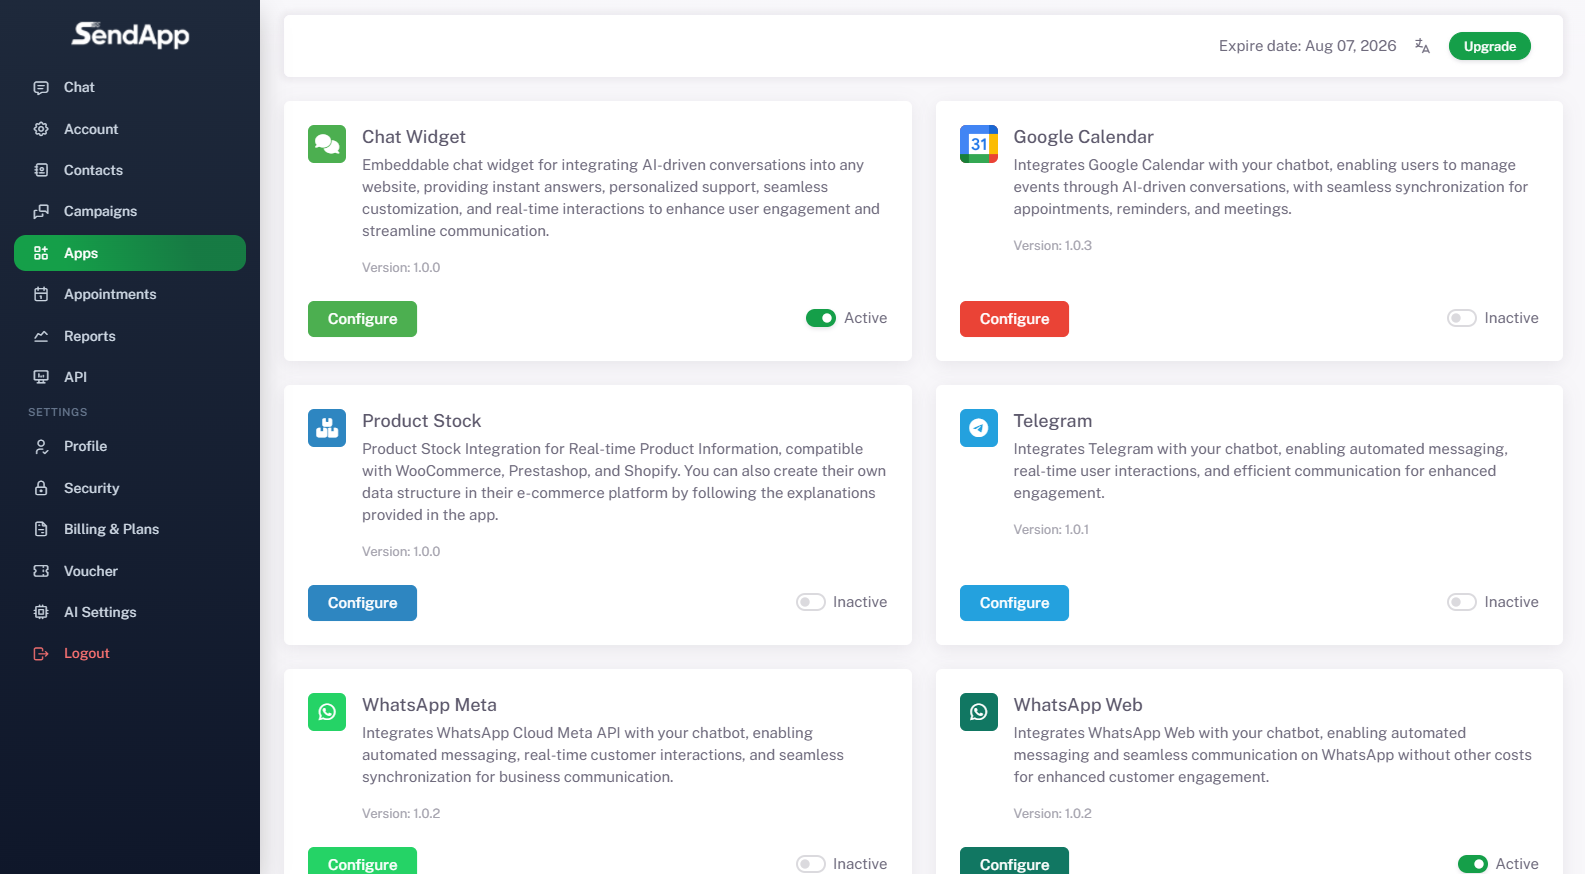
Integration with other applications
From the side menu, entering Applications, you can integrate SendApp Agent with: Chat Widget (website assistant), Google Calendar (appointments and meetings), Product Stock (WooCommerce, Prestashop, Shopify), Telegram (channel automation), WhatsApp Meta (official APIs), WhatsApp Web (web session).
12
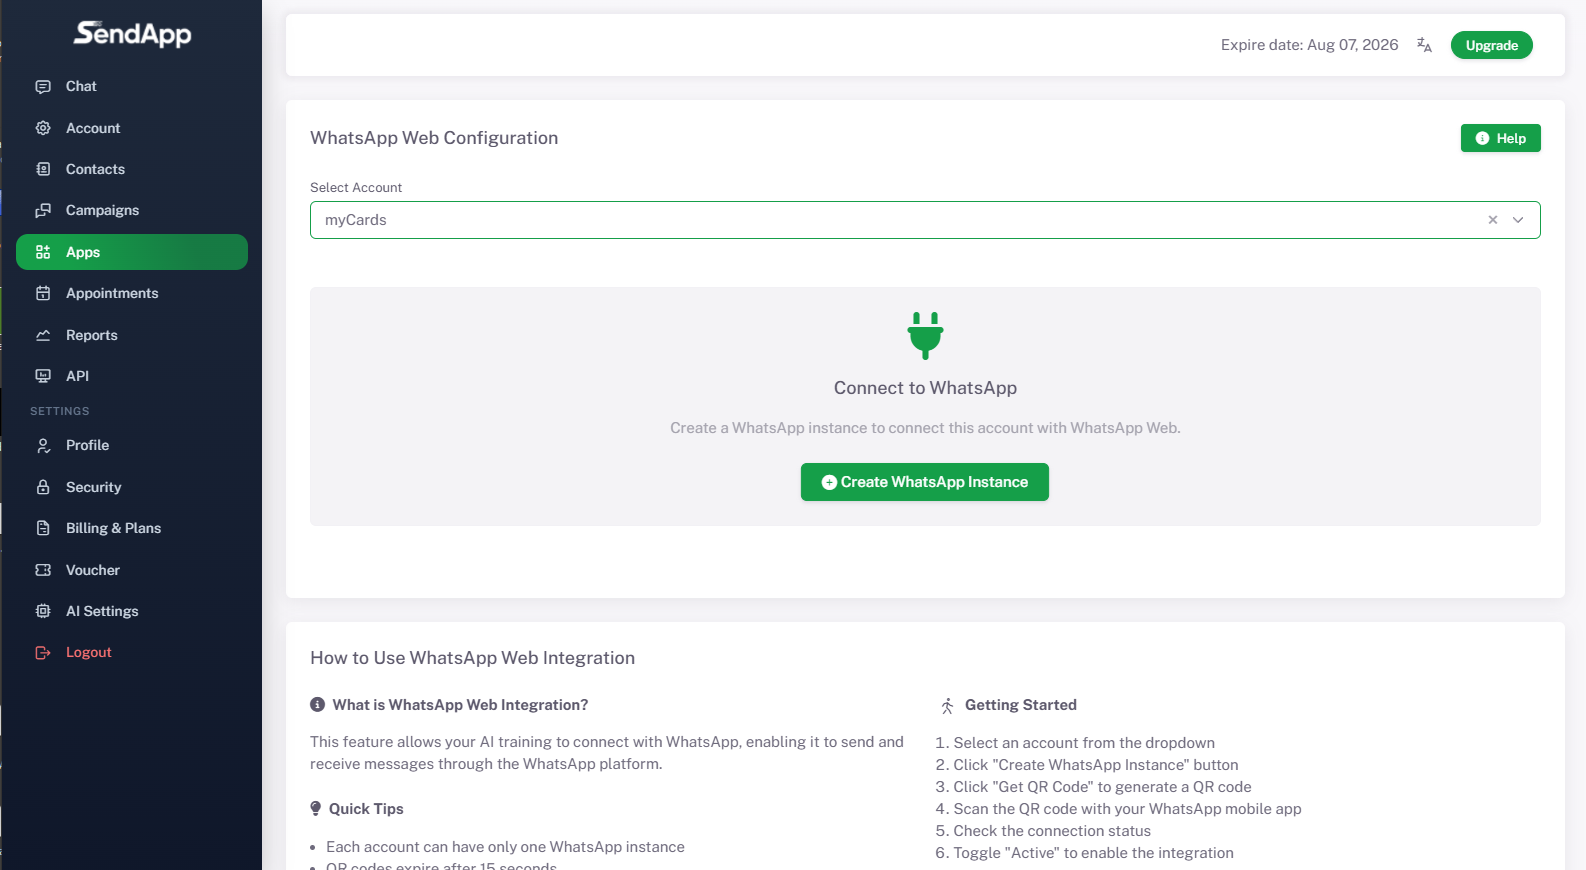
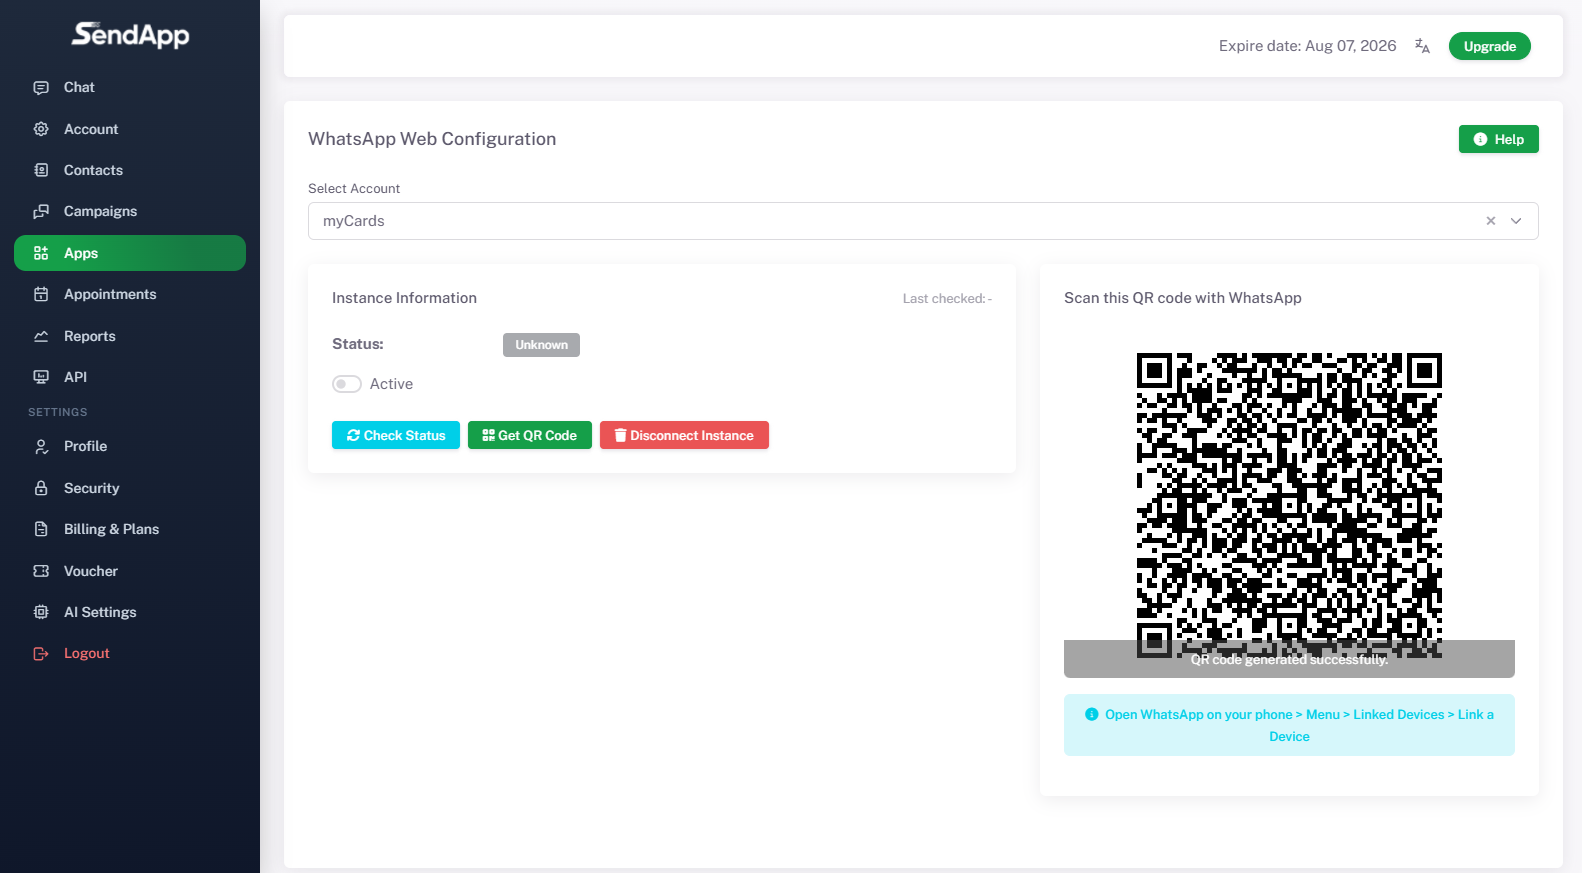
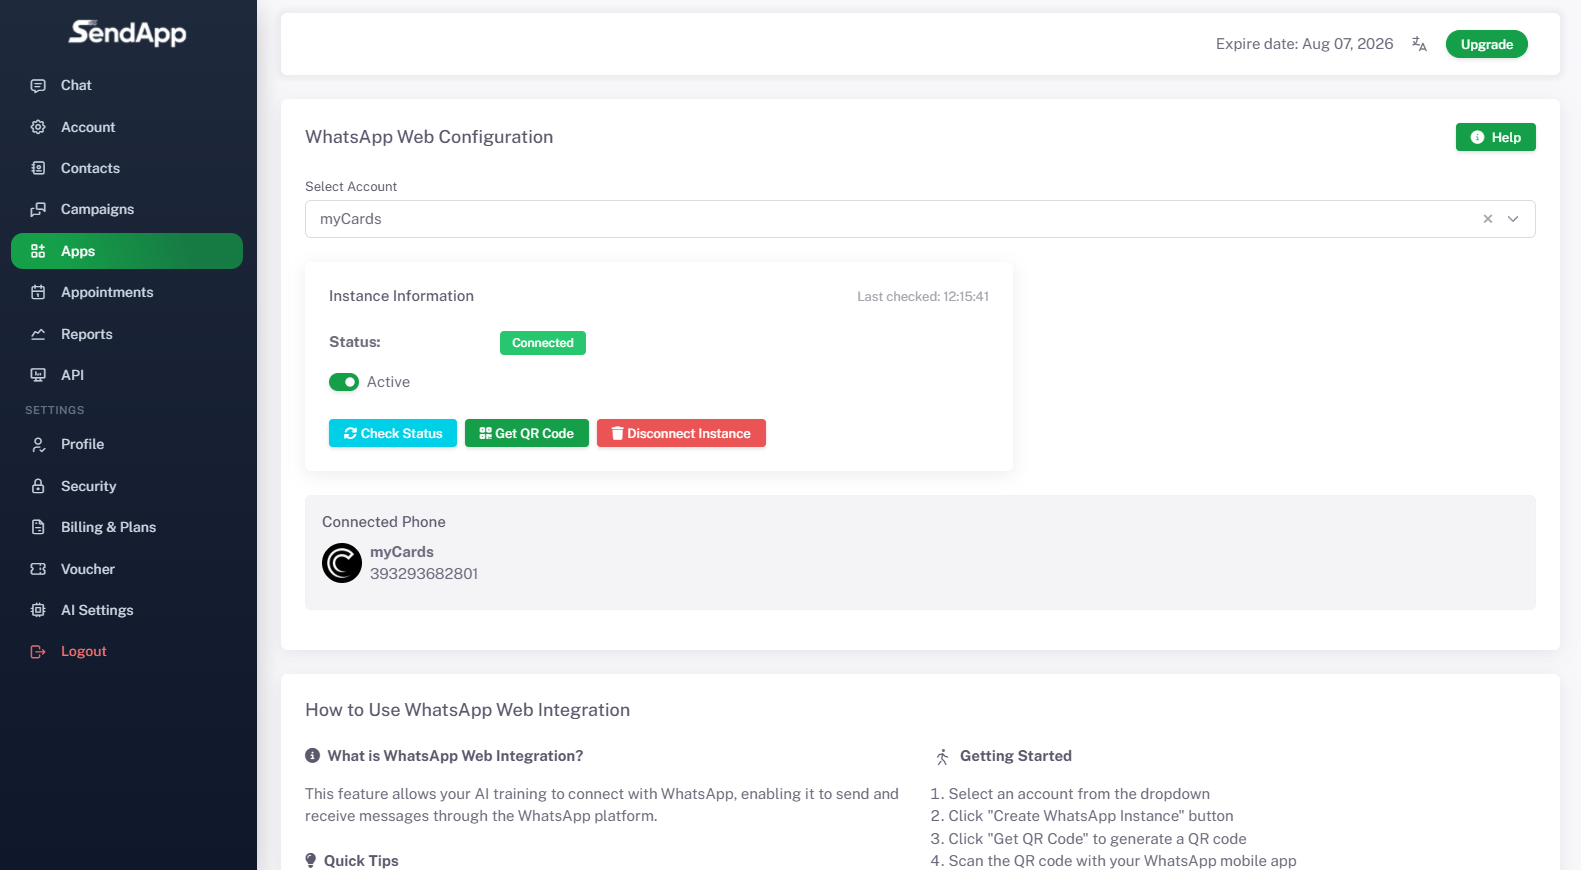
WhatsApp Web Setup
Select WhatsApp Web and connect your account. From the drop-down menu, select the account (e.g., myCards). Follow the instructions: click Create WhatsApp Instance, Then Get QR Code, scan the QR code with the WhatsApp app, check the connection status, and toggle the “Active” option. Note: Each account can only have one active instance, and QR codes expire after 15 seconds.
13
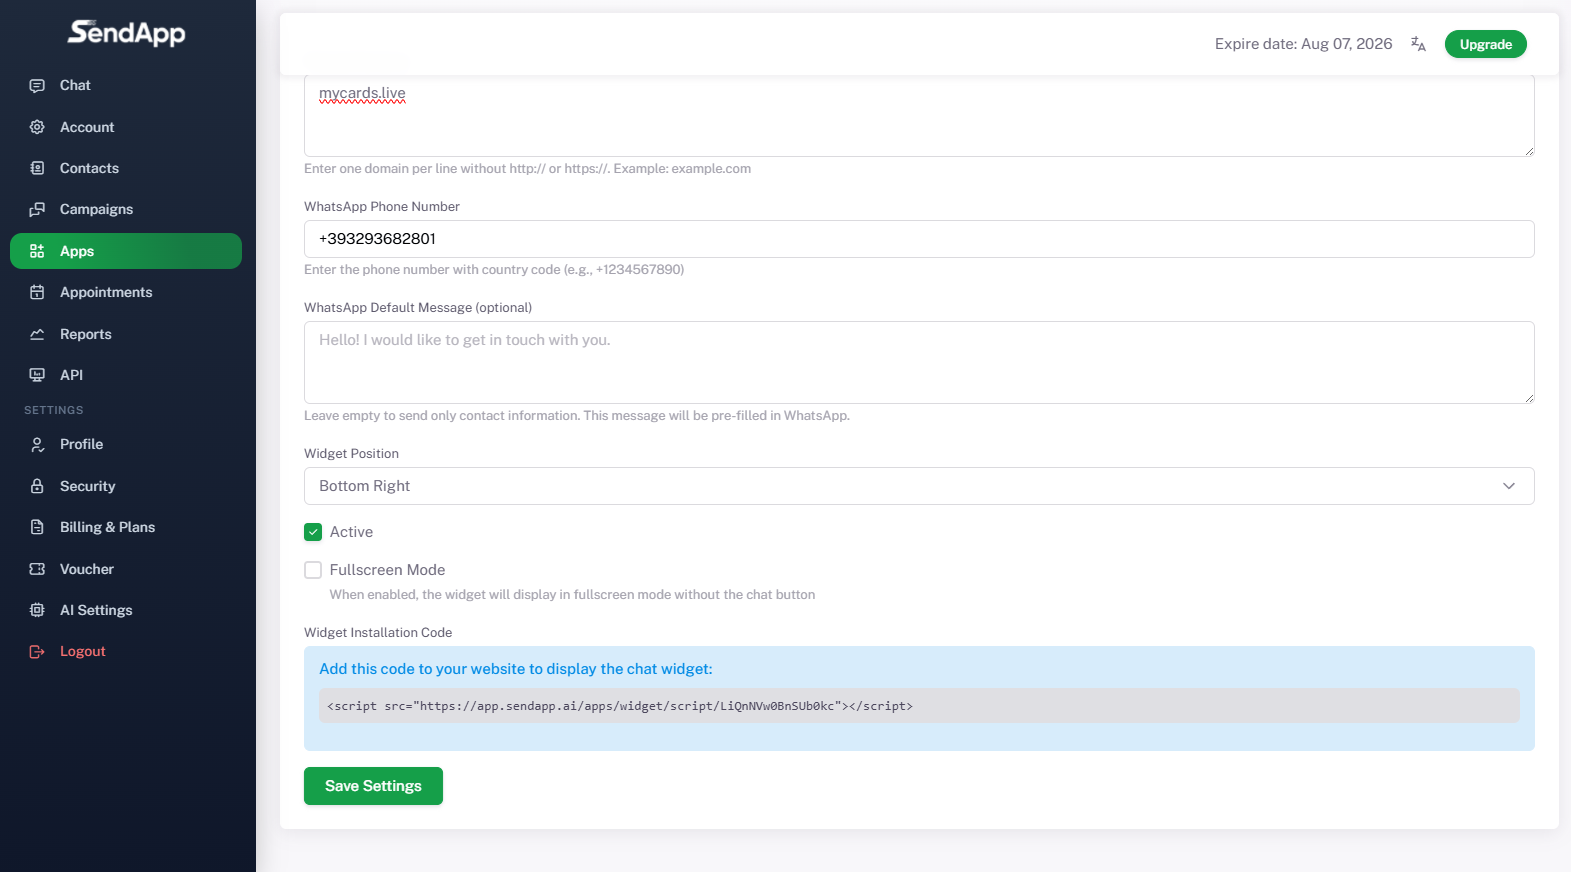
Installing the Chat Widget on your site
From the menu Applications, select Chat Widget and configure: Allowed domain (e.g. mycards.live), WhatsApp number to connect, Default message (optional), Widget position (bottom right, left or full screen). Activate the widget and copy the Installation code generated. Paste the script into your site to display the chat.
14
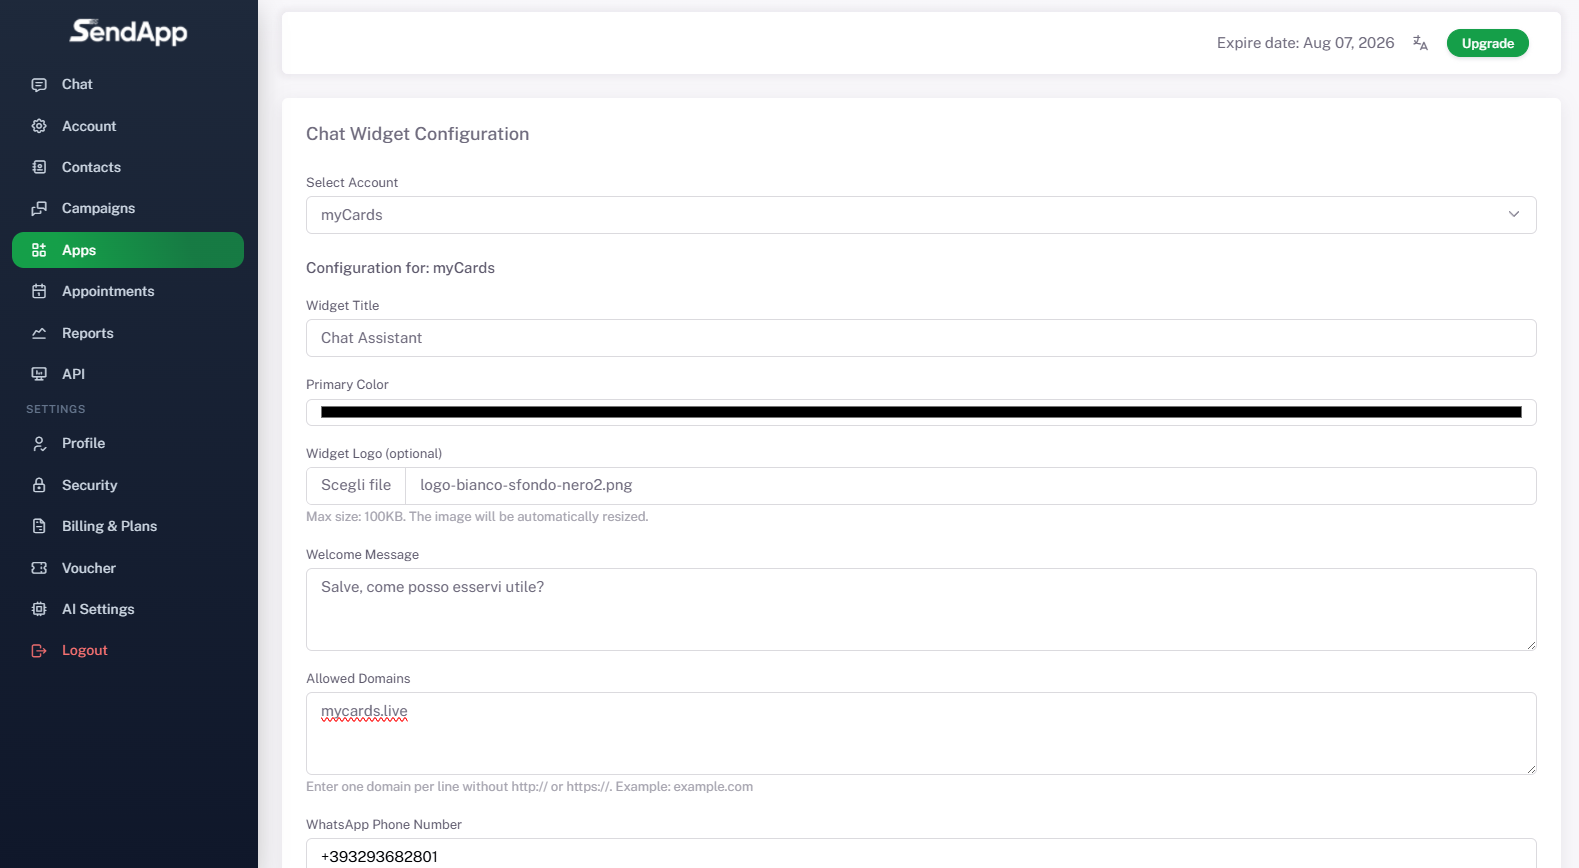
Widget Customization
Configure: Linked Account (e.g. myCards), Widget title (e.g. myCards Support), Primary color, Logo (optional), Welcome message (e.g. “Hello, how can I help you?”). After making changes, click on Save Settings.
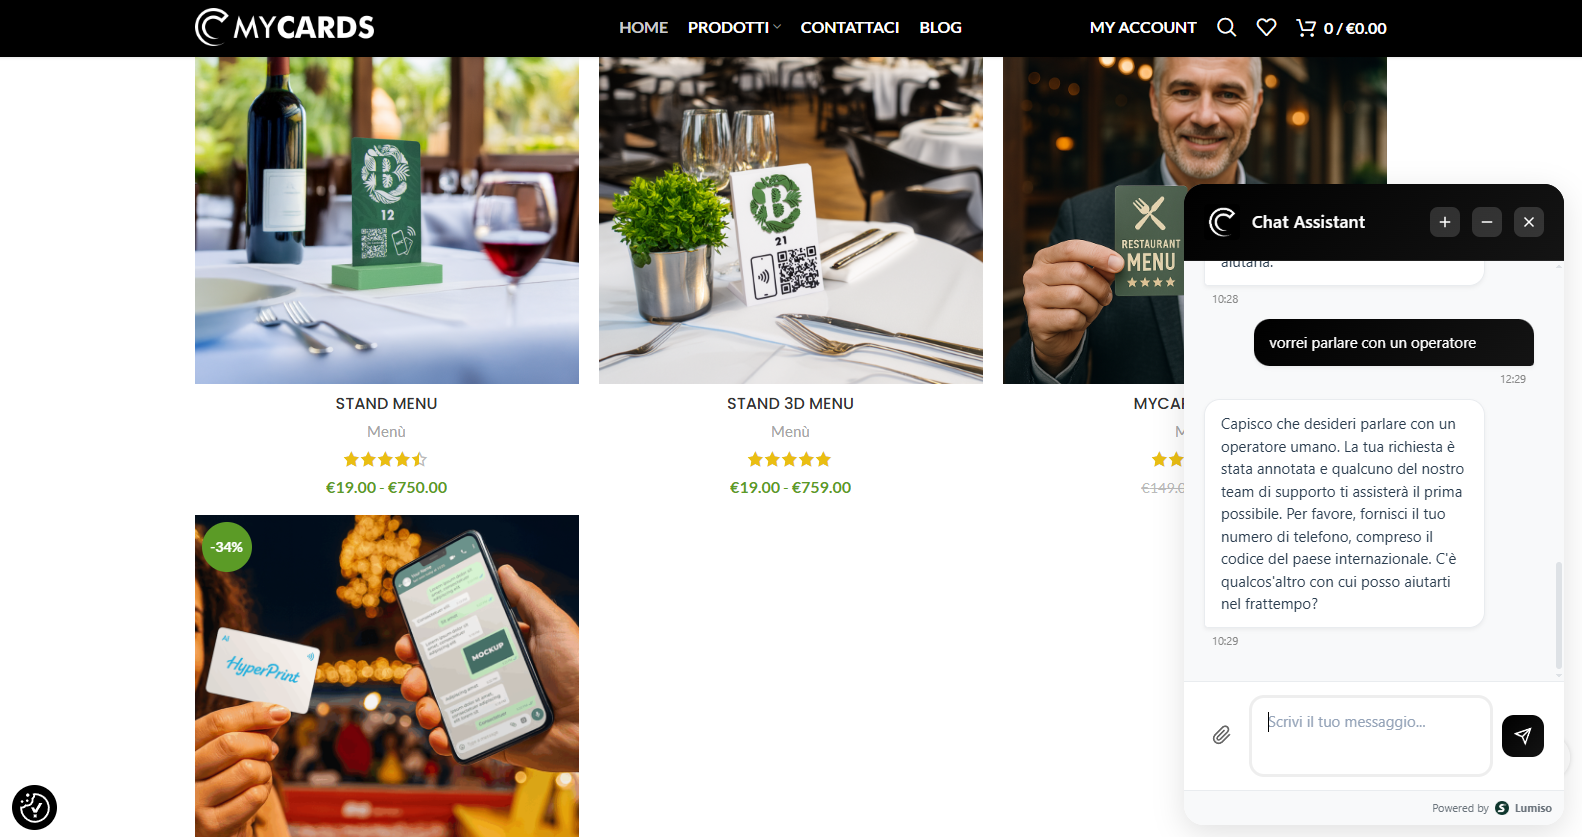
15
Chat from the site with AI
Once installed, the widget appears on the site. A customer writes via chat, and the virtual assistant automatically responds with a clear and detailed description, providing all the relevant information.
Daily Use and Management
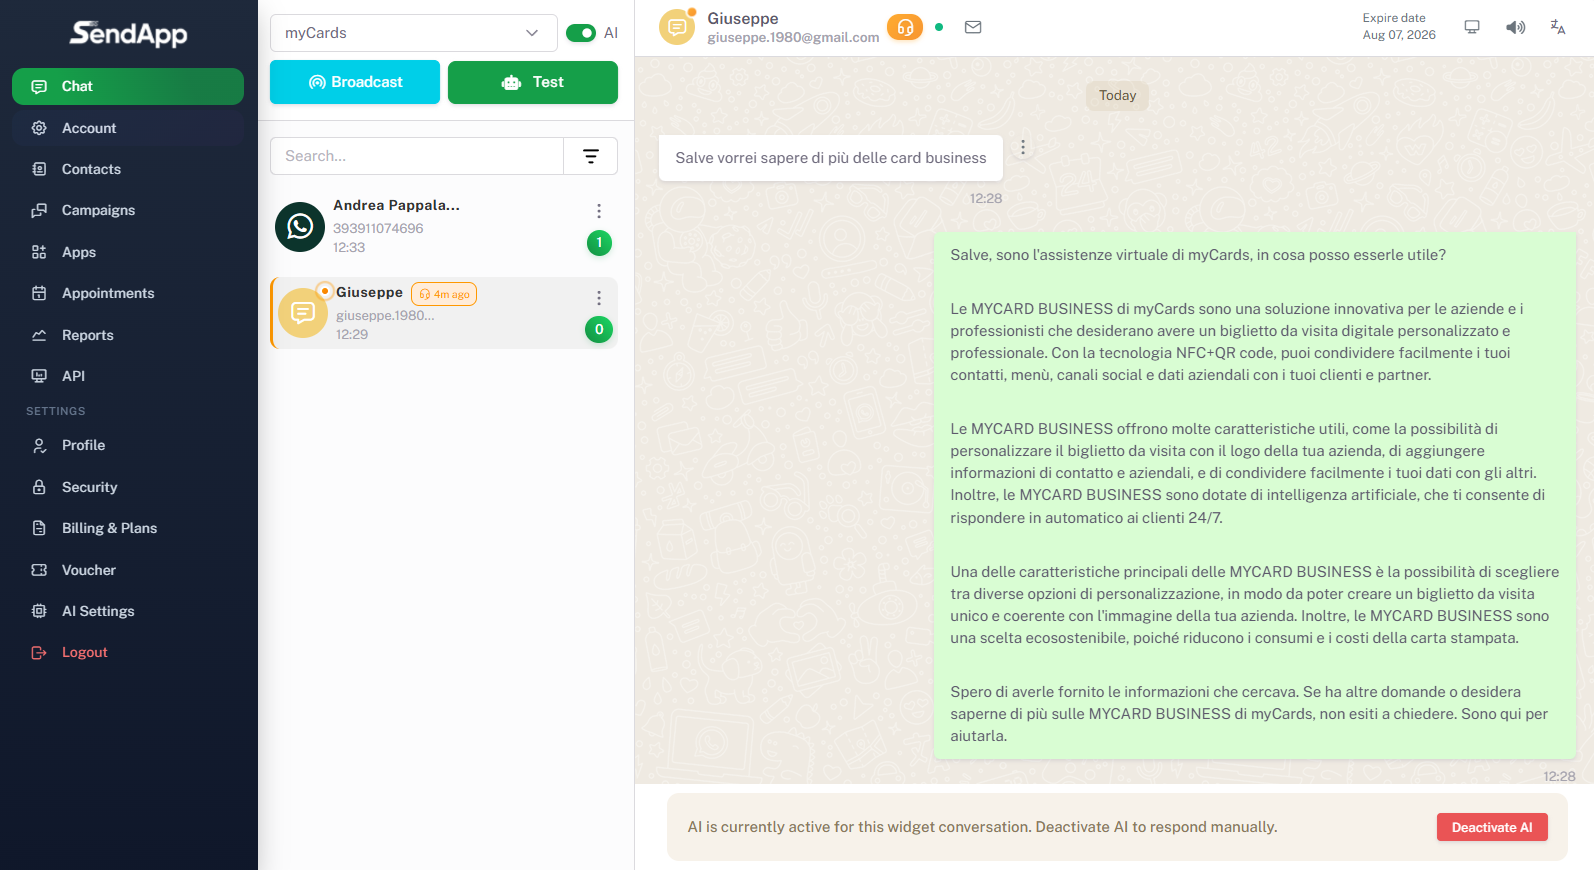
16
Conversations on WhatsApp
When customers write via WhatsApp, the messages appear in the dashboard Chat SendApp Agent. The AI automatically responds by explaining the key features and information requested by the customer.
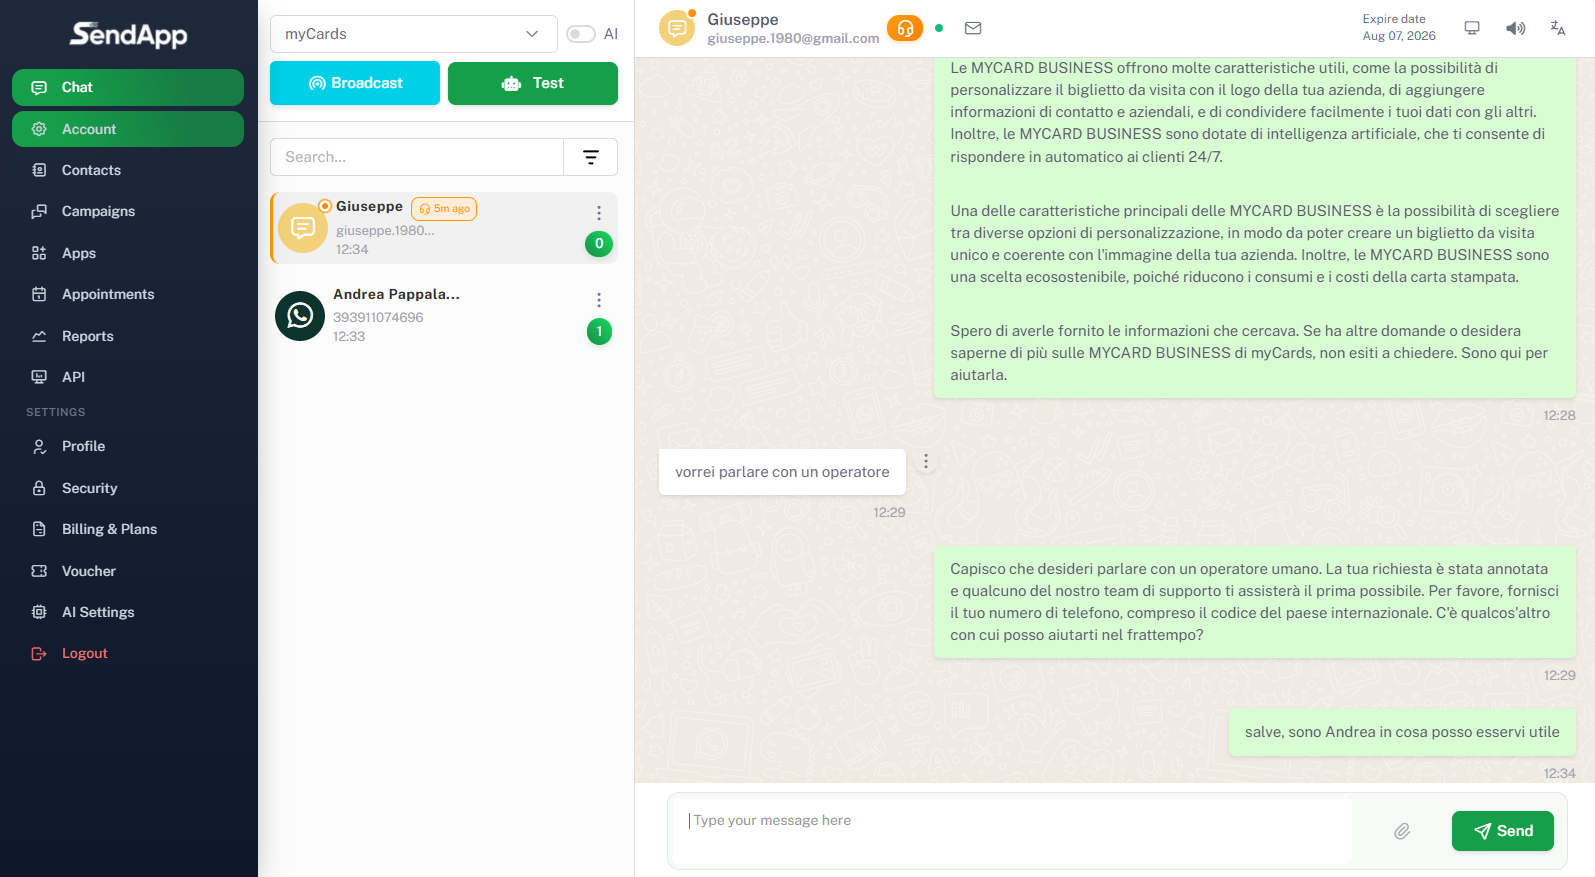
17
Escalation to human operator
If a customer requests to speak to an operator (e.g., "I would like to speak to an operator"), the AI recognizes the request and passes the conversation. The operator takes over by writing directly in the chat. This integrates automated management with human assistance.
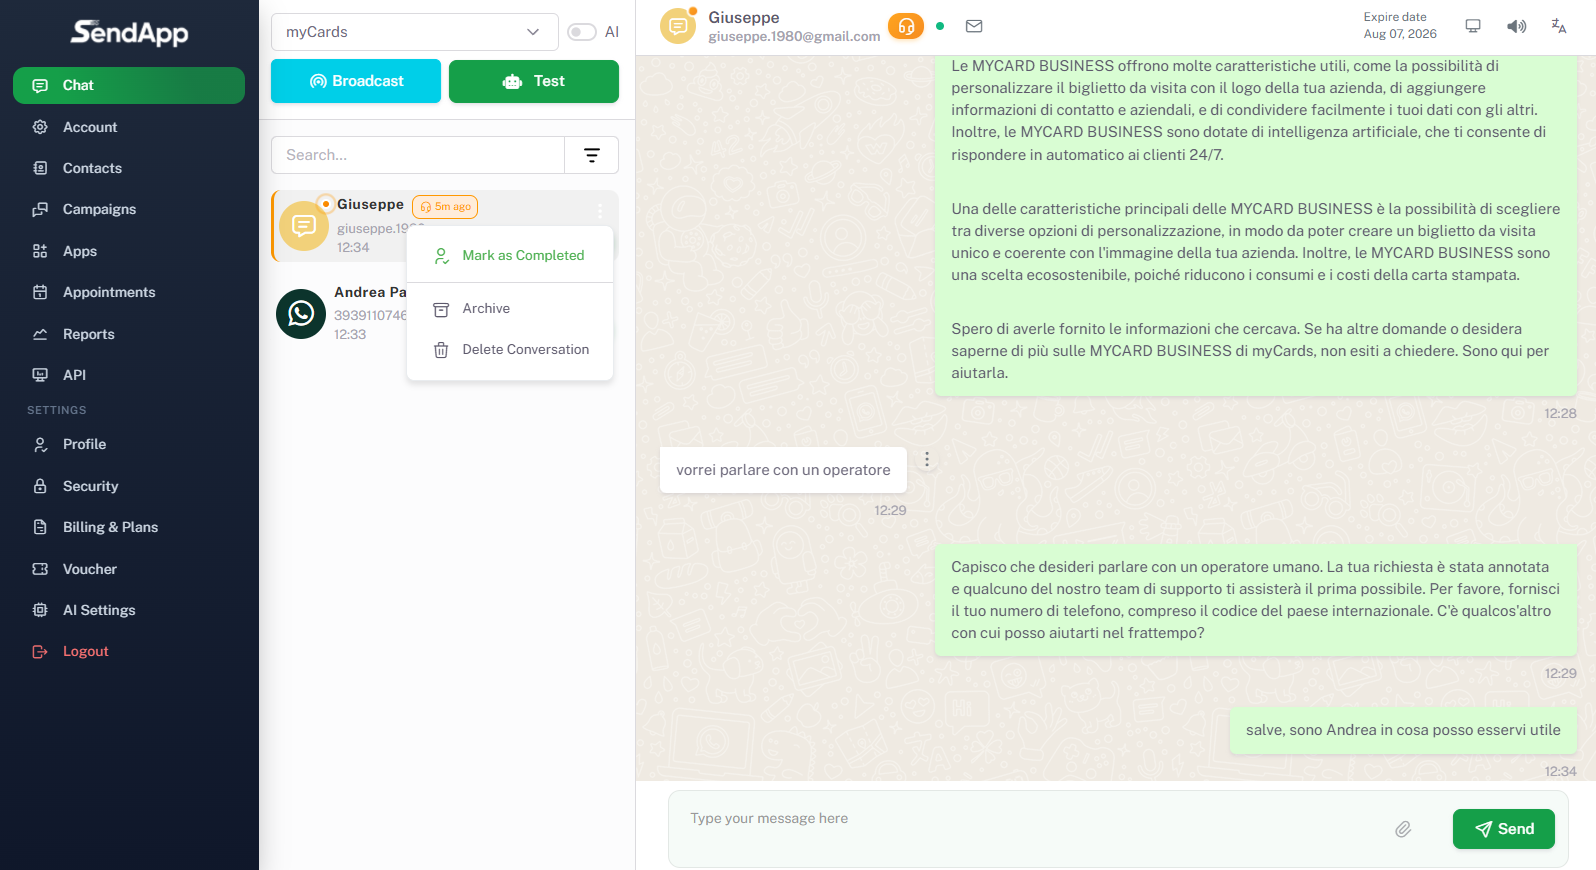
18
Conversation Management
Each chat can be managed from the dashboard. Available options: Mark as completed, Archive, Delete conversation. This allows you to maintain orderly customer management and track the status of requests.
READY TO GET STARTED?
Activate your AI assistant today
Sign up for free, set up your account, and start responding to customers 24/7 with SendApp Agent's artificial intelligence.