STEP-BY-STEP GUIDE
Integration Google Calendar with WhatsApp
Connect Google Calendar to SendApp Agent and let your clients book appointments directly on WhatsApp. The assistant handles everything automatically.
STEP-BY-STEP GUIDE
Connect Google Calendar to SendApp Agent and let your clients book appointments directly on WhatsApp. The assistant handles everything automatically.
WHAT YOU NEED
Make sure you have a Google account with Calendar active and knowing the’Your calendar ID. To find it: open Google Calendar, click on the three dots of the desired calendar, then Settings and sharing, scroll down to Integrate calendar and copy the ID. For the primary calendar, this is the same as your Gmail.
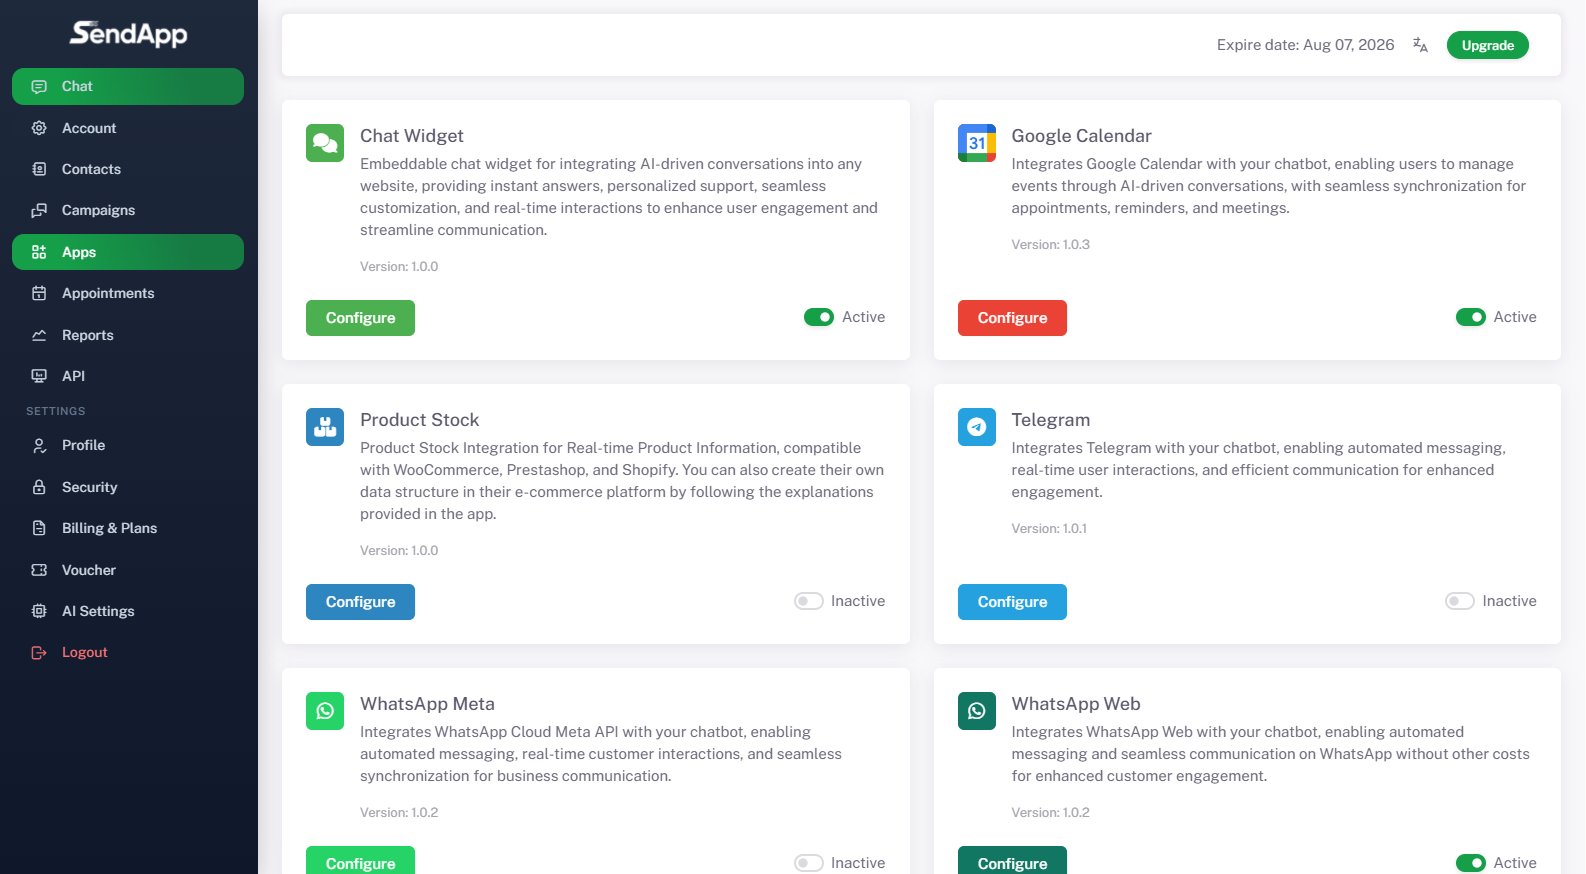
From the SendApp Agent dashboard, go to Applications. Search for the box Google Calendar and click on Configure. Make sure the status is set to Active.
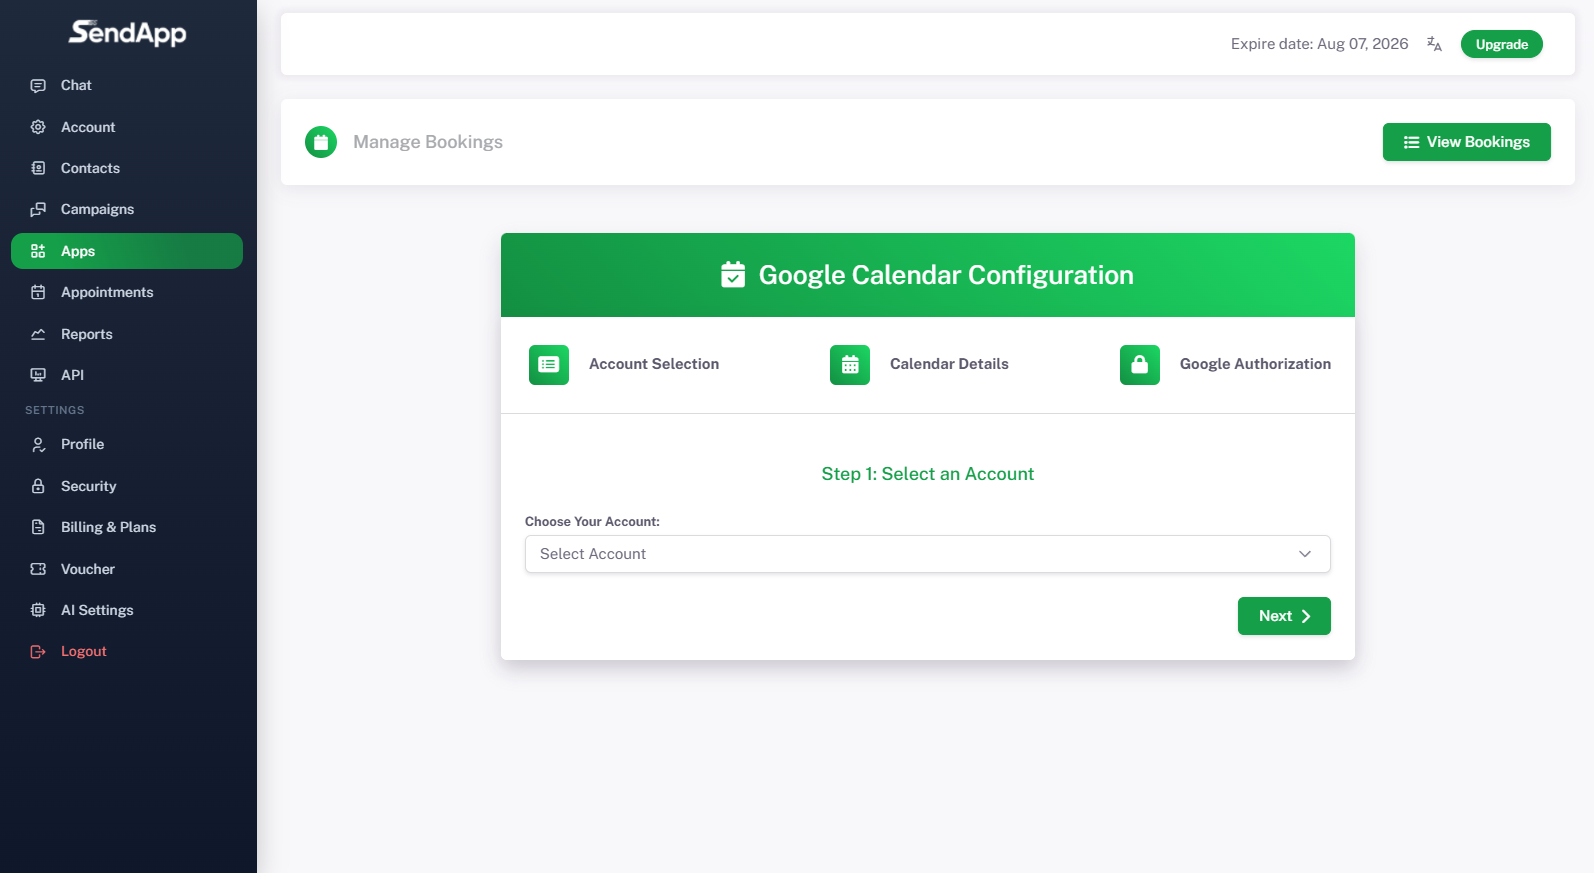
In the step Account Selection, choose the SendApp account you want to connect to the calendar from the drop-down menu. Then click After you.

Paste the’Calendar ID that you copied from Google. Select the working days where you want to accept reservations, set the availability times (you can add more time slots) and the appointment duration in minutes (e.g., 30 or 60). If you work with international clients, you can enable bookings from different time zones. Click After you.
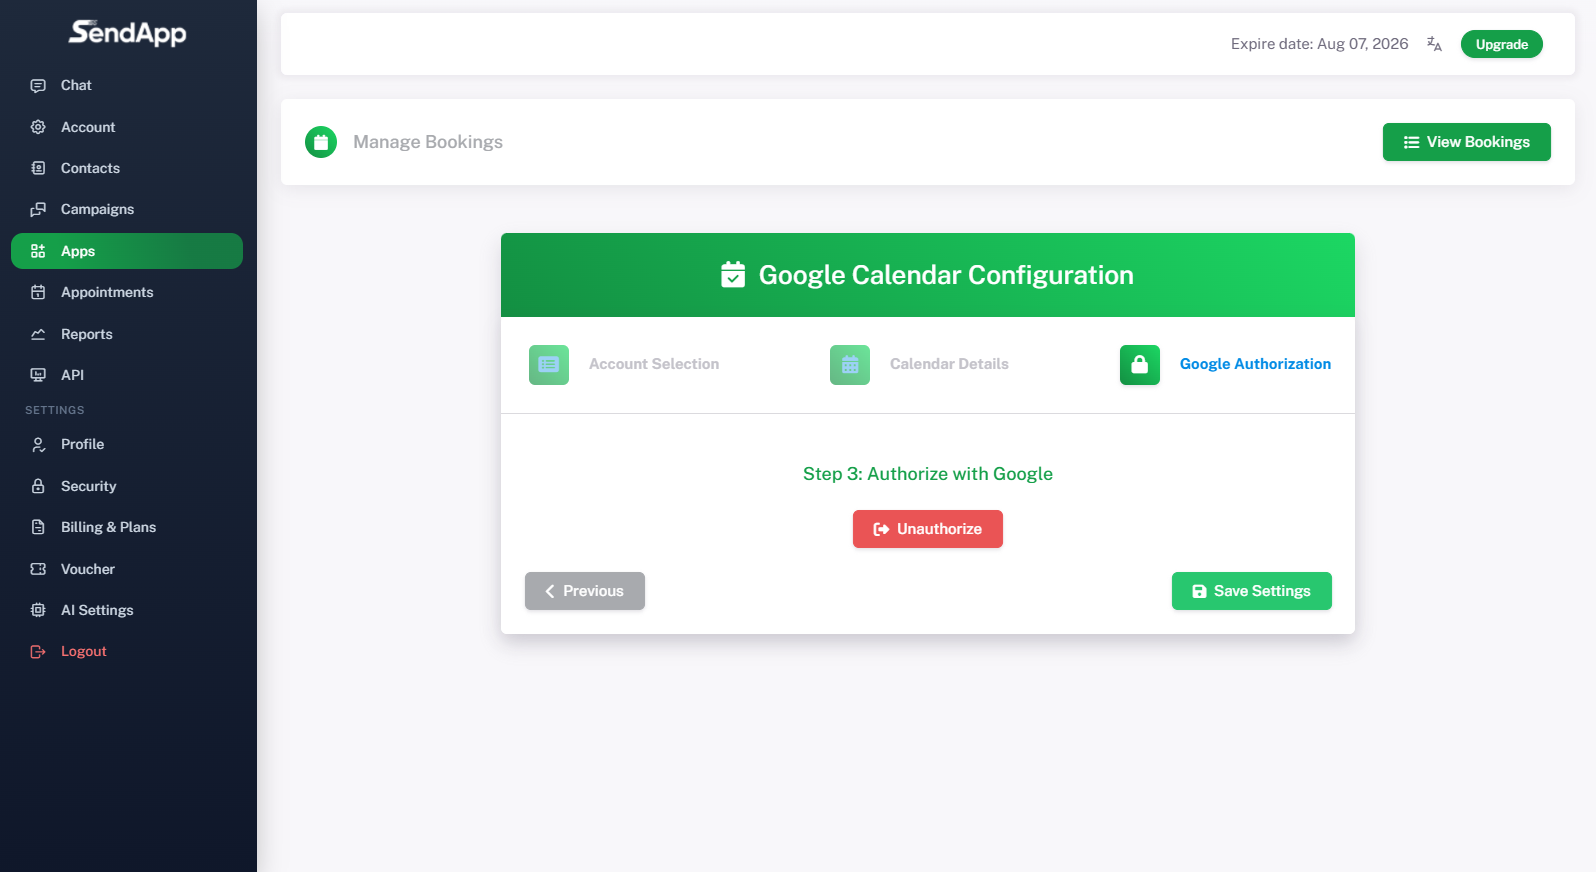
Click on Sign in with Google and choose the appropriate Google account. Grant the required permissions to create and manage events on the calendar. When you see the button Remove authorization, means the connection was successful. Click Save Settings to complete.
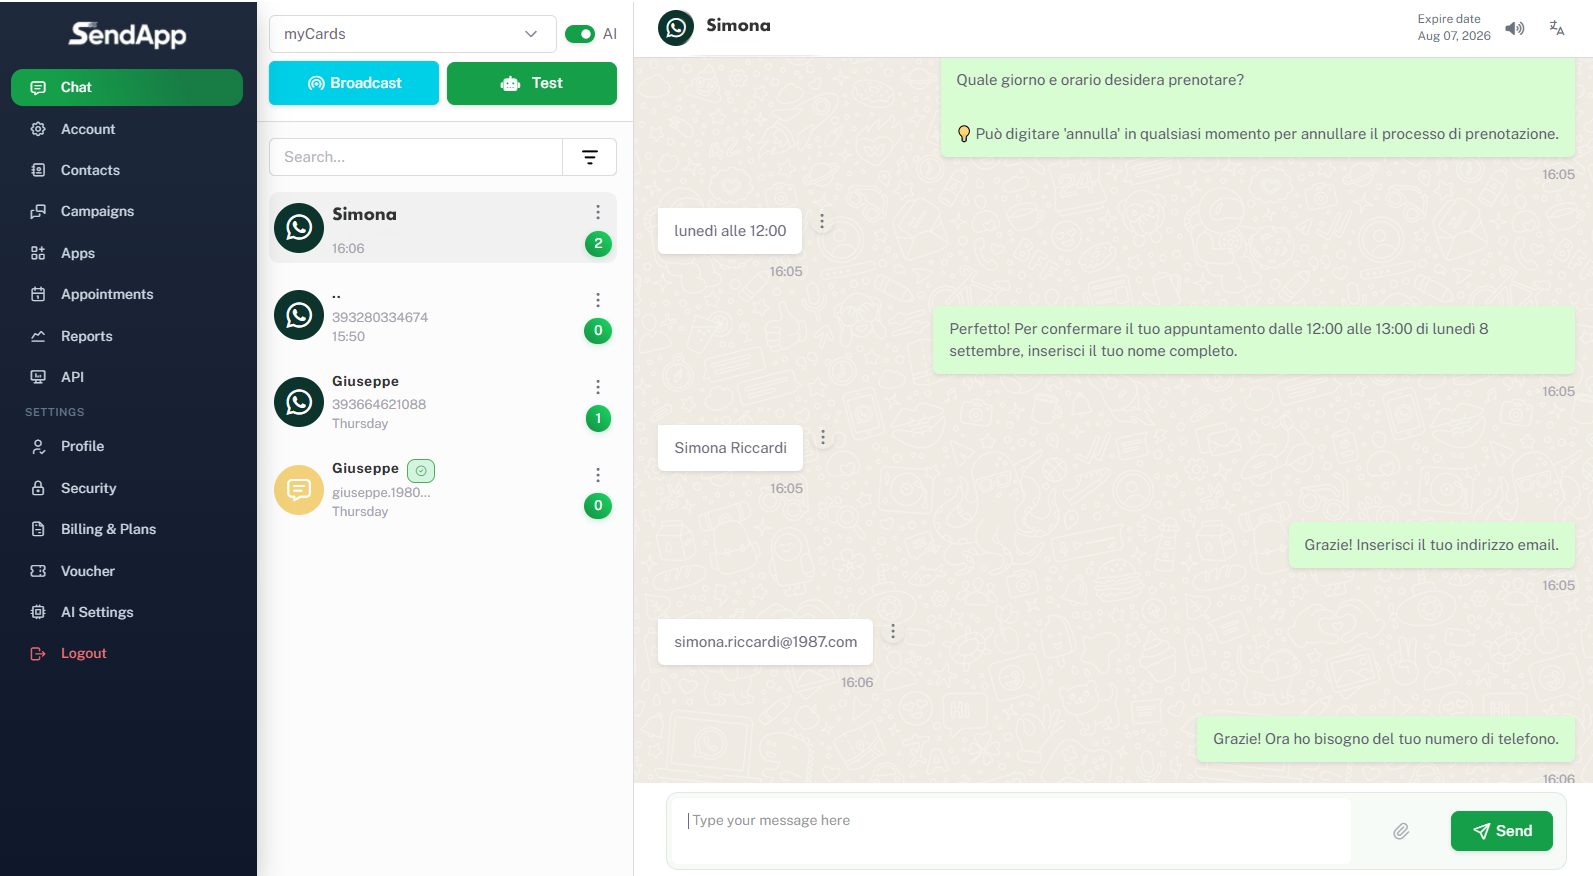
Go to the section Chat SendApp and give it a try. Tell the assistant you'd like to book an appointment. They'll ask you for your preferred day and time (based on the slots you've set), your full name, email, and phone number. Once confirmed, the appointment is automatically created in your Google Calendar.
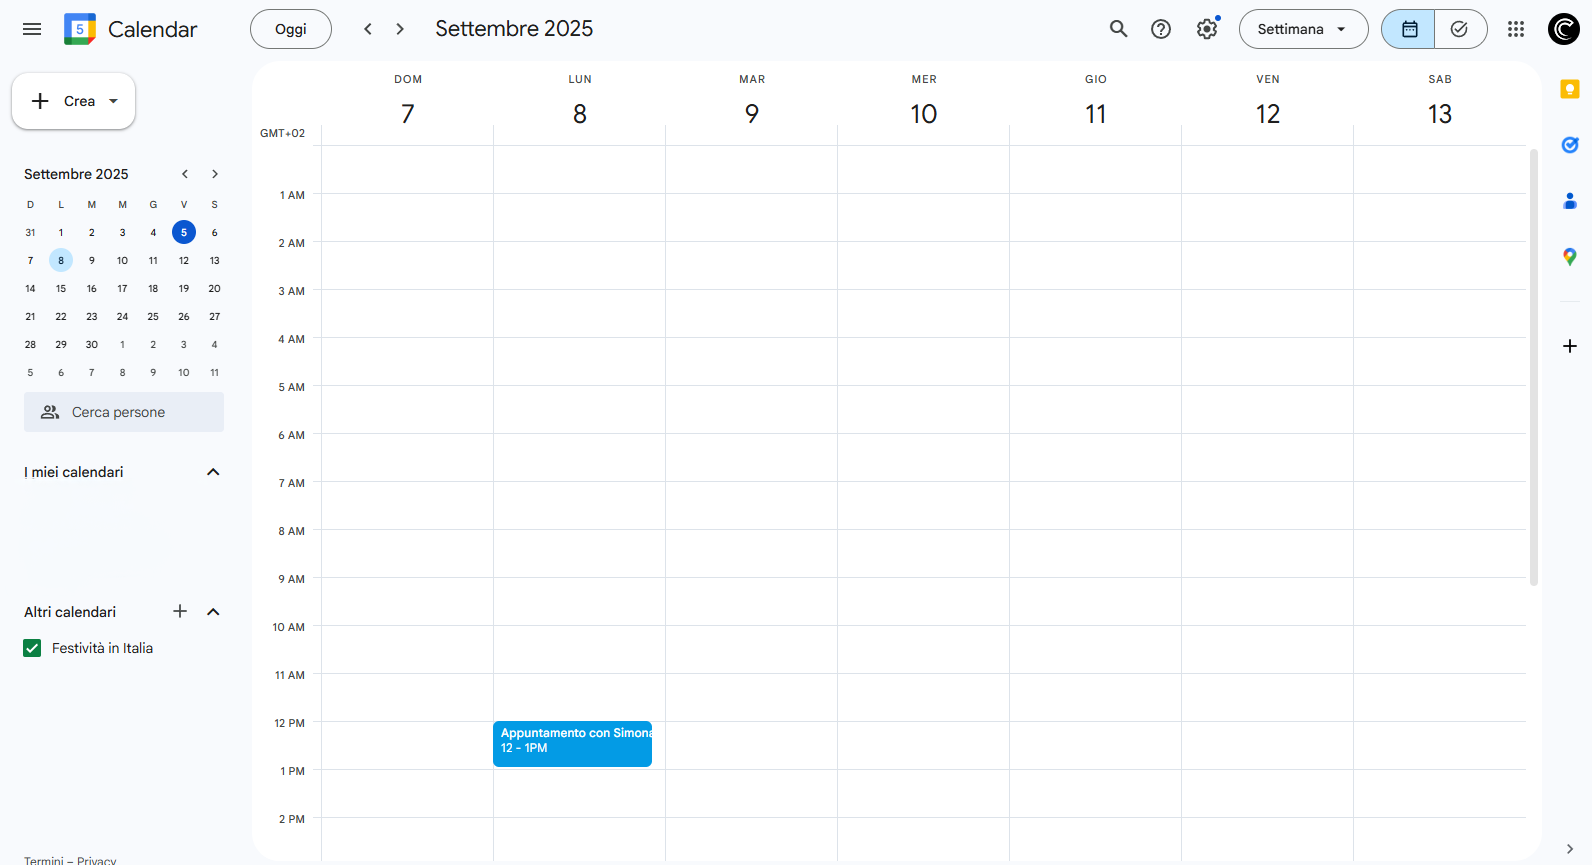
Open Google Calendar and verify that the appointment has been created correctly with the date, time, and contact information. From now on, any appointment reservations made via WhatsApp will automatically appear in your calendar.
ALL CONFIGURED
No more phone calls to schedule appointments. Your assistant handles the bookings, so you can focus on your work.